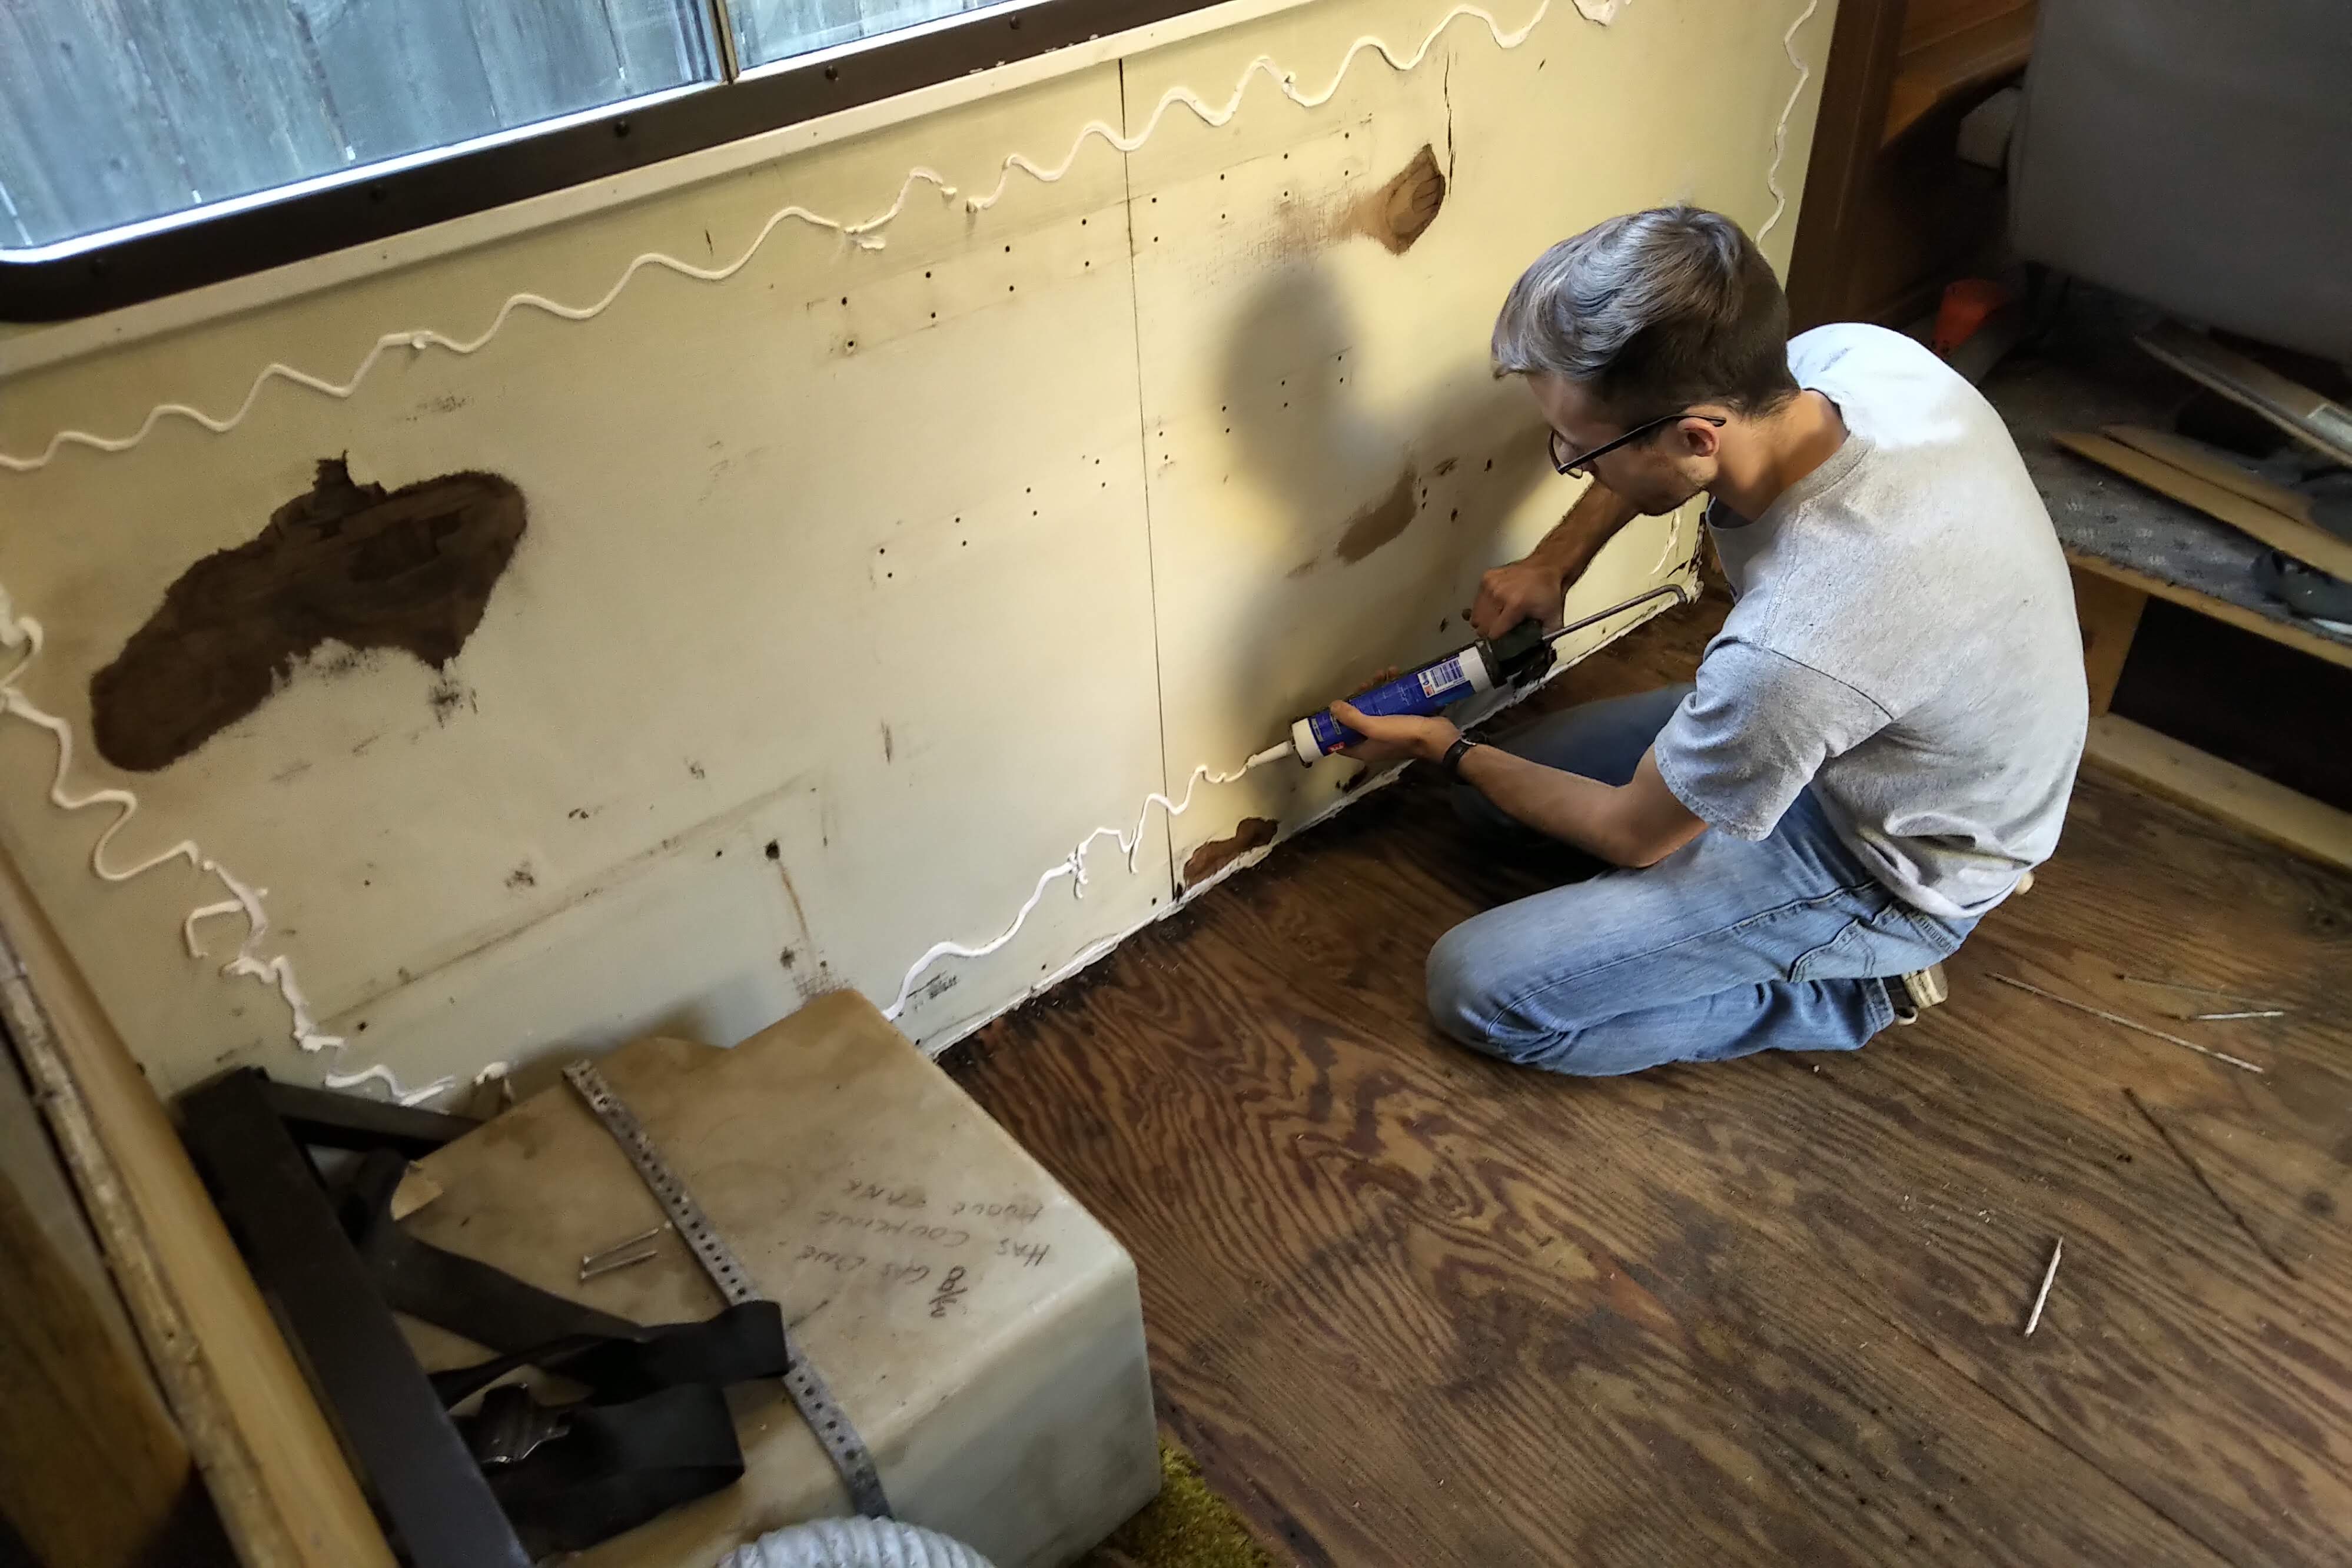
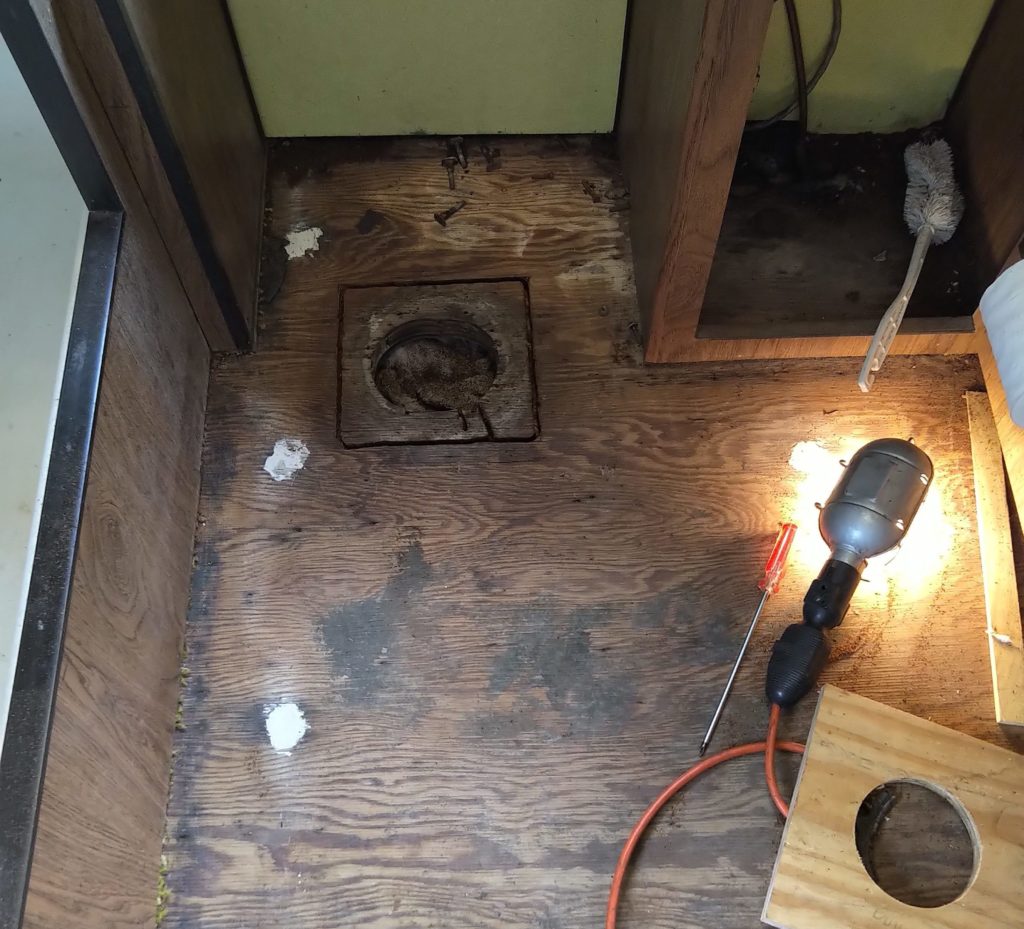
 The interior of the vehicle is quickly taking shape after months of prep. Before the new flooring could be installed, a few more items had to be completed, including fixing one section of wall that had some water damage from the window. Since no structural damage had taken place and the damage was old, we simply sanded the wood flush and installed a piece of paneling over the old wall with adhesive and fasteners. The results were pretty dramatic, as you see in the image above.
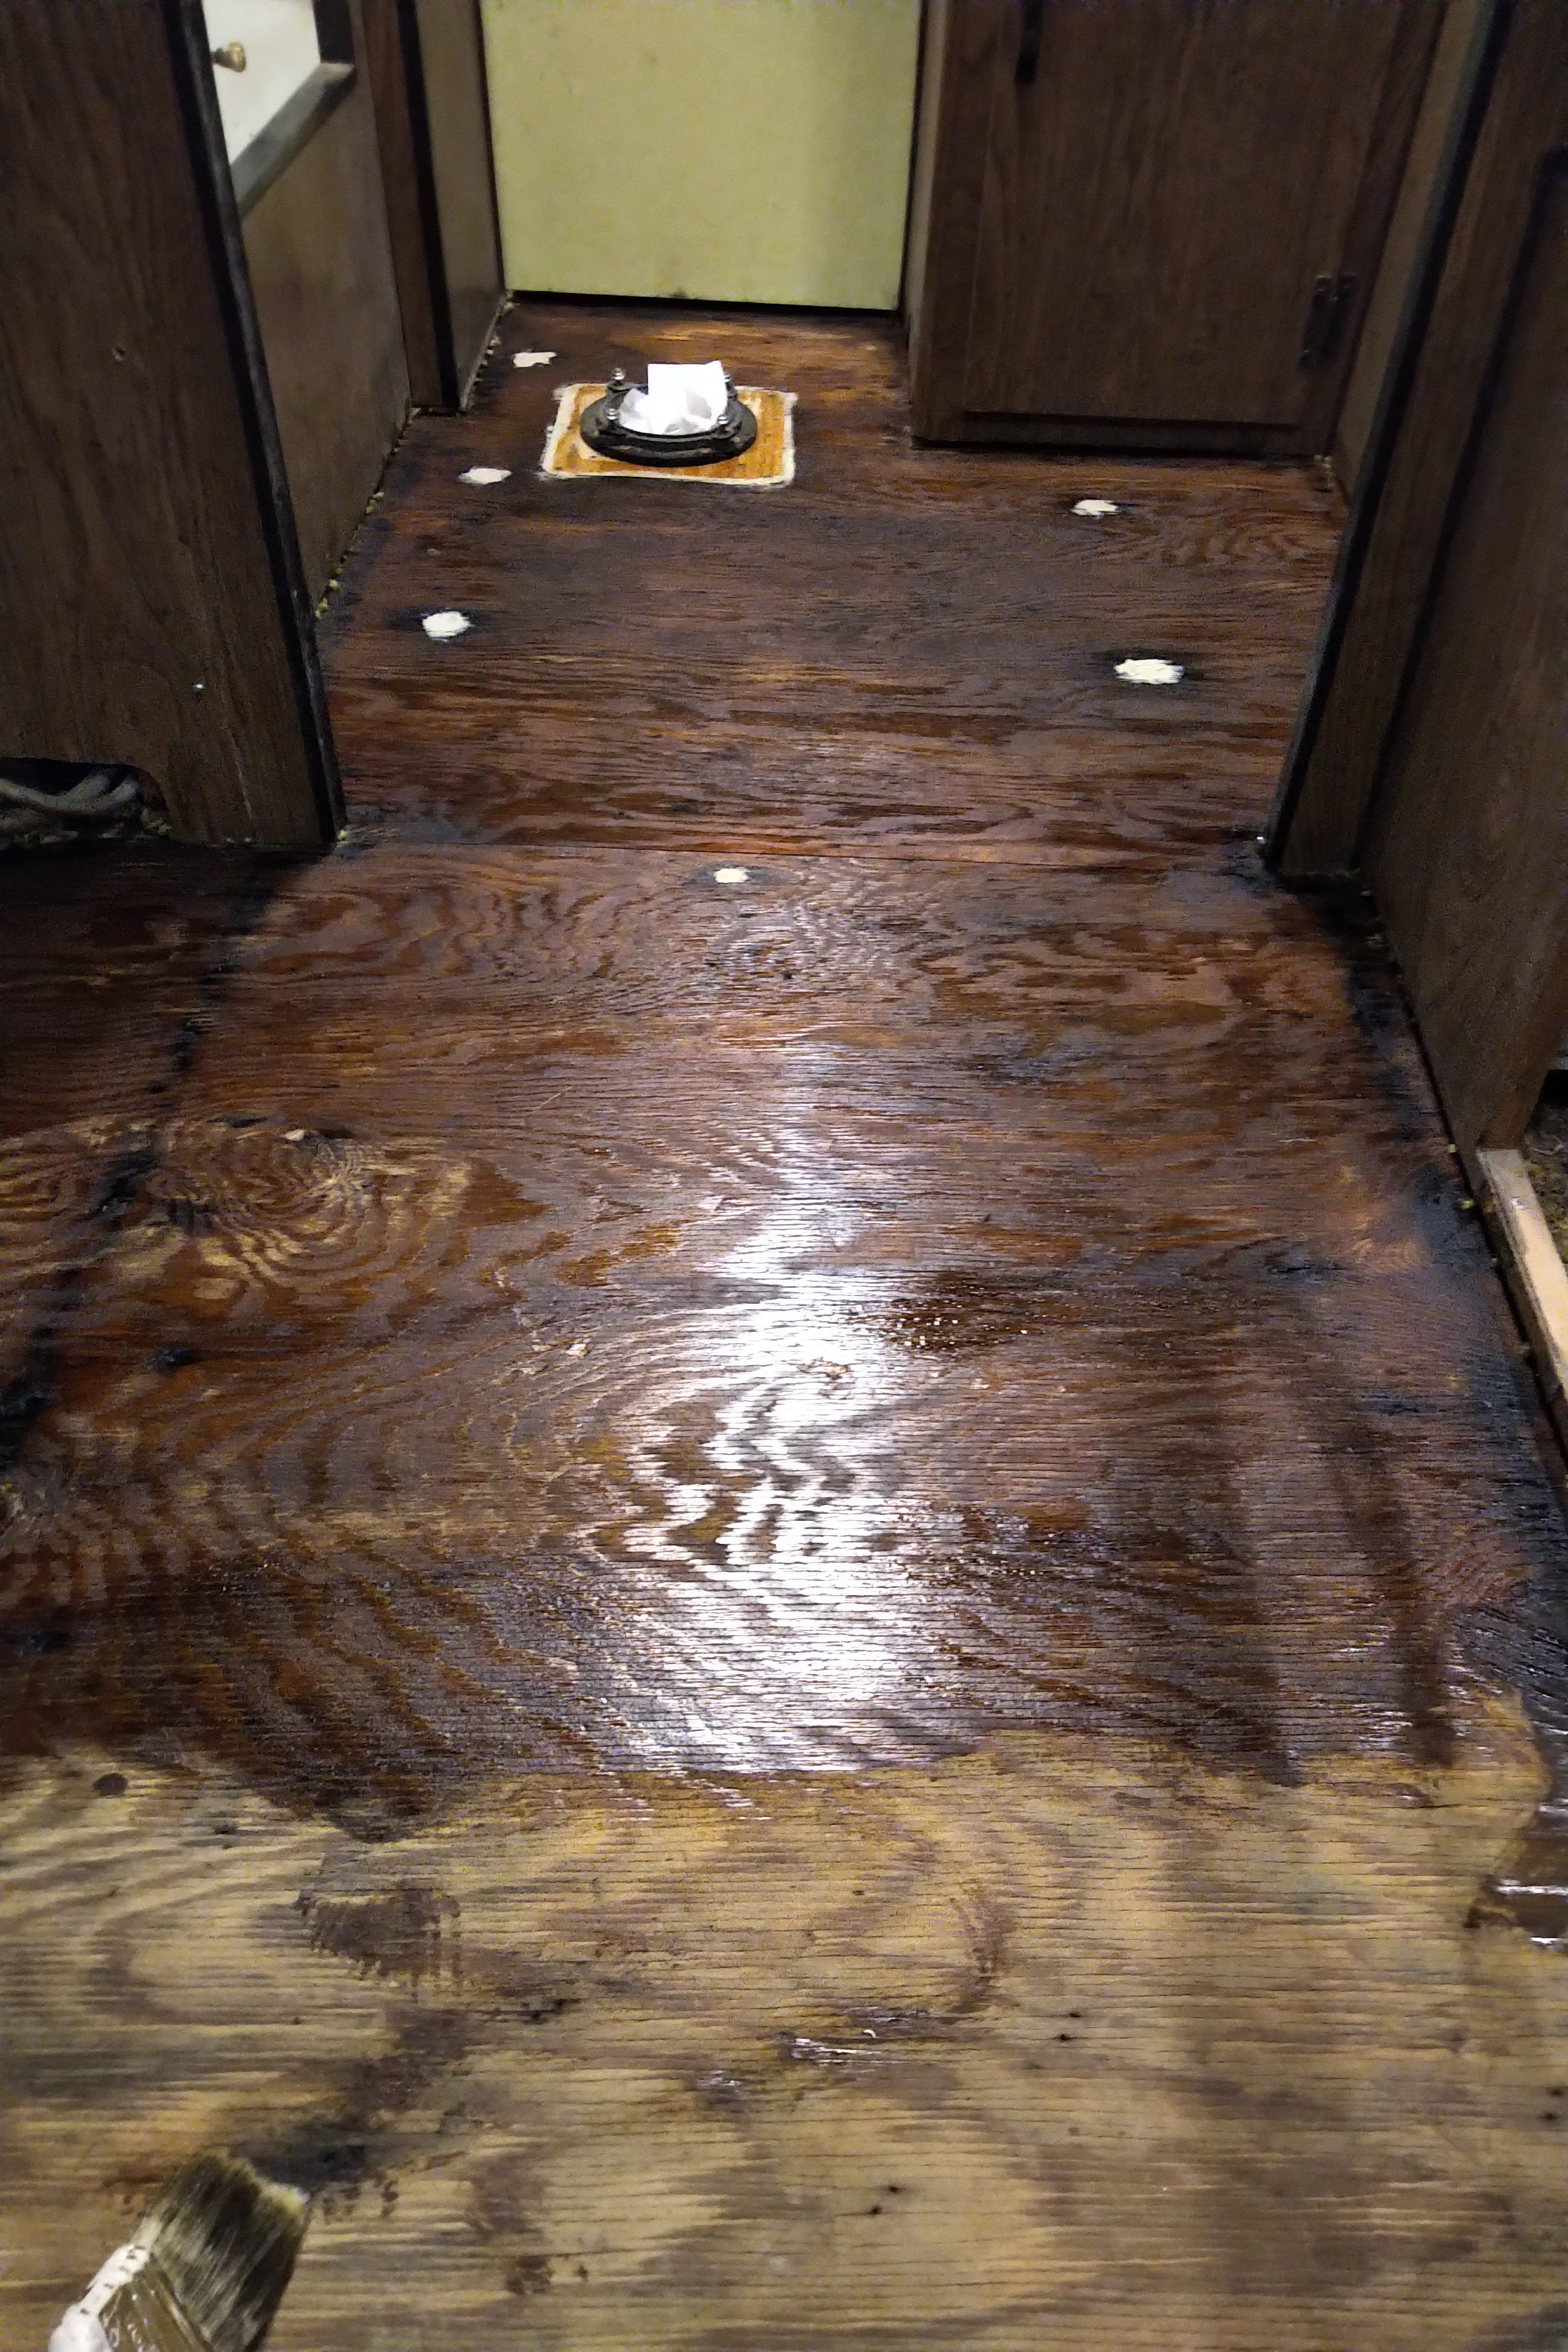
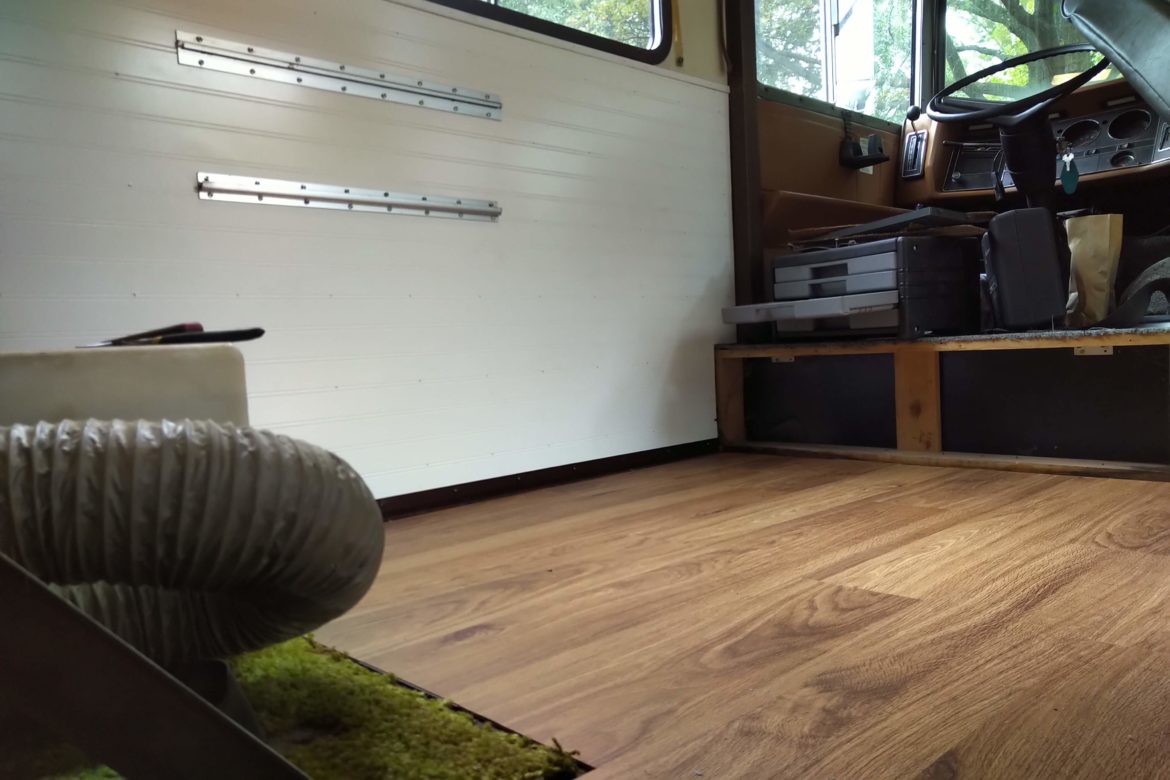
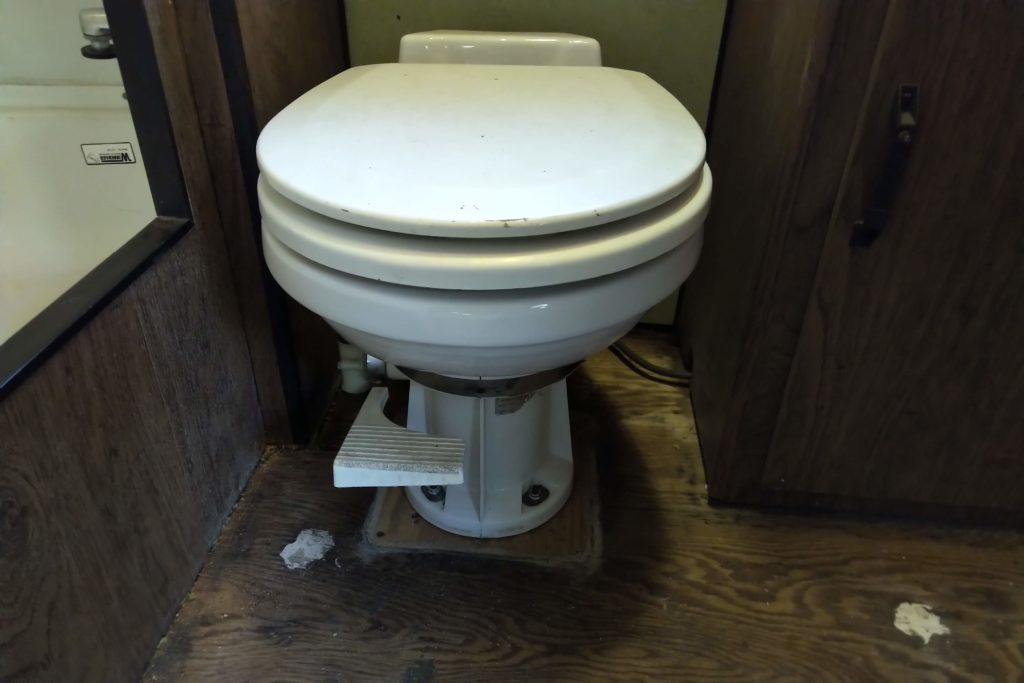
Next, the floor had to be prepped for the EZ Click flooring. Generally, not much prep other than sanding is required, but we went ahead and put some stain on the subfloor in case it does get wet in the future.
Next week, we’ll have a full flooring update and show the finished product. (You can see a sneak peek in the first photo, juxtaposed with the original green shag, which will thankfully be hidden by the dinette when it’s reinstalled.)
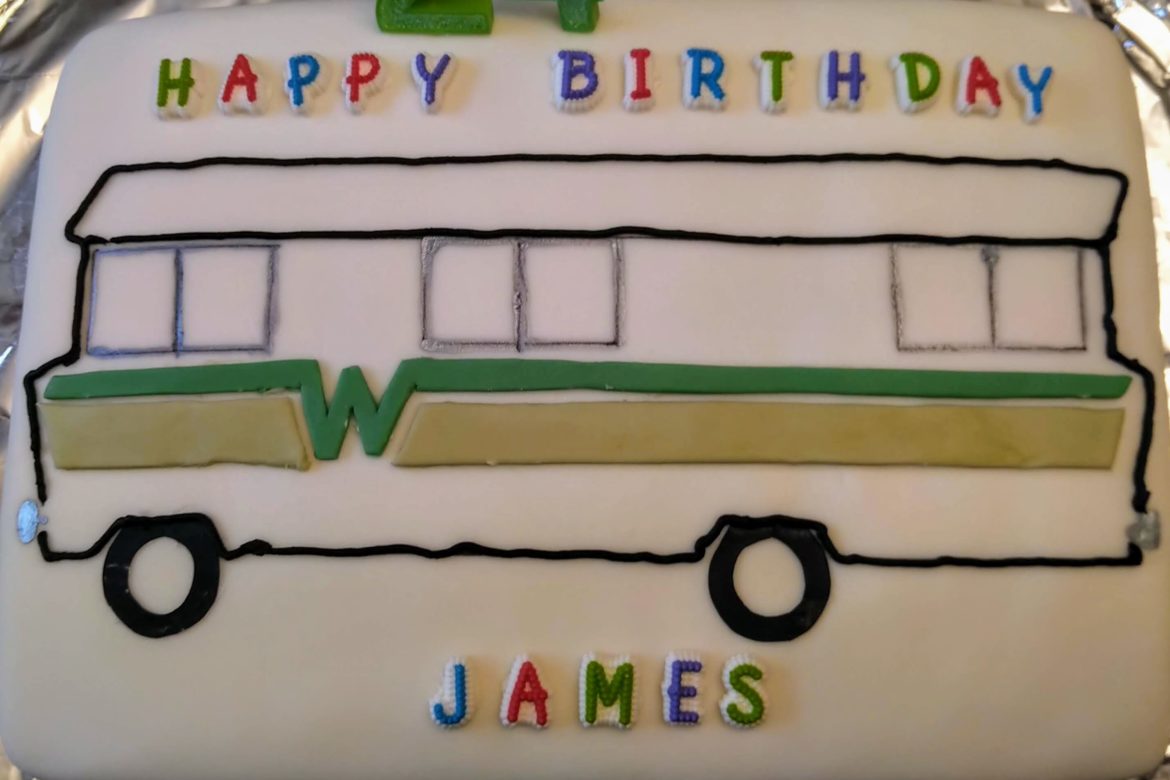
 The Winnebago has permeated into every aspect of my life, including my birthday cake. Mrs. Copeland really outdid herself this year with a first foray into fondant, which turned out to be quite the crowd pleaser.
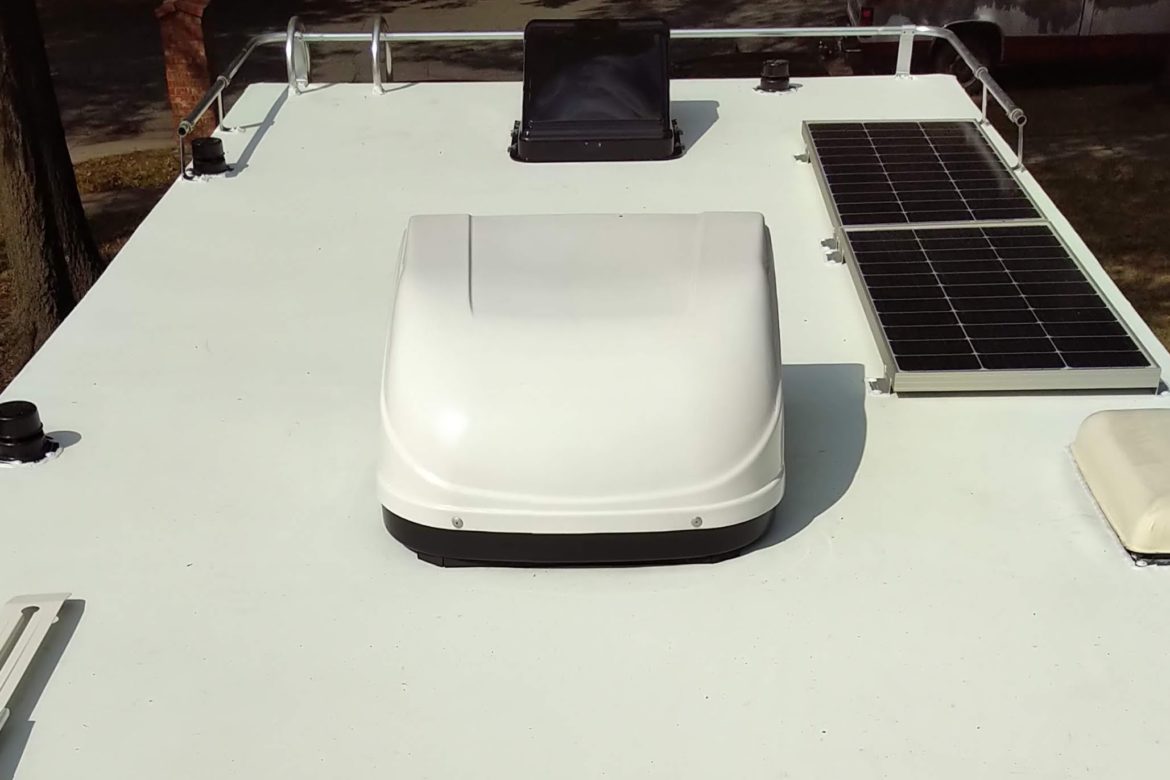
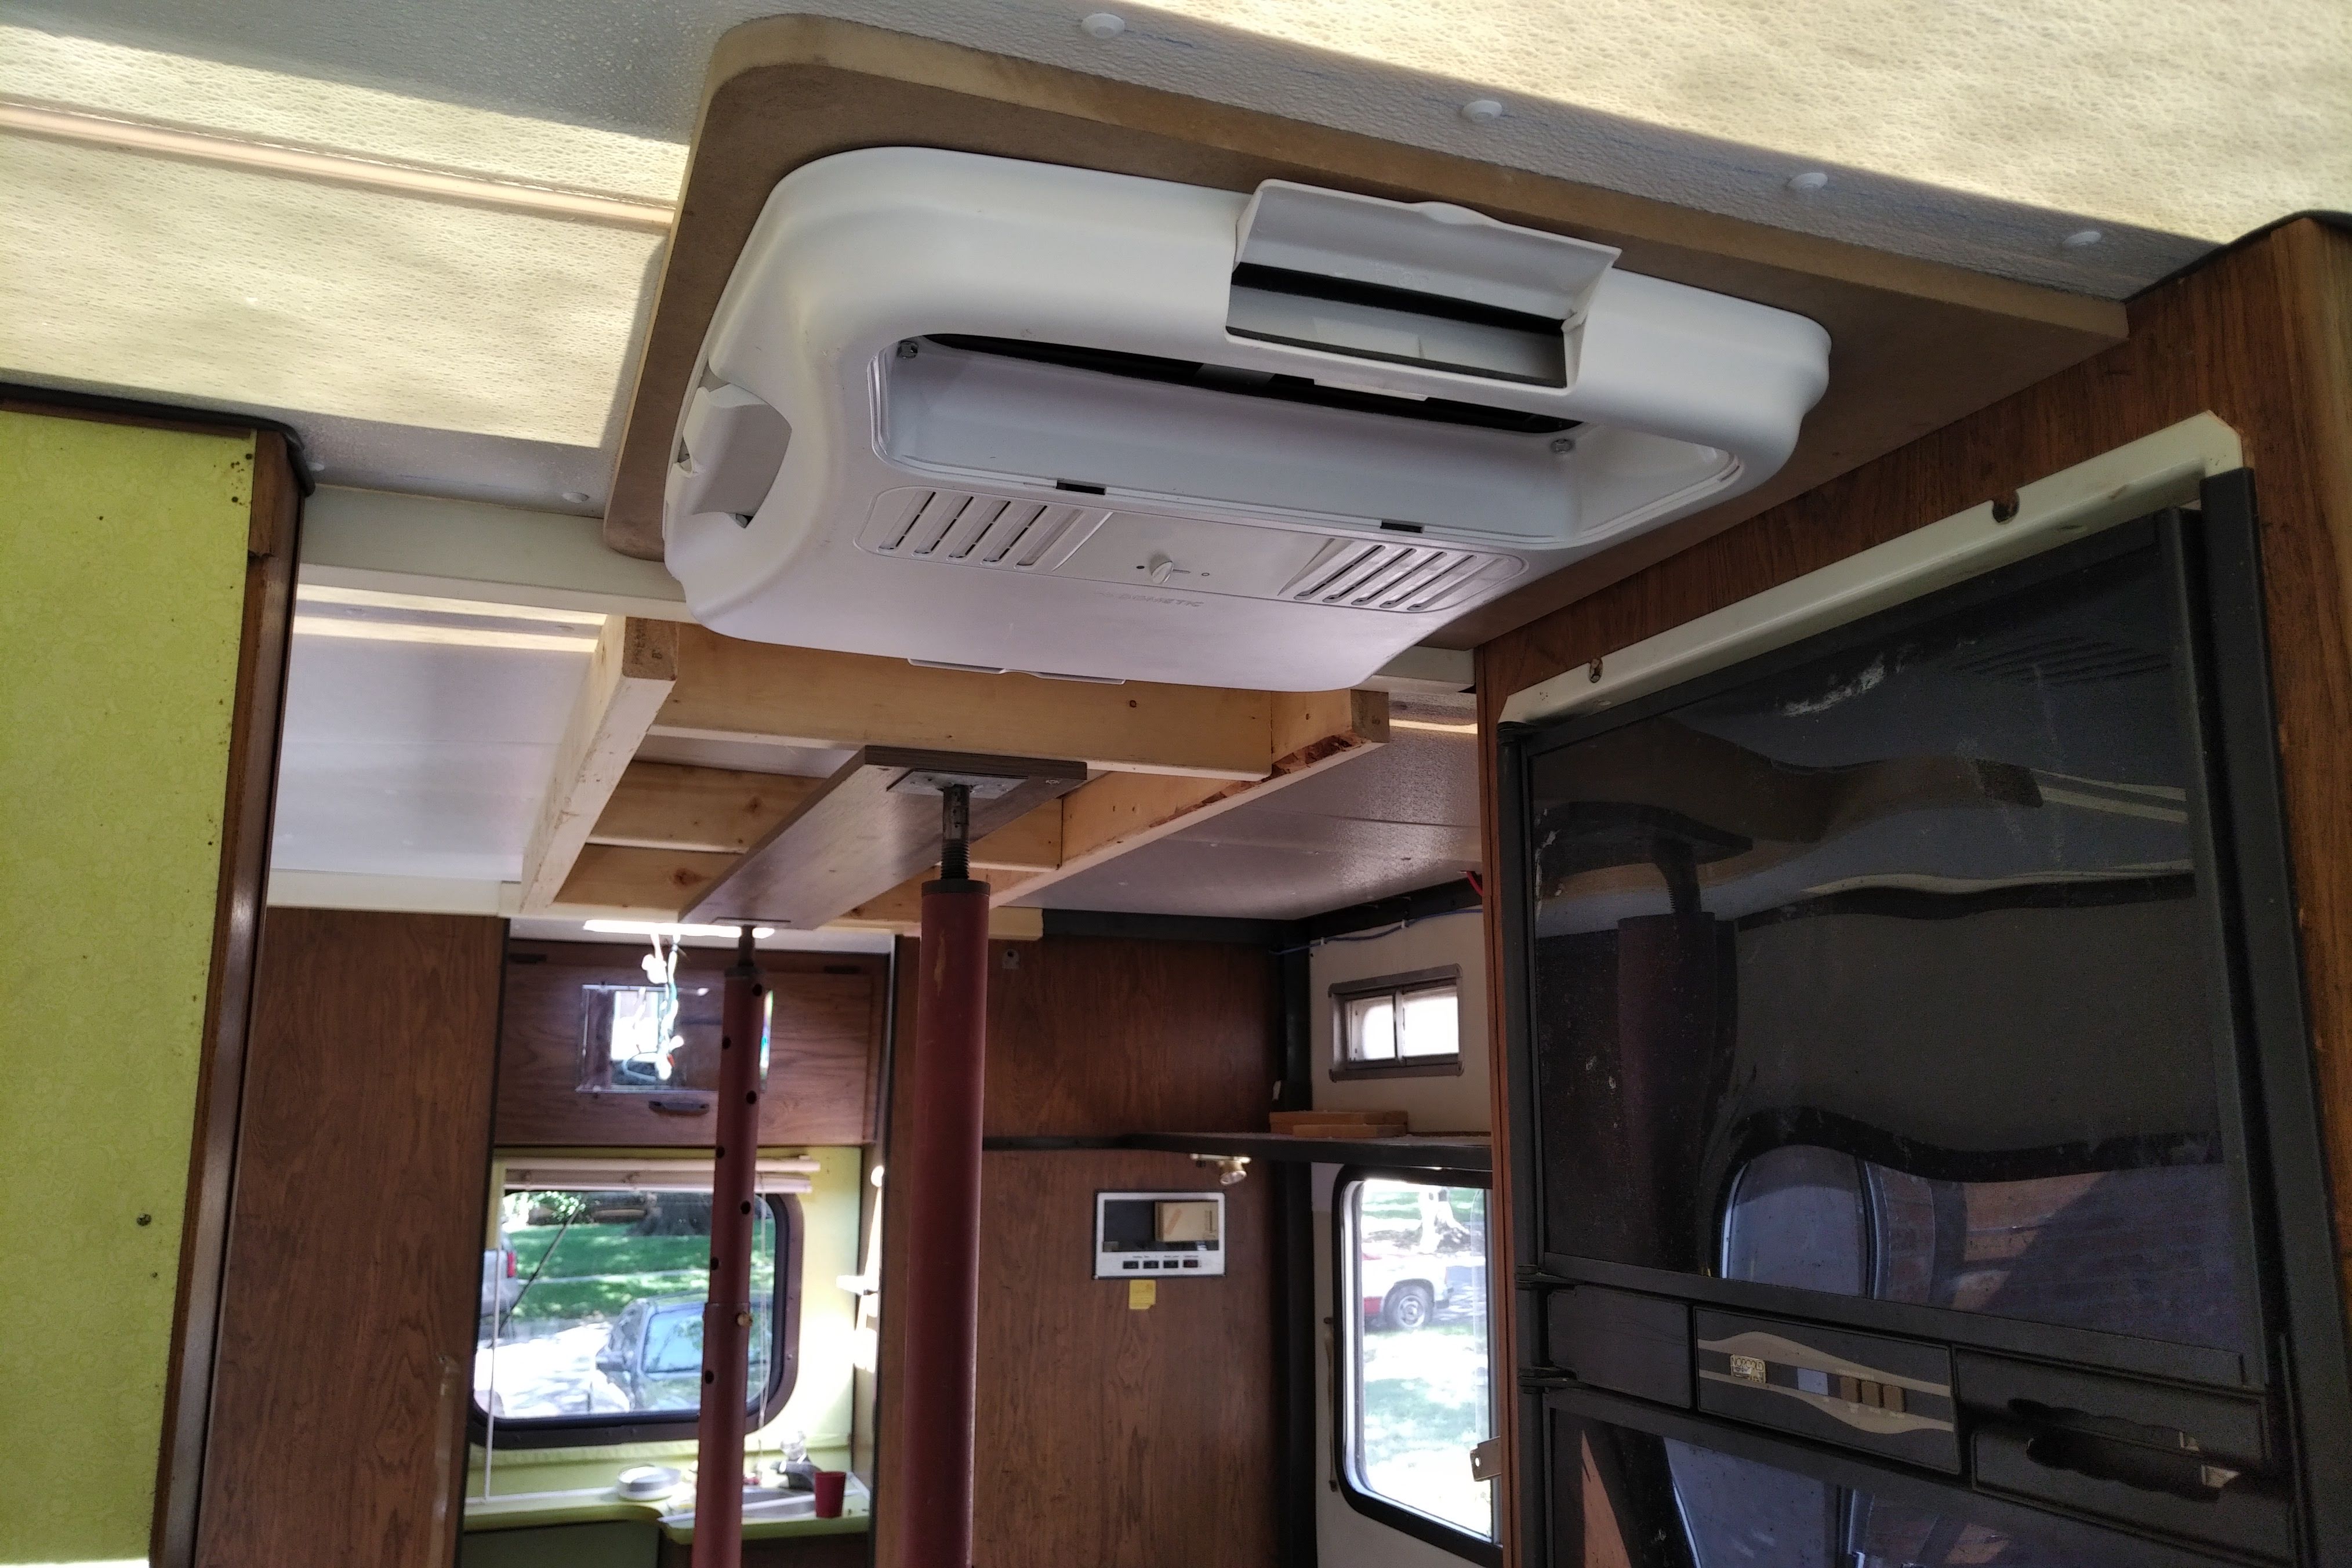
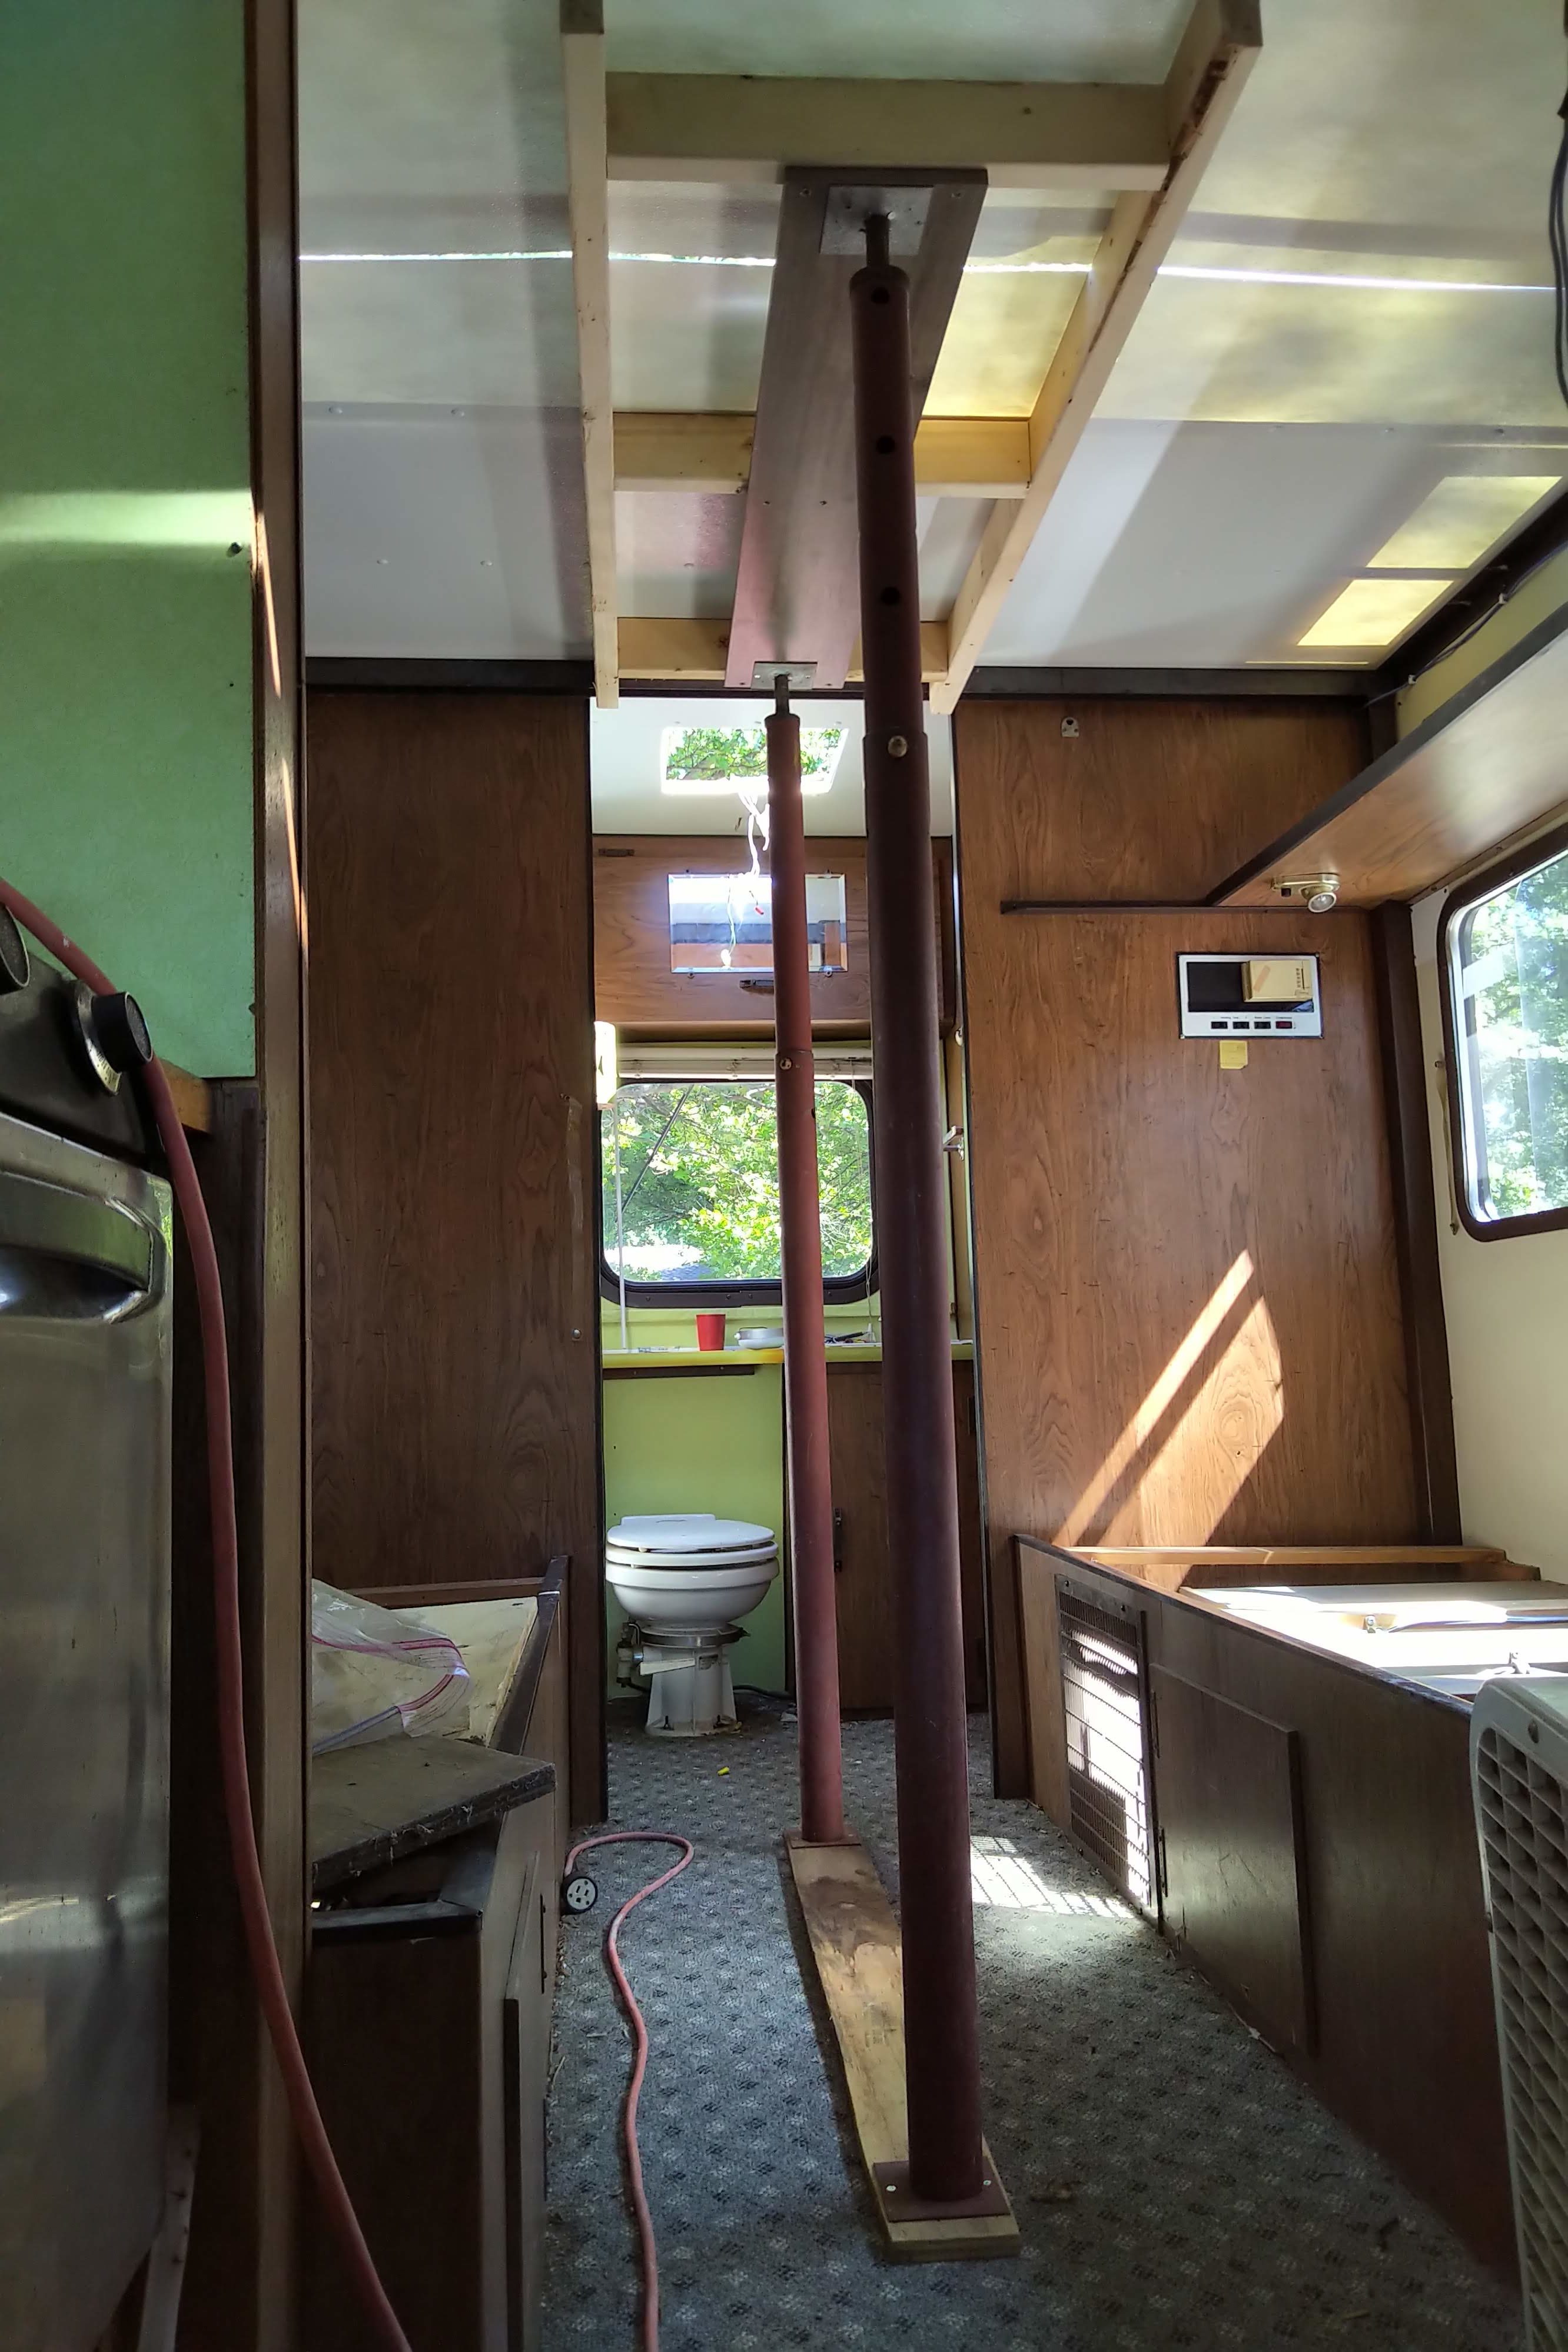
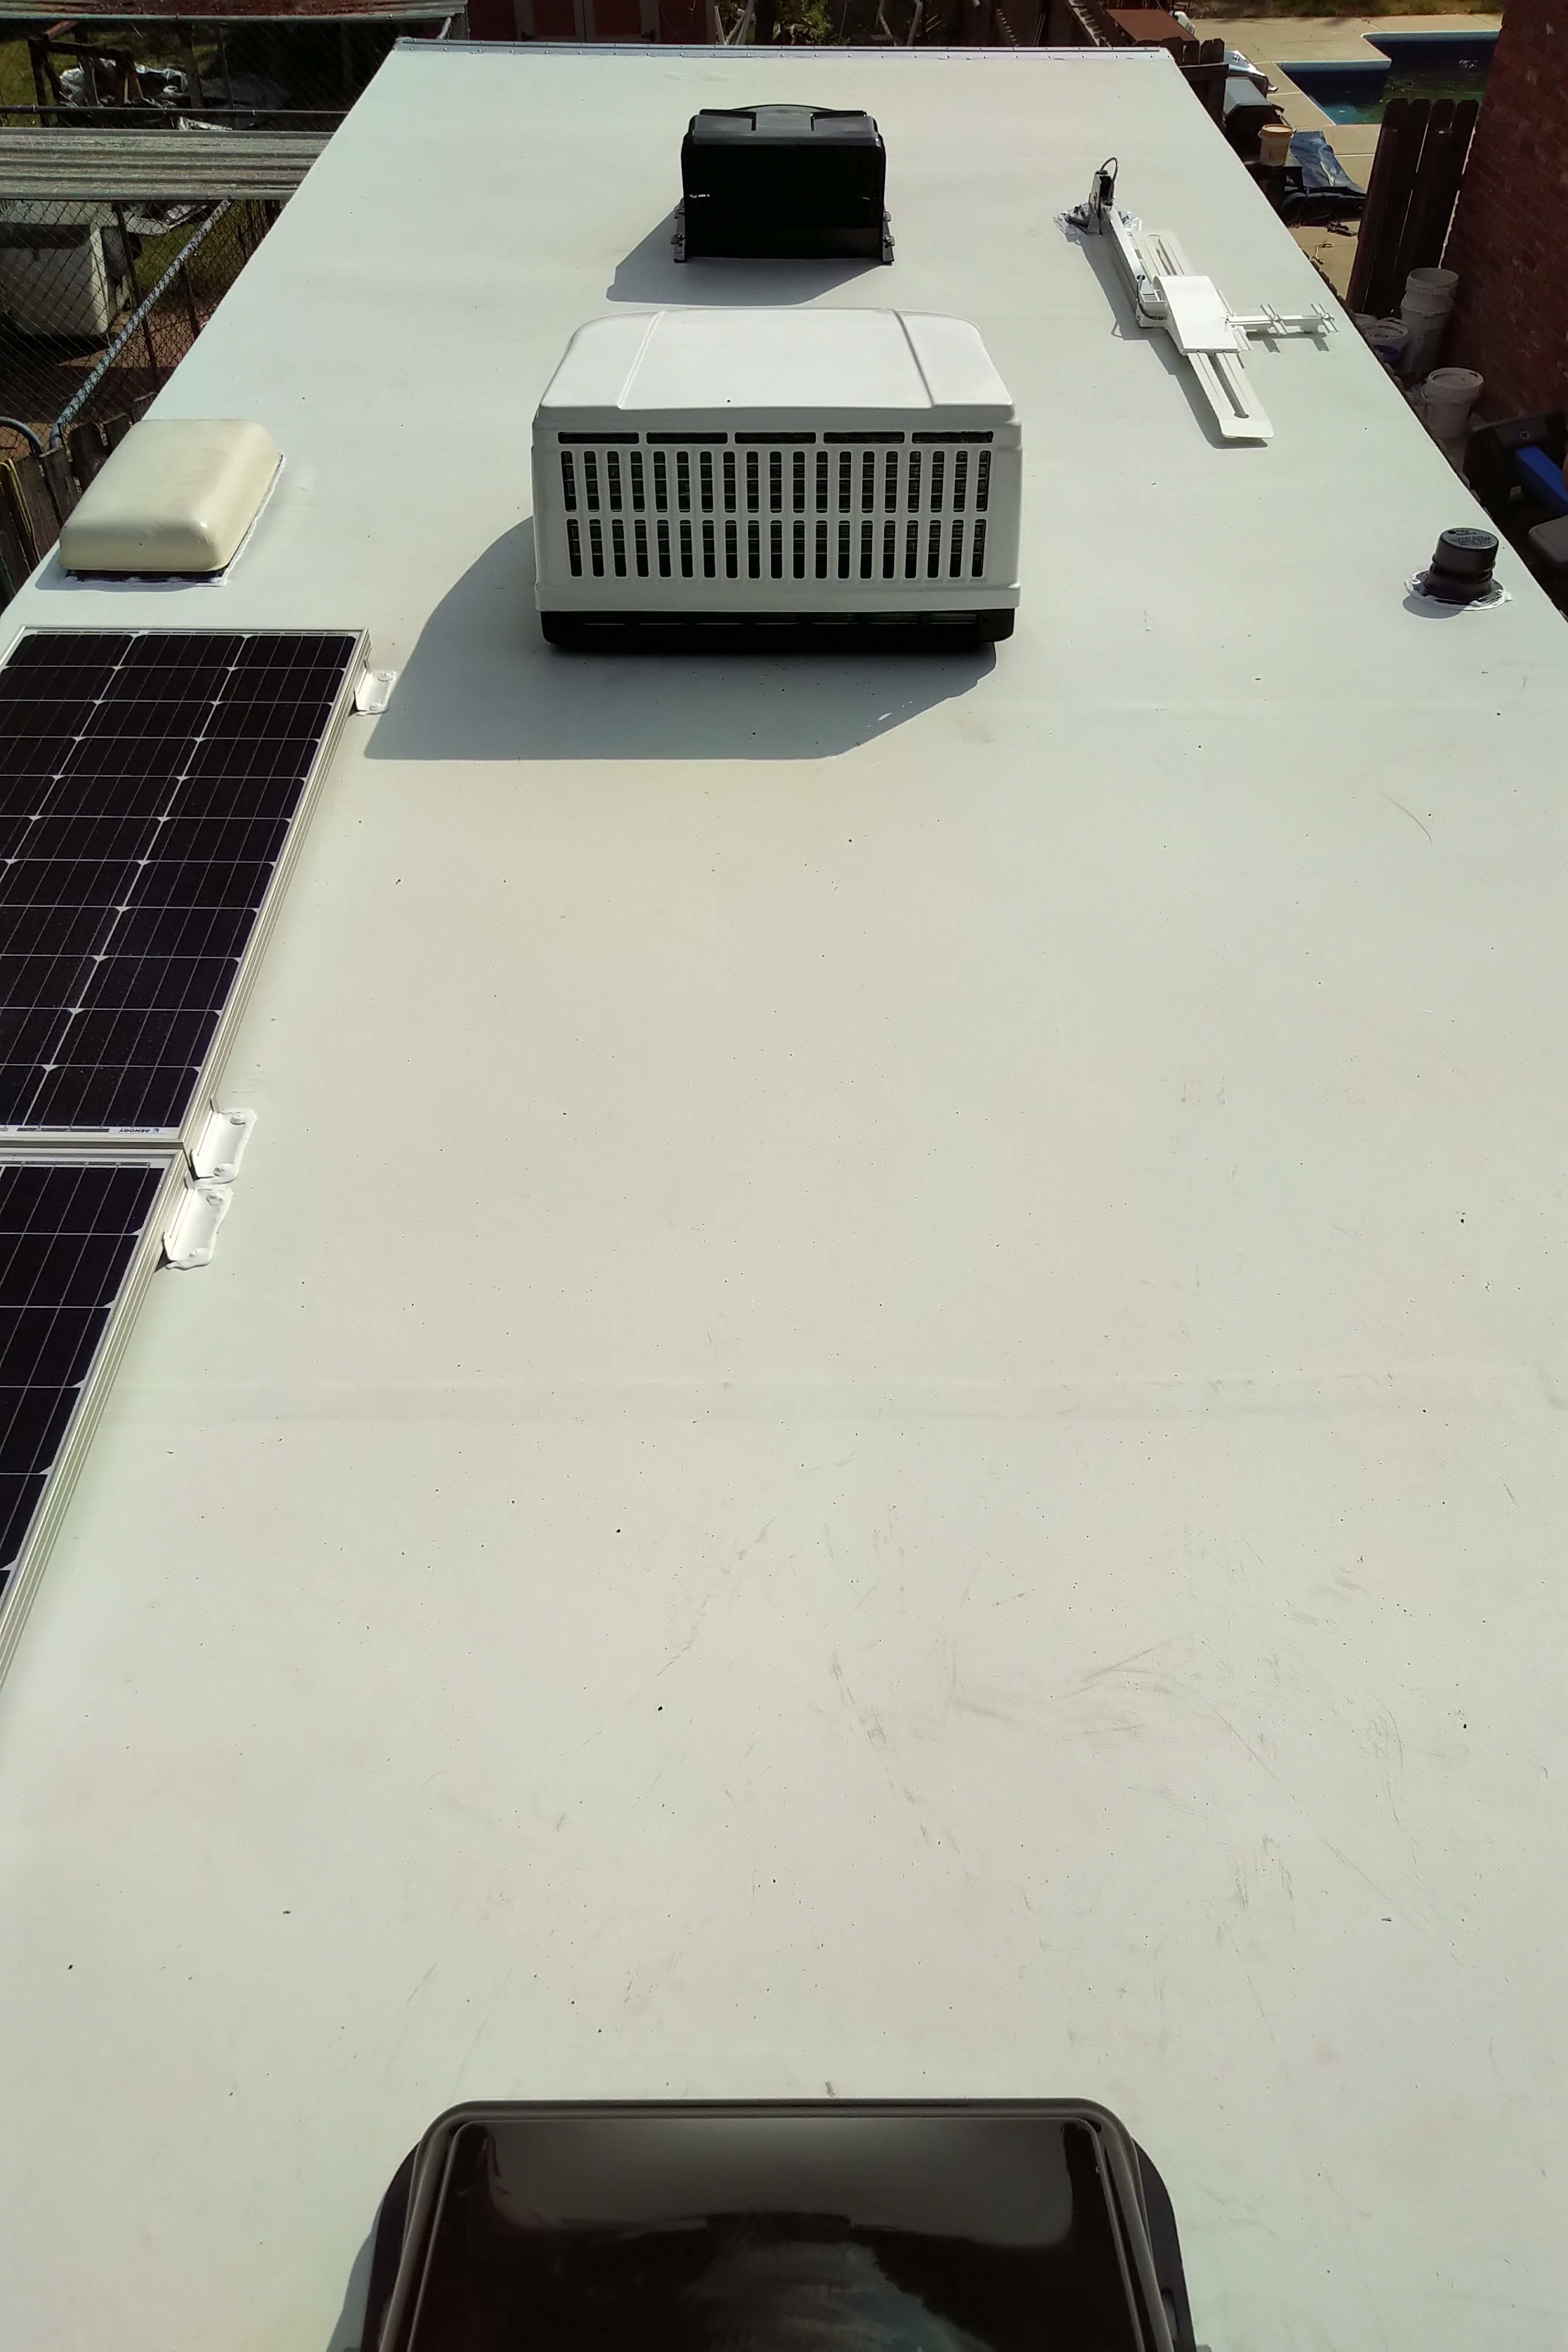 I thought I might never type those words, but here we are, with a roof that has survived its first storm! One air conditioner, two powered vents with covers, one refrigerator vent, two solar panels, one TV antenna, one antenna junction box, and one luggage rack and a ladder make up the inhabitants of the roof, plus a few sundry plumbing vents. Everything is buttoned up with Butyl tape and self-leveling sealant, and I’m quite pleased with the results.
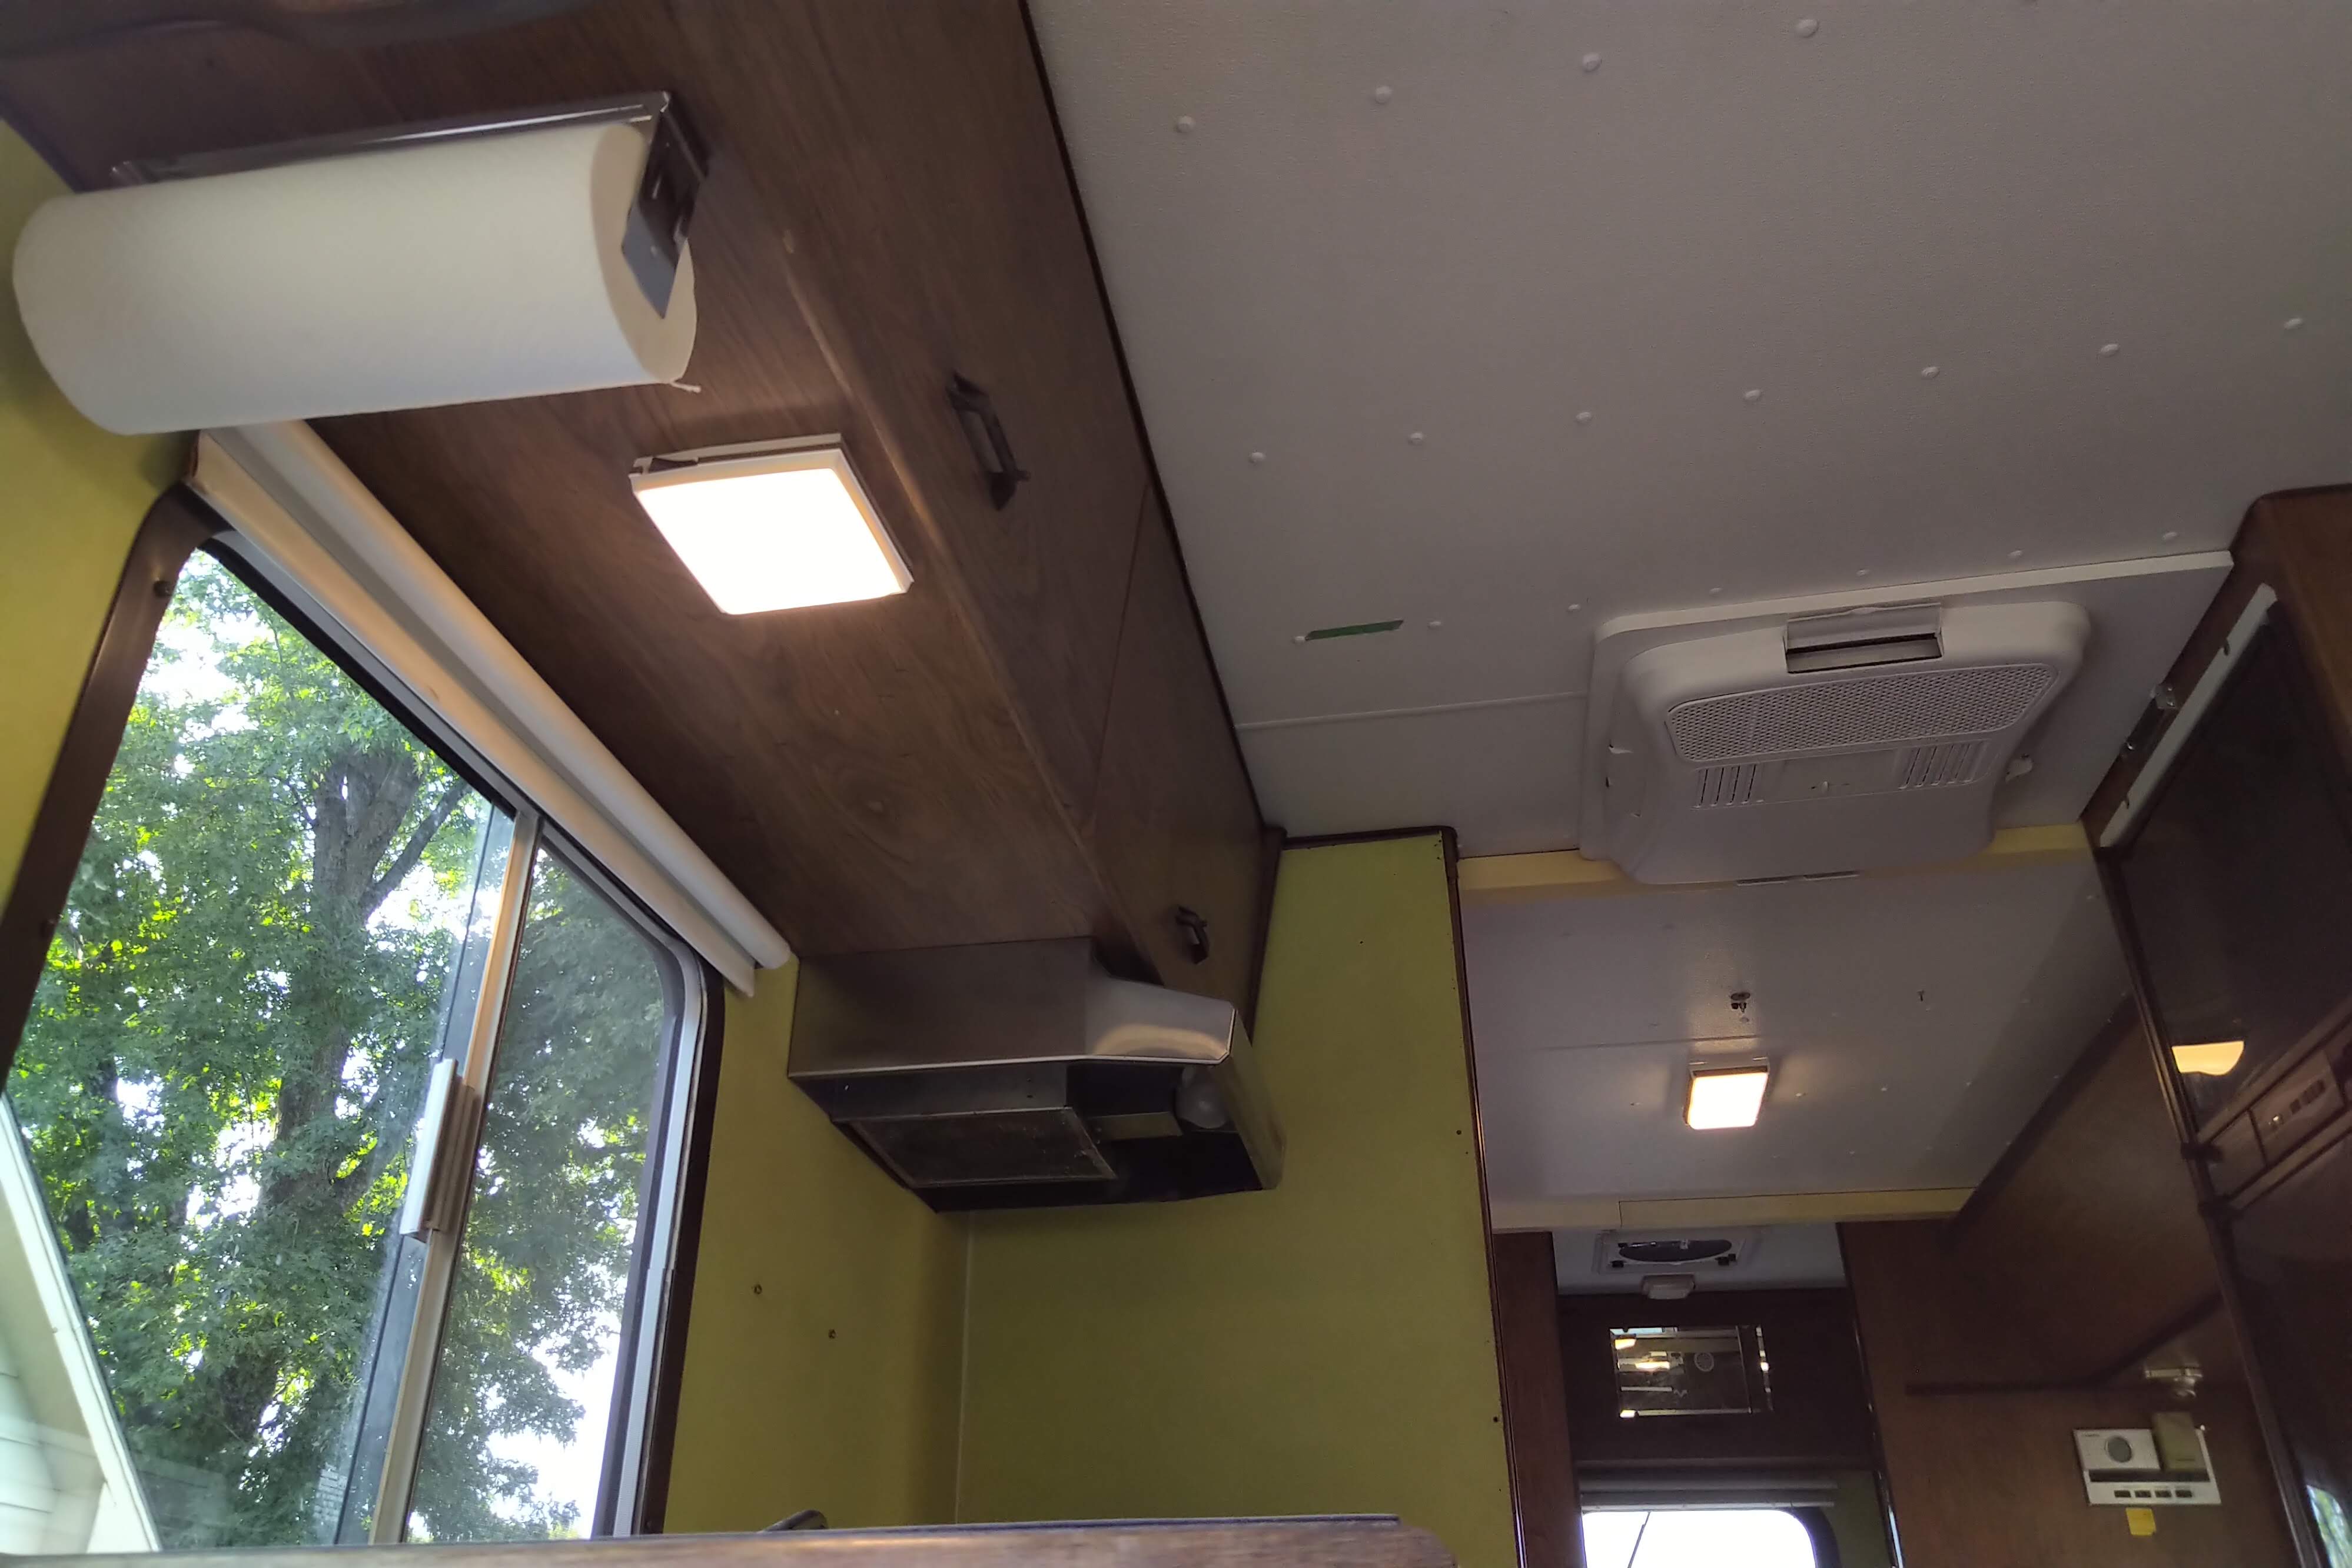
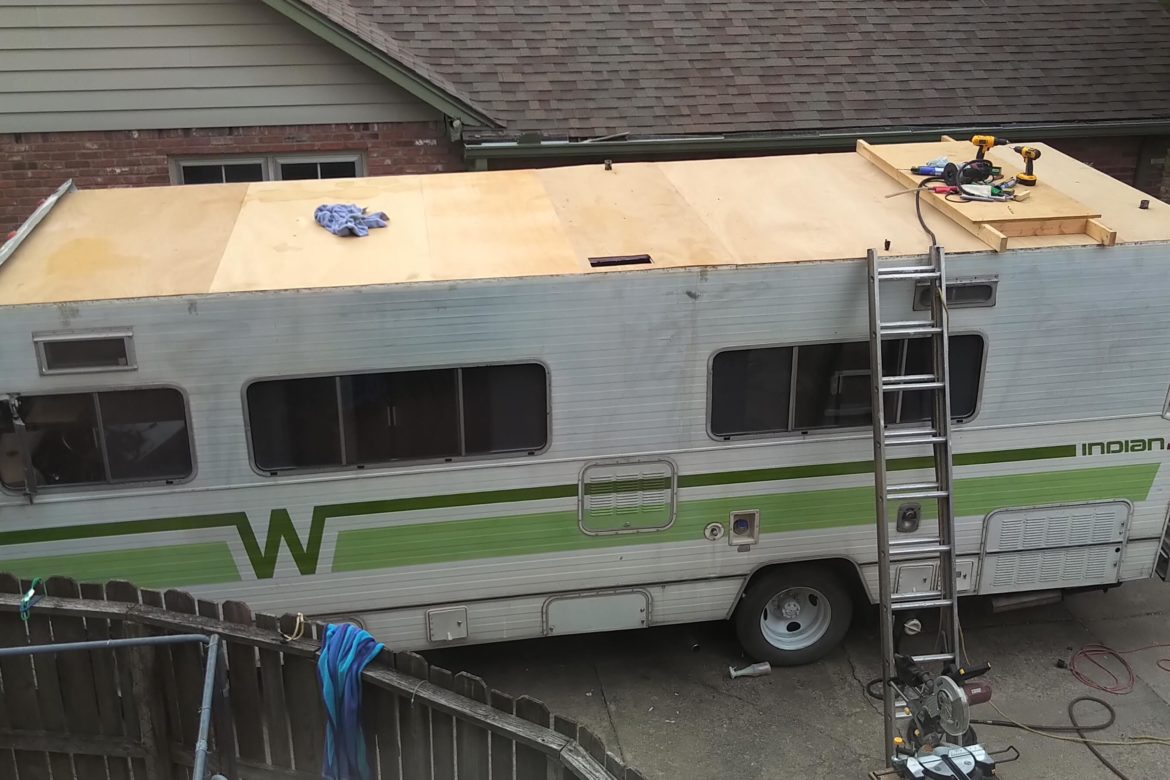
 They say painting a house is 90 percent surface preparation and 10 percent actual painting. That’s how a Winnebago roof seems to be as well. We finally got the roof material (TPO) applied after literally months of preparation. Before that could happen, the remainder of the direct current wiring was tucked away and lauan plywood was applied on top of everything.
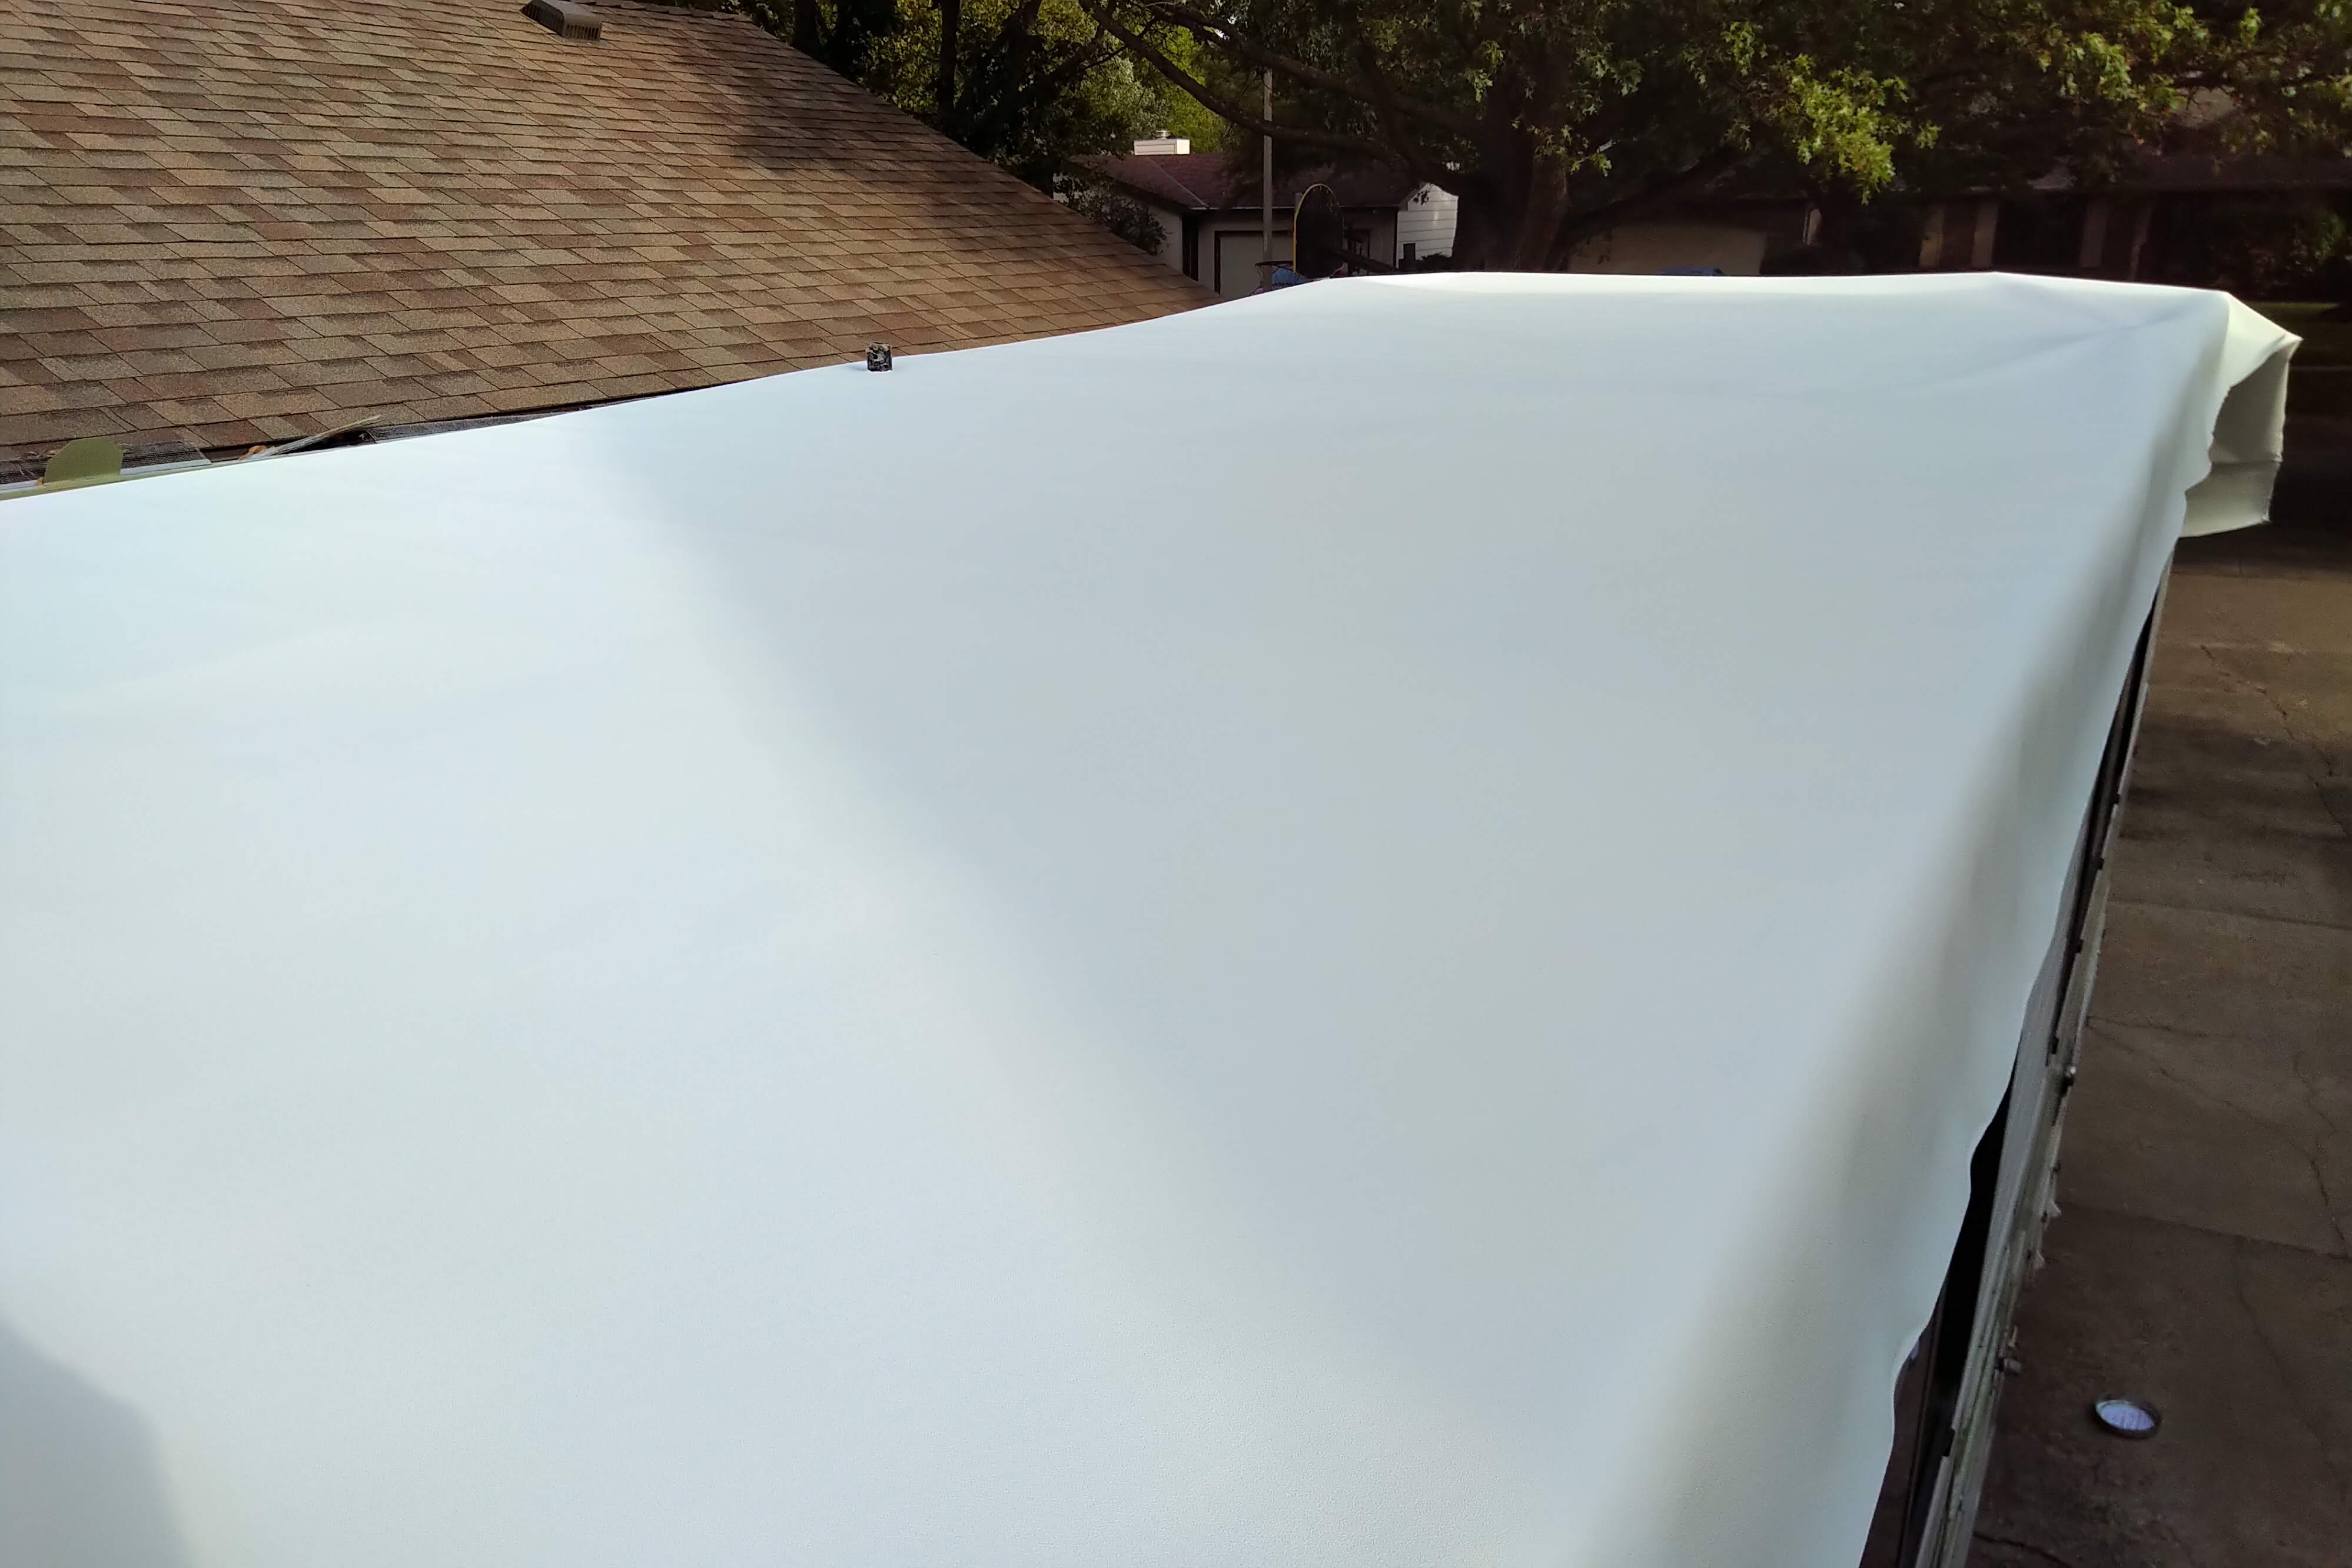
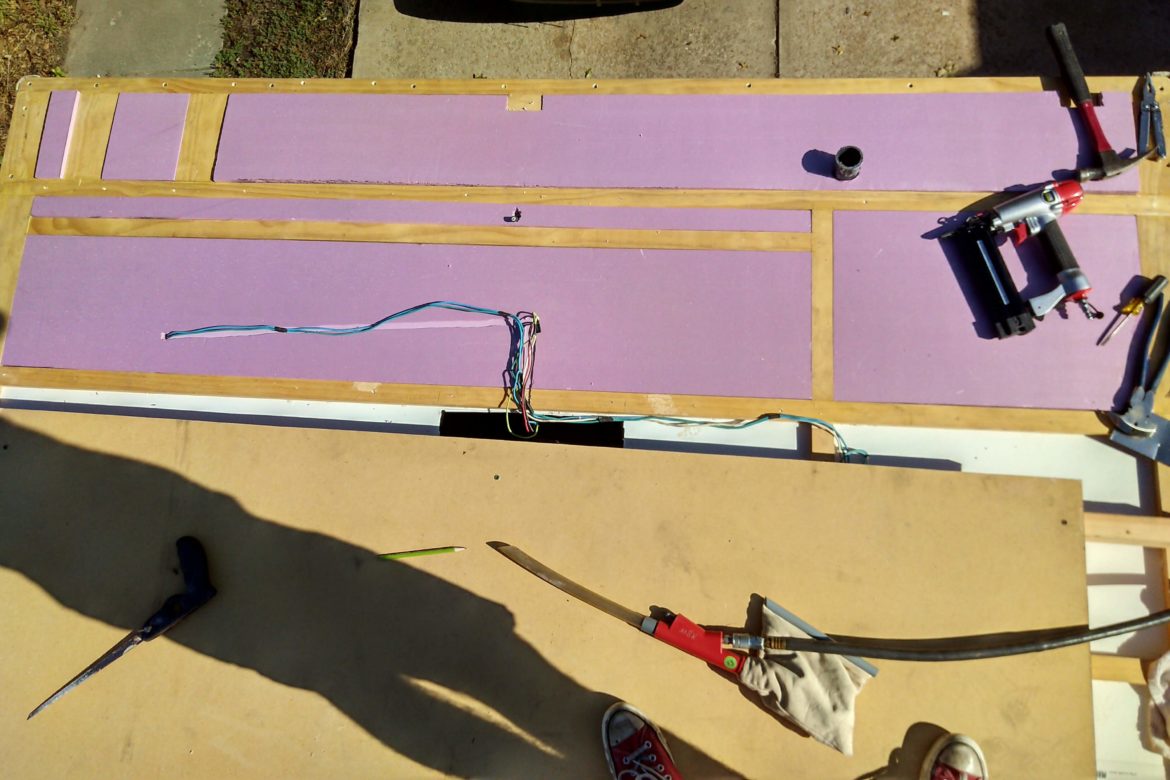
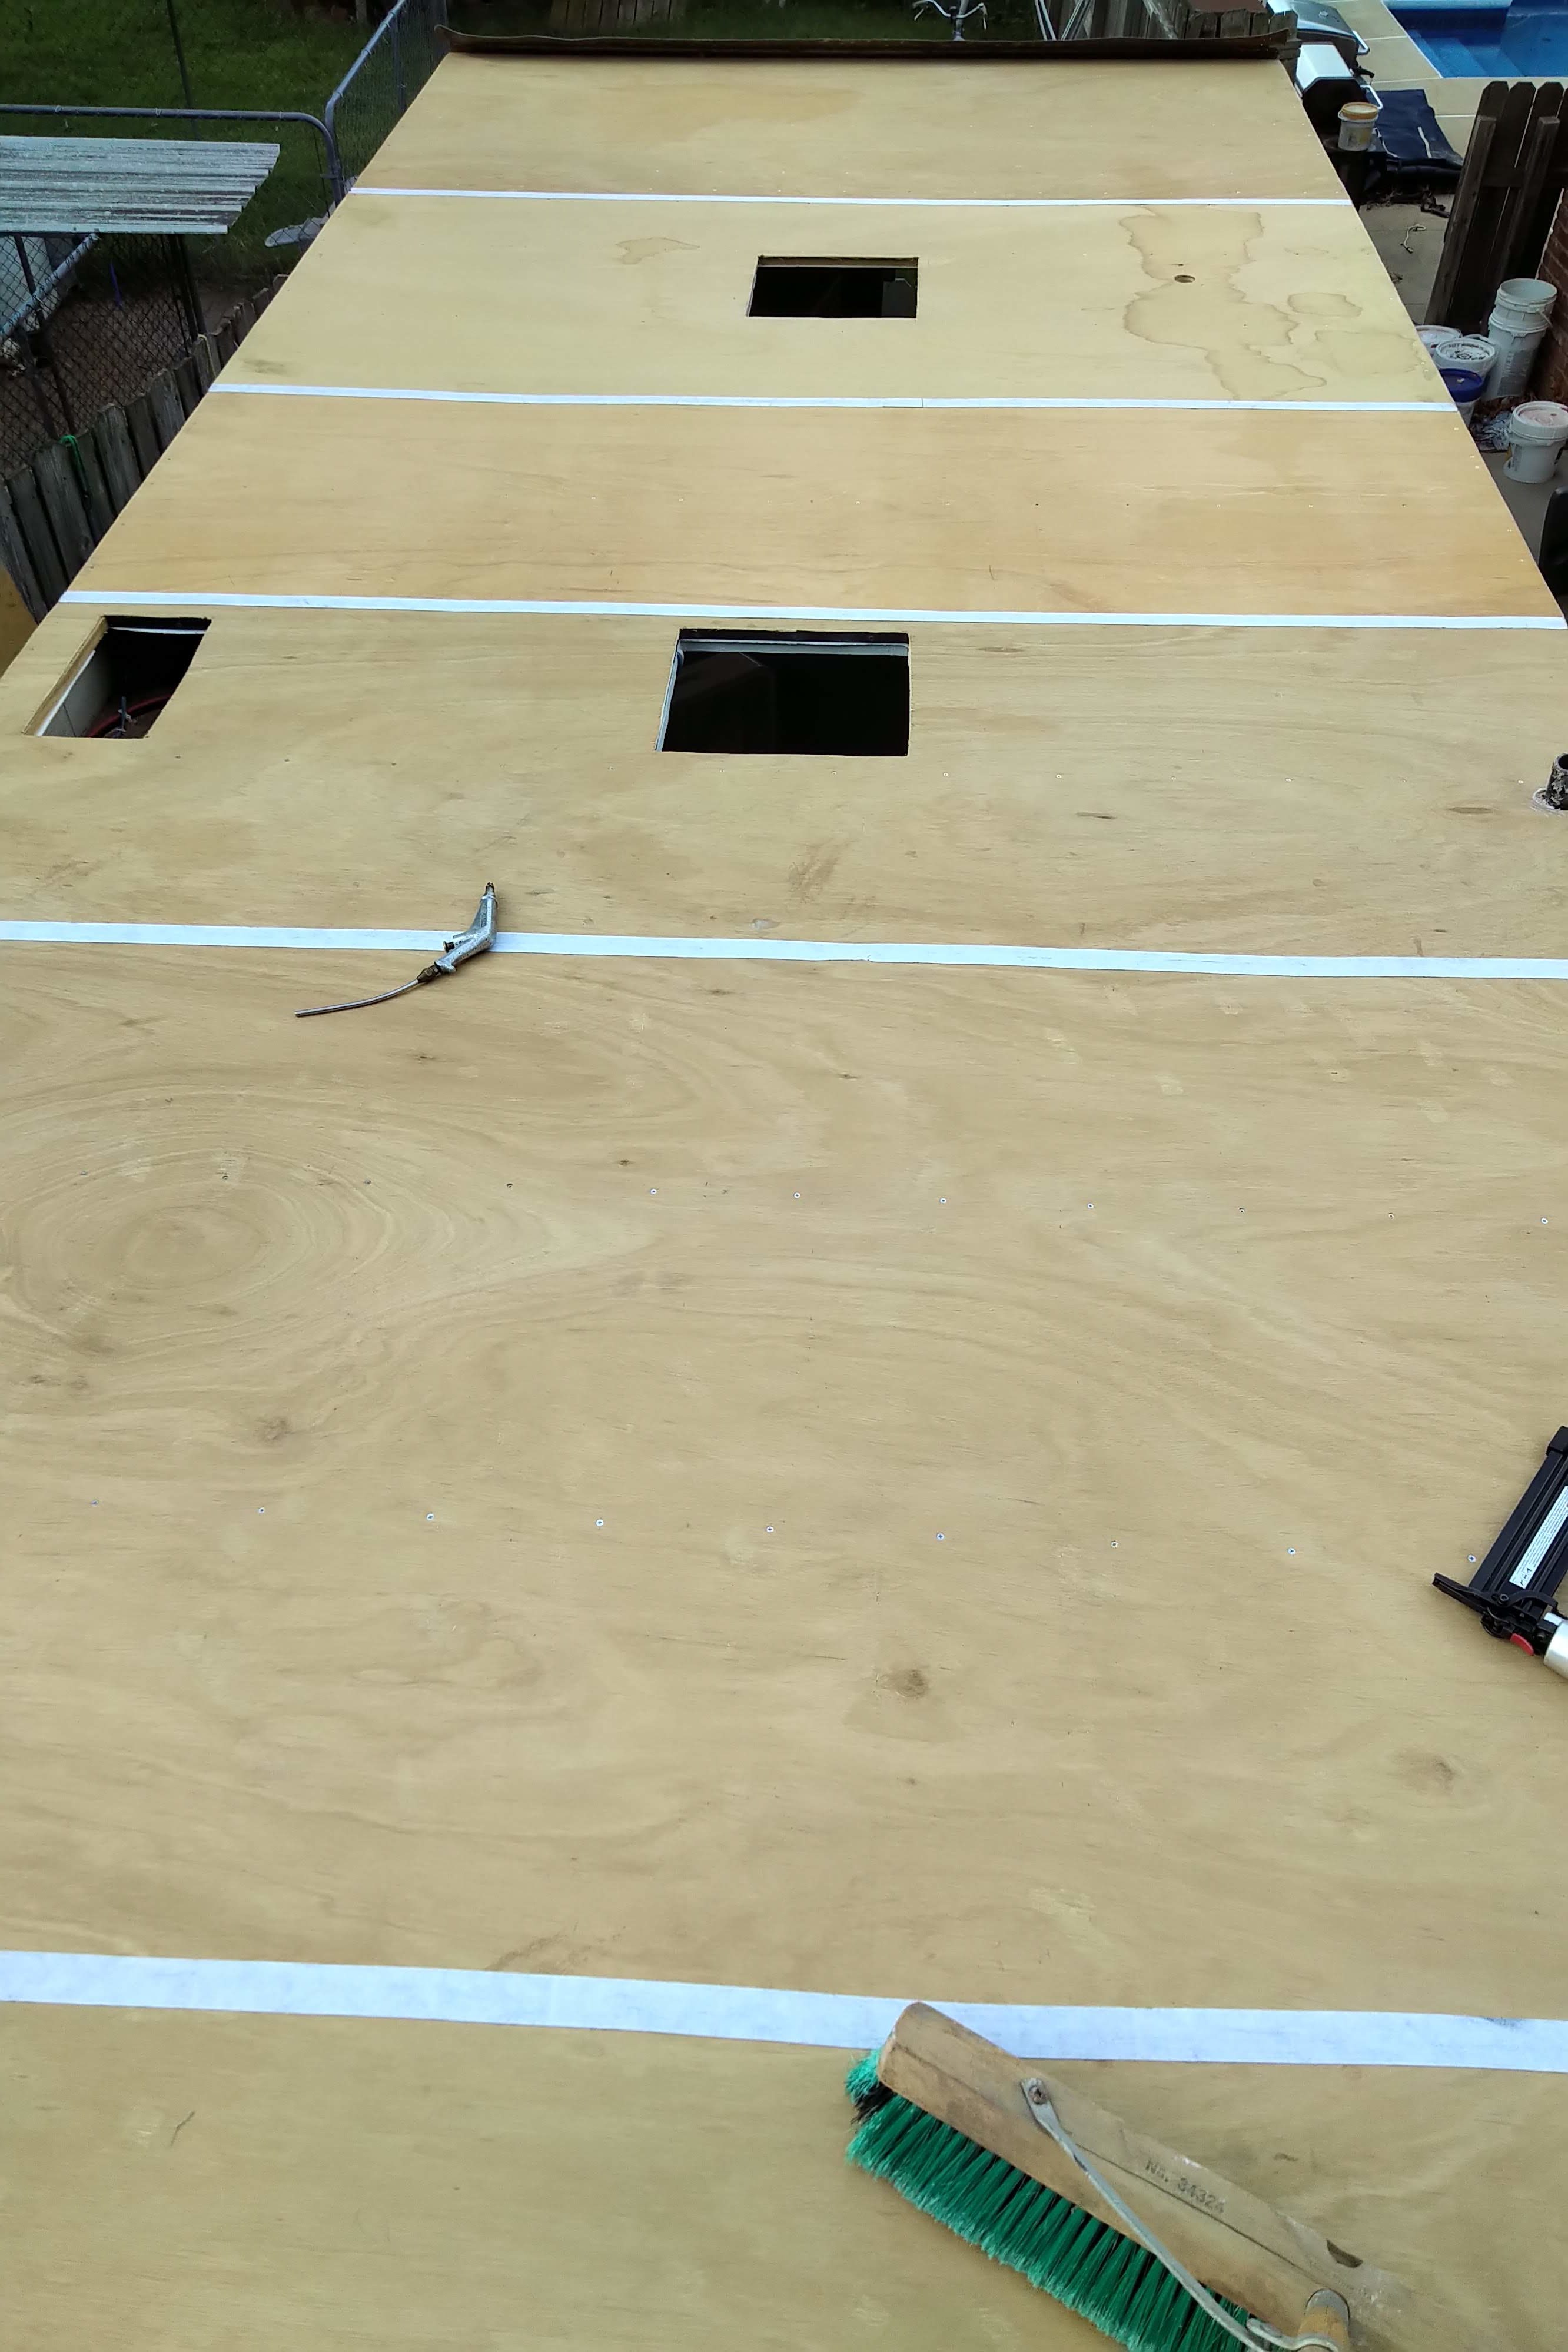
 Finally, some dry weather to get this roof thing finished. Progress has been great as we cut and fit insulation, route wires and custom build everything as we go. Progressing from the back to the front of the vehicle, holes for the rear vent/fan and air conditioner have been cut, and the wiring harnesses have been modified for the new roof structure. In between the wood is 3/4 inch extruded polystyrene insulation. Eventually a thin sheet of plywood will be put on top of this, and the entire works will be bonded together.