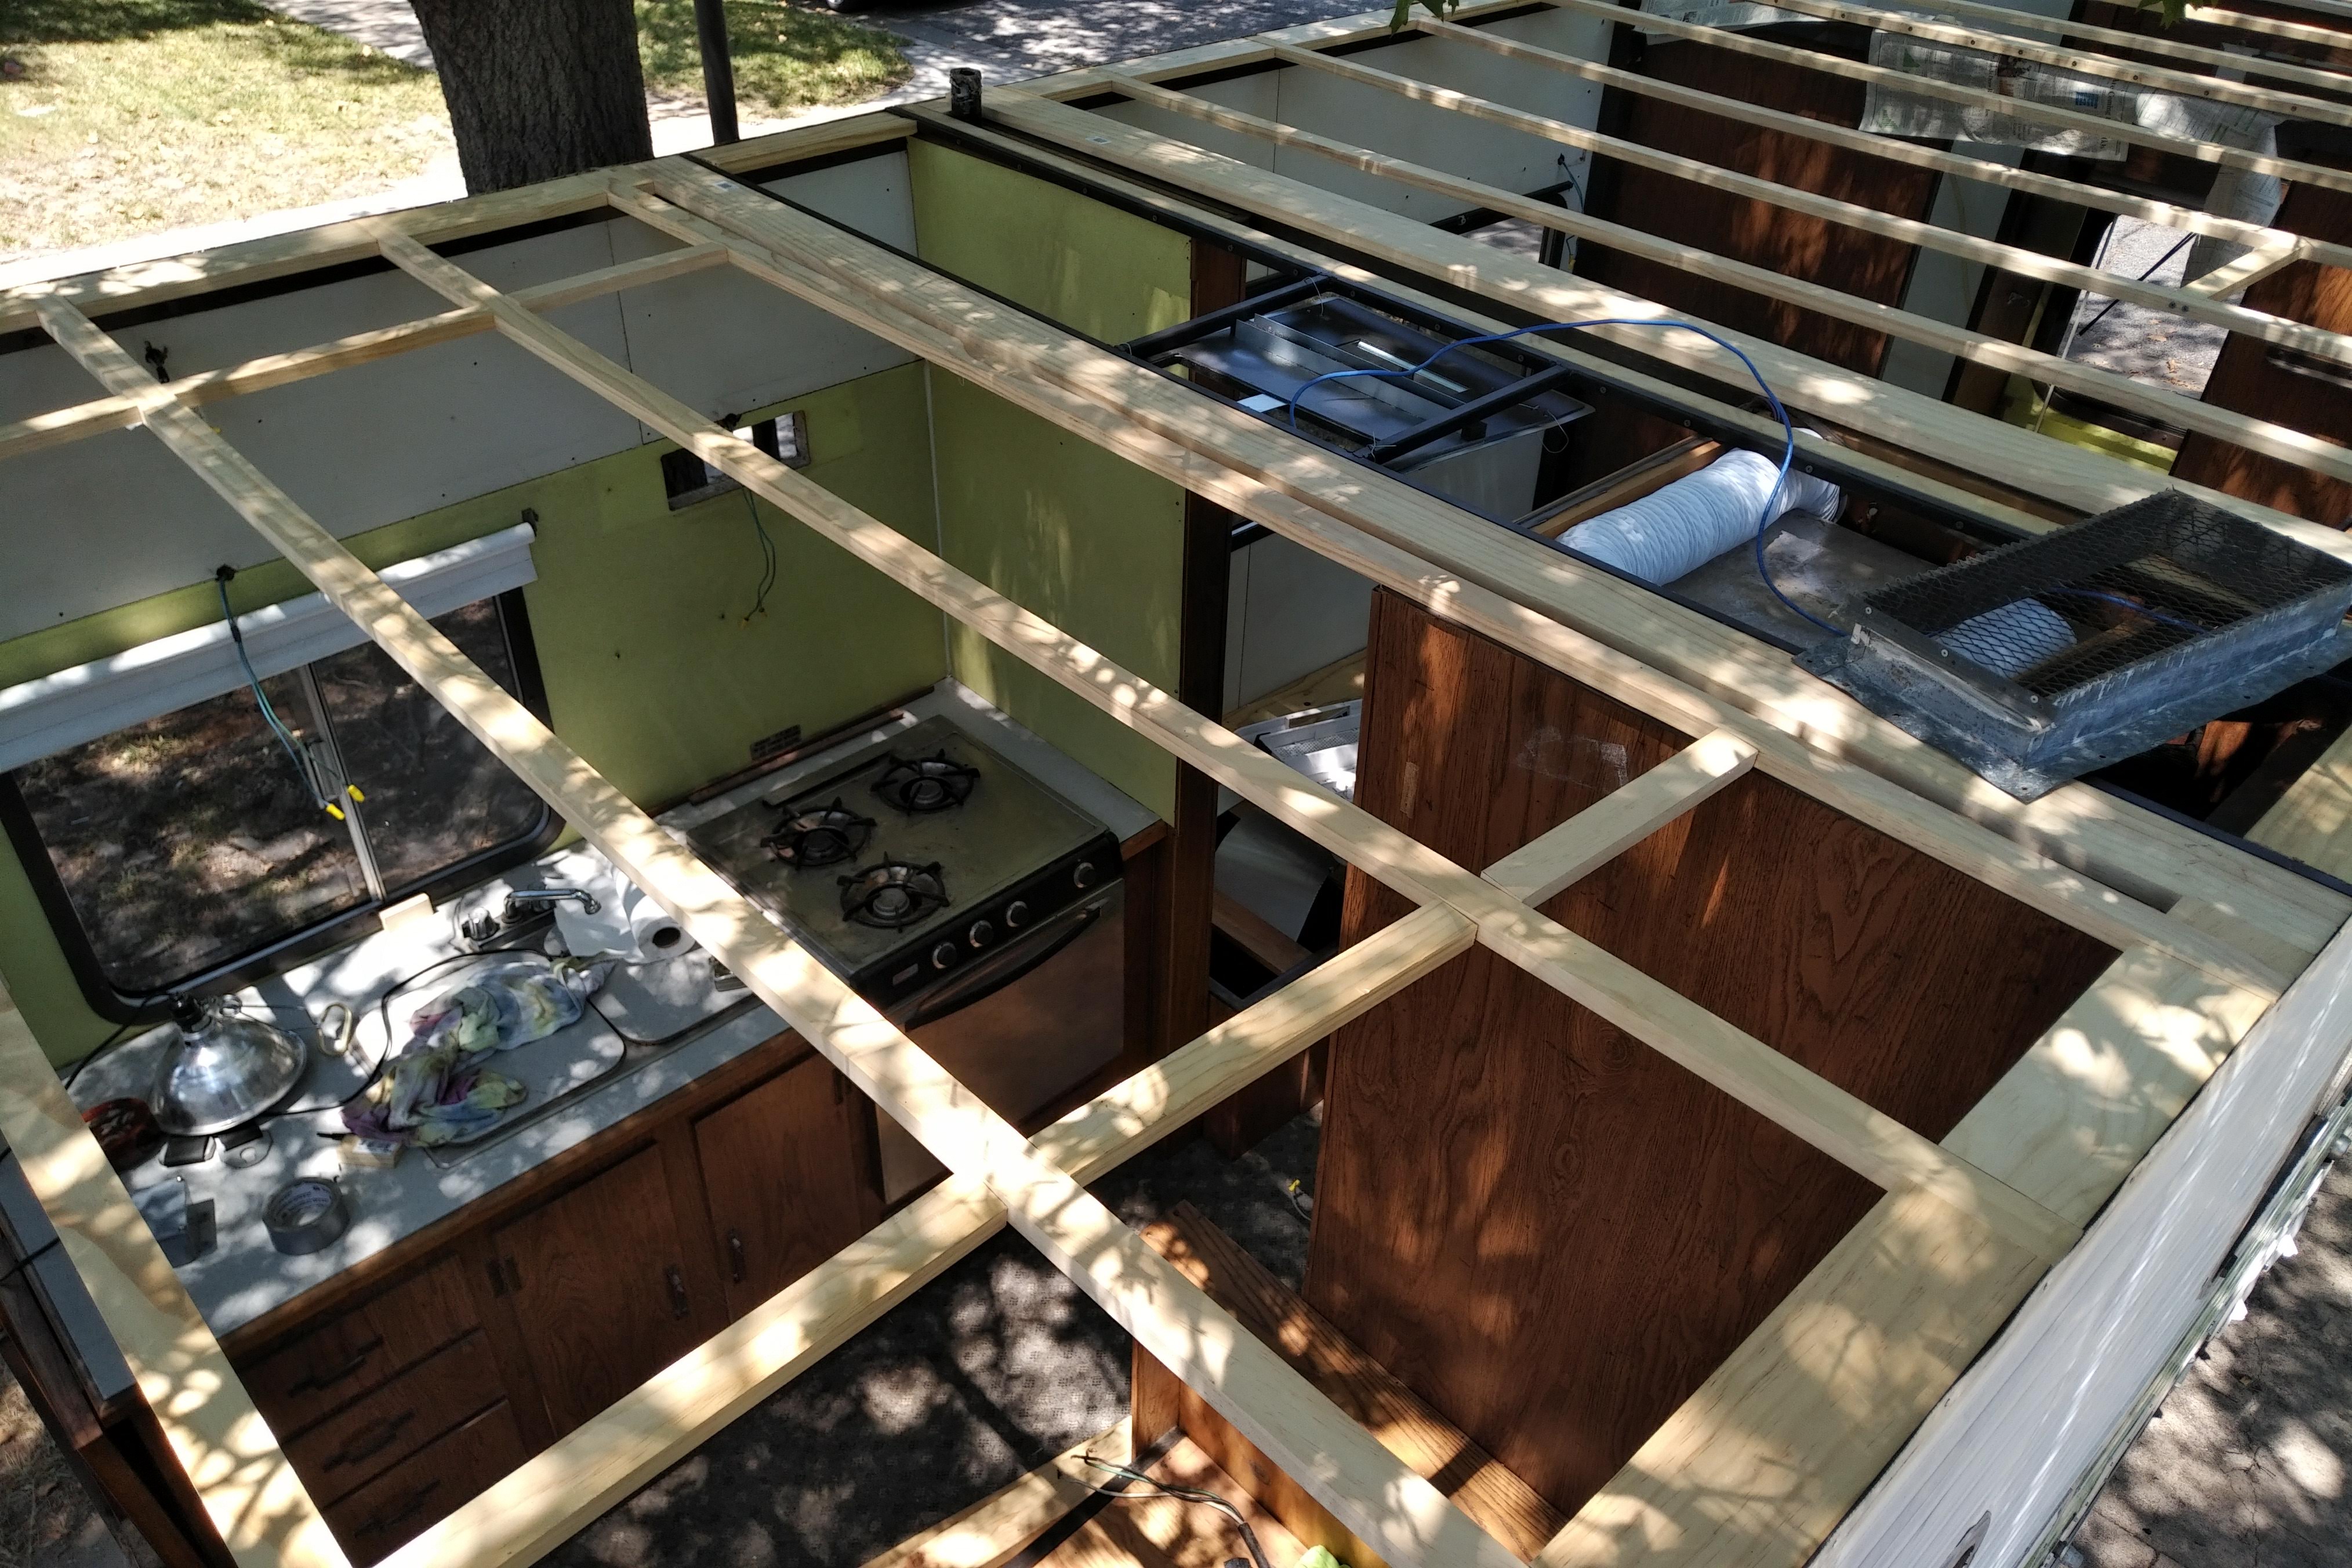
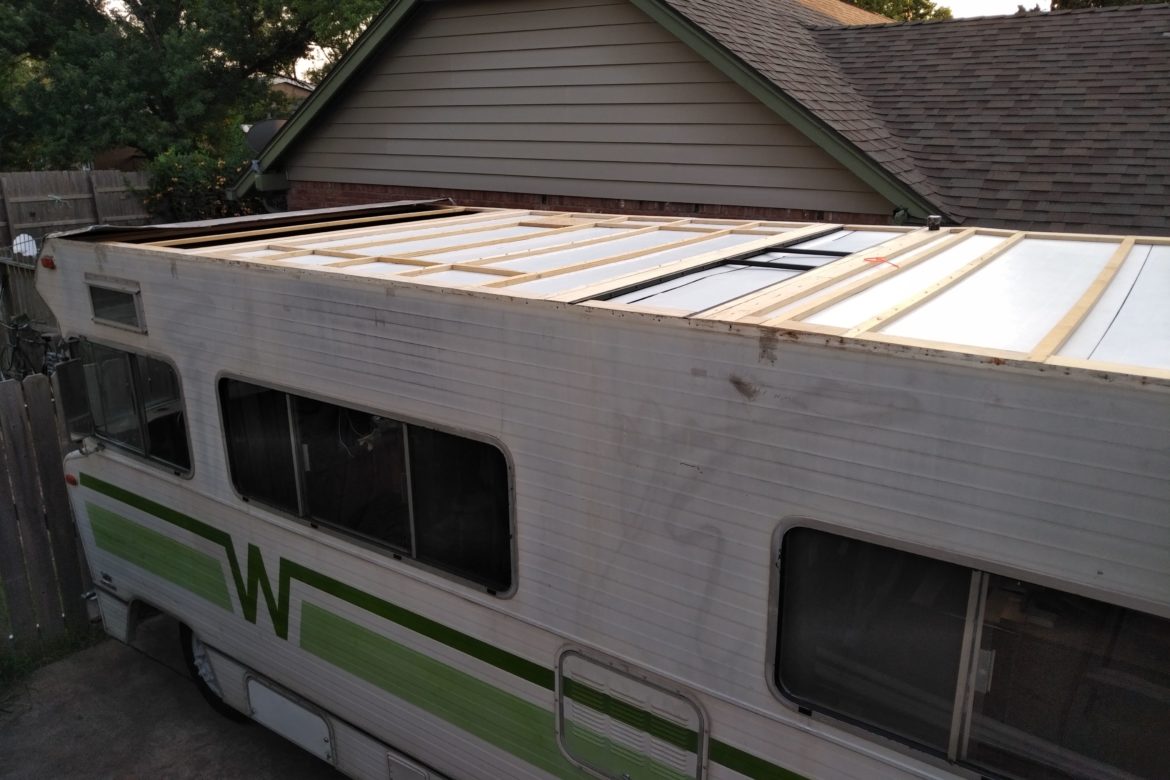
 That’s how it goes, right? There’s been much to cut and measure as we put the new roof on the Winnebago. The new structure is going to be significantly different from the old one, consisting of a skeleton of 1×2’s. Underneath will be a layer of FRP, which will make up the ceiling. In between the 1×2’s will be insulation, and Lauan and TPO will top it off.
It’s a slow process since everything that will go on the roof has to be mapped out ahead of time, and the CAD modeling has to keep up with the woodworking so that we know where beams are once everything is closed up. (Yes, we’ve created a CAD model of the roof.) This includes knowing where basic things like vents and the air conditioner are, plus anything that will hang from the ceiling, including cabinetry and curtains. It also must include add-ons like solar panels, antenna connections and powered roof vents. All the wiring has to be run at this stage as well, including all the DC, some AC, cell repeater, HF coax and solar panel wiring. It’s a lot to keep up with!
Everything is done in 8-foot sections, starting with the back. The wood structure is all pegged and glued together, and then the FRP is attached on the ground. From there it’s put into place so wiring harnesses can be installed, then removed again from the vehicle for final wiring and insulation.
The pace has been slow but steady, despite having to tarp the vehicle for the occasional pop-up shower!
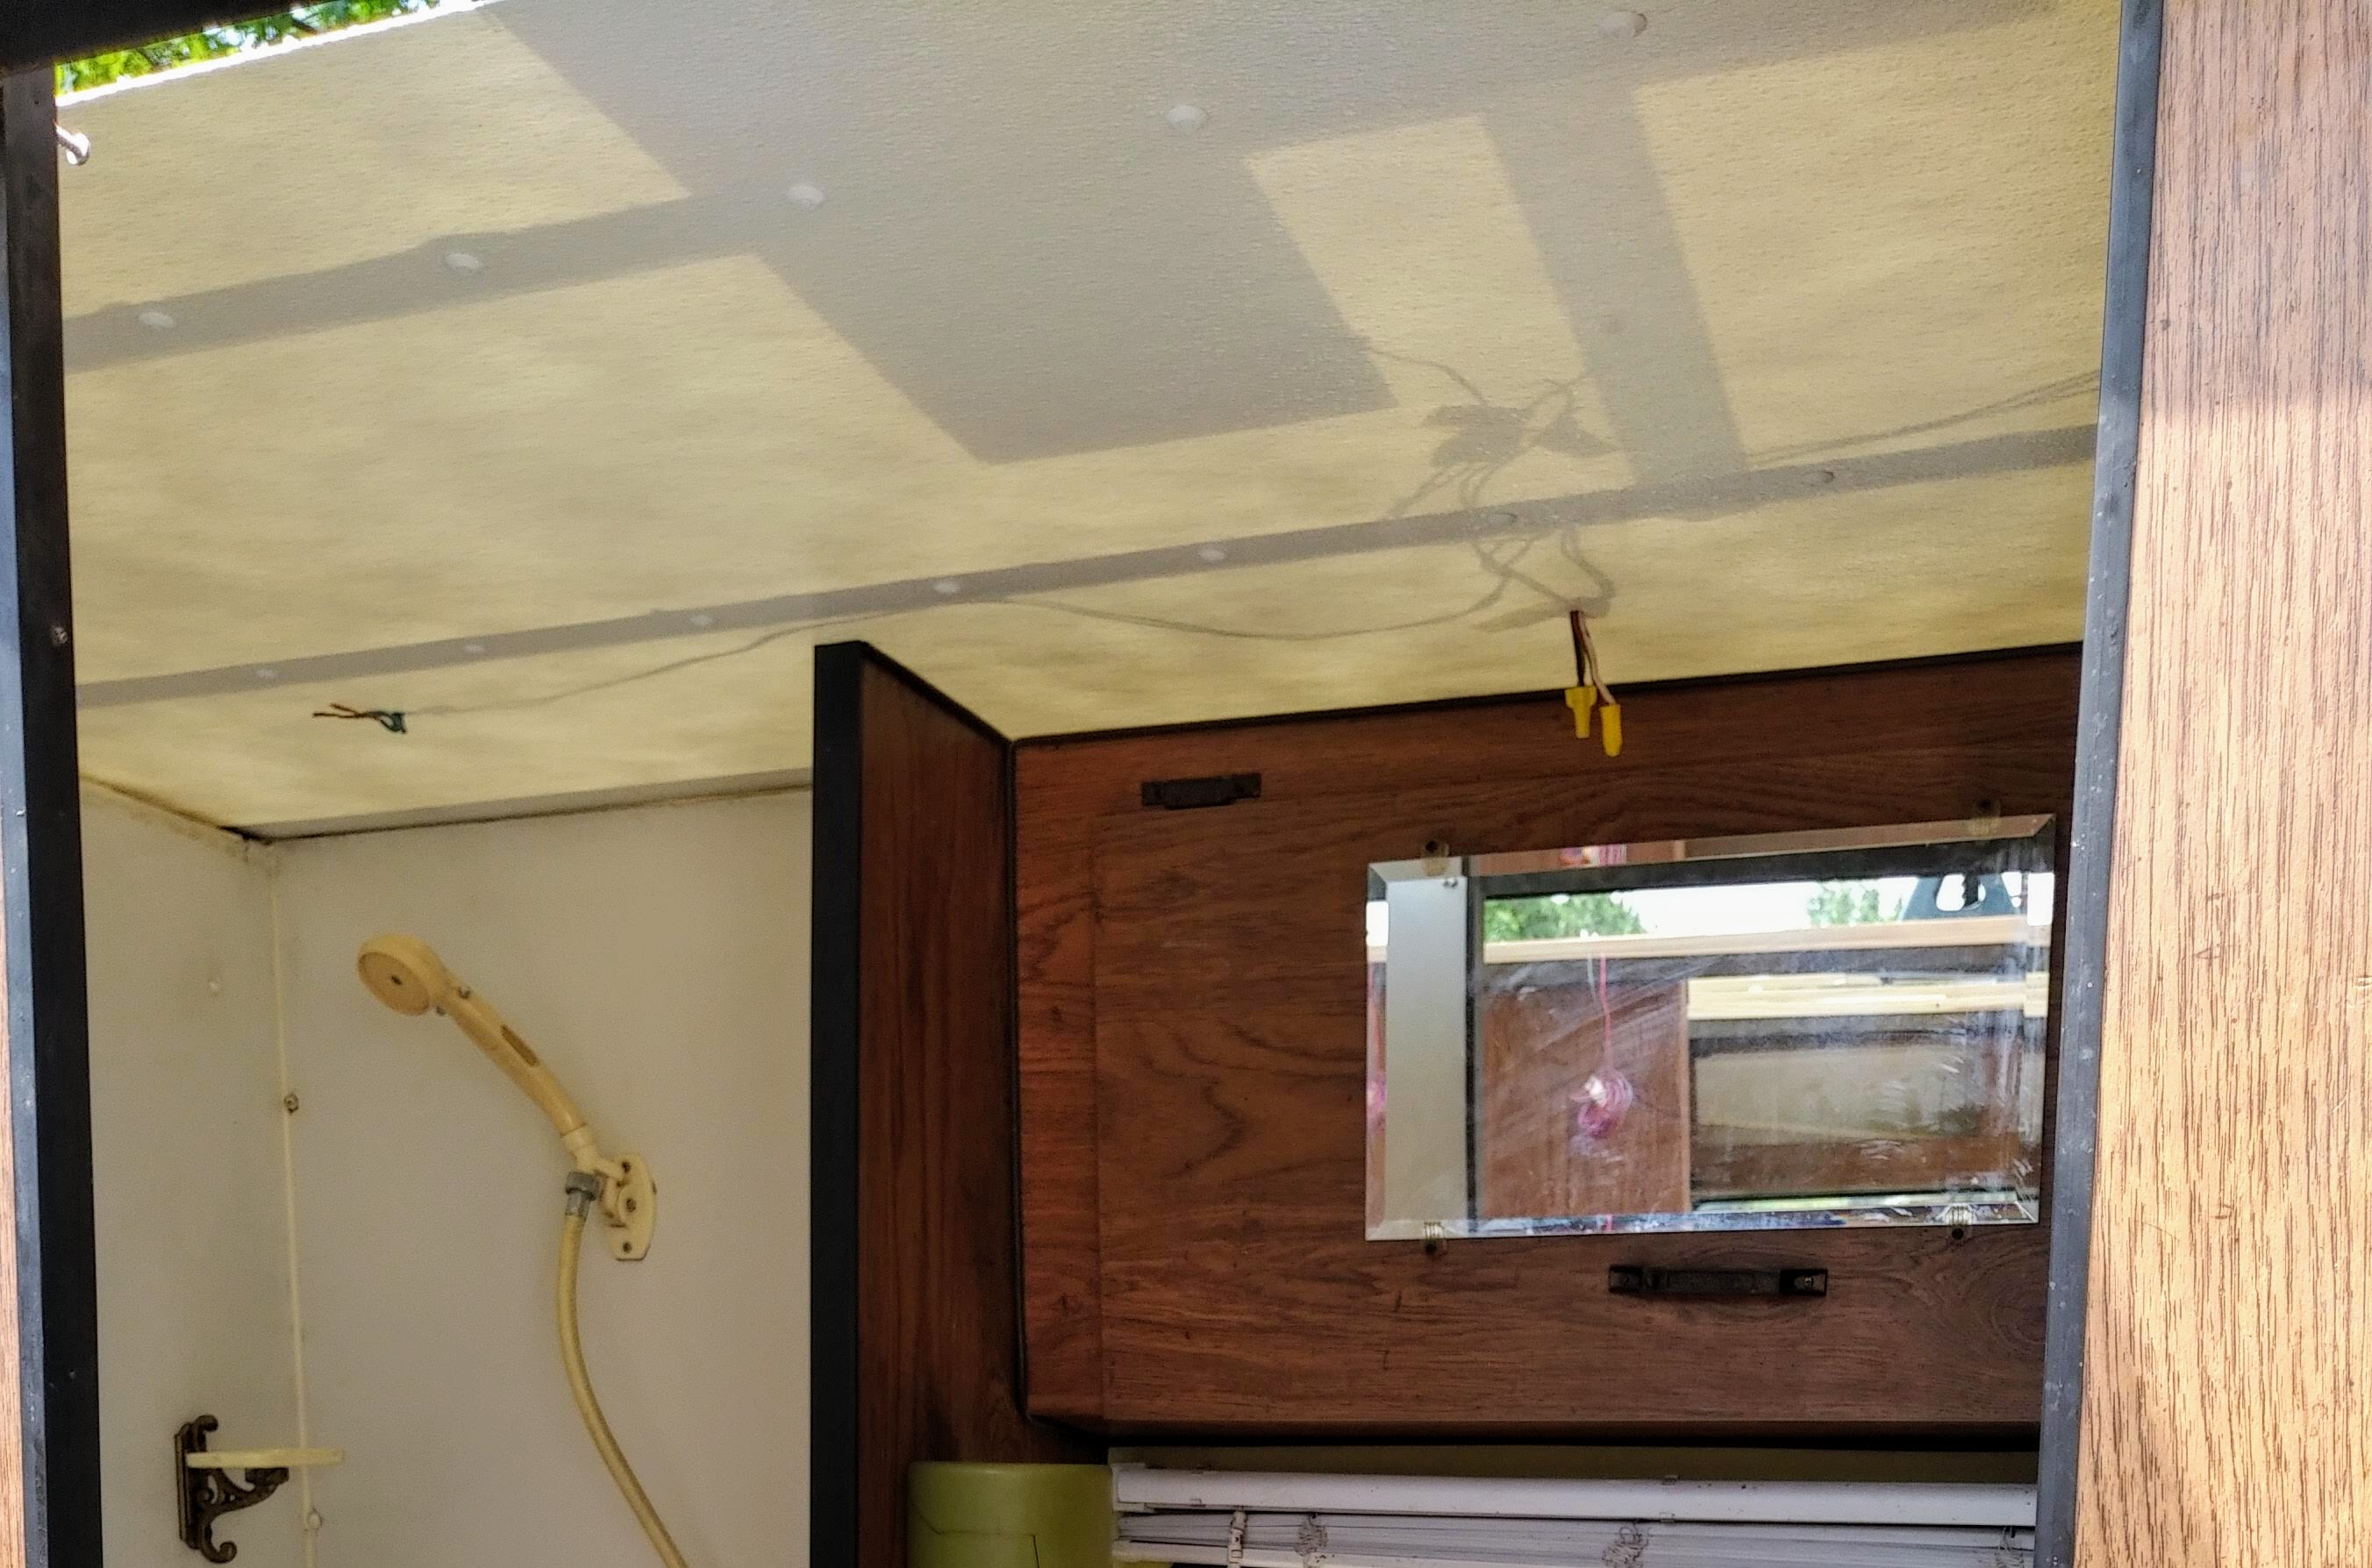
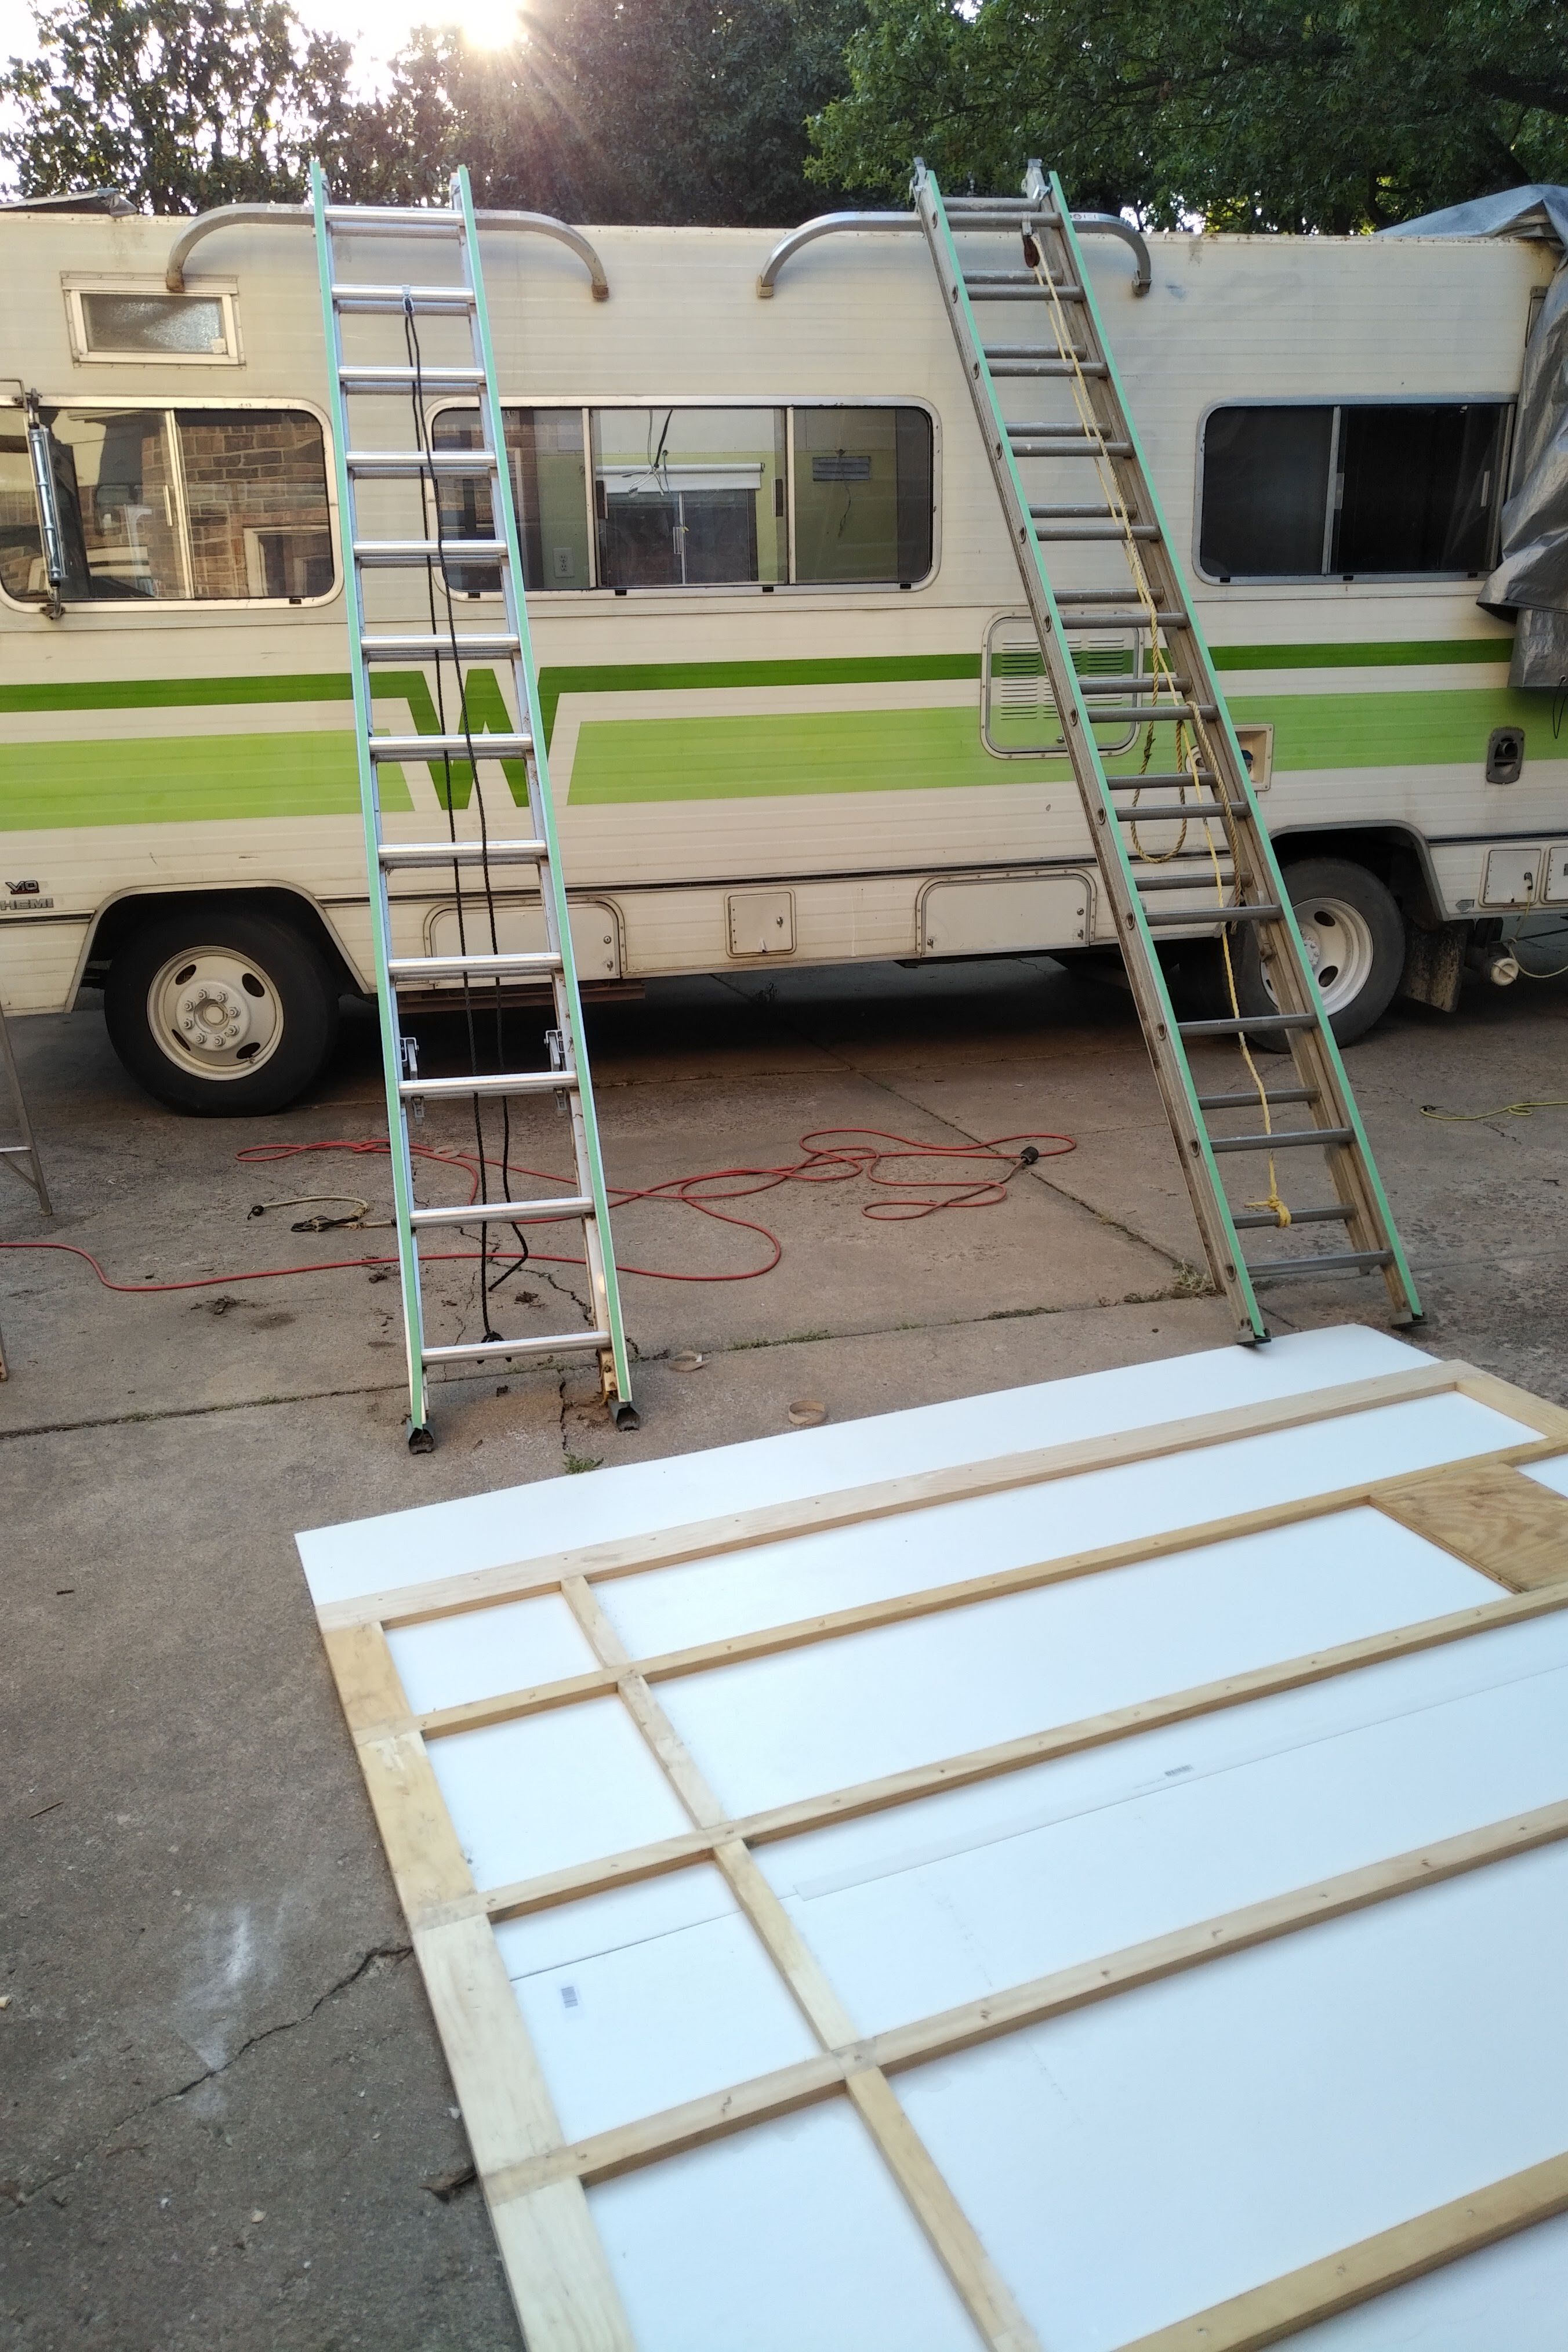 Drill, dowel, glue, clamp, wait. That’s been the rhythm for the past few weeks as we glue the wood roof structure together and subsequently attach the ceiling. Dowels connect all the wood pieces together, and after they are glued they must cure for 24 hours. It’s another 24 hours after the ceiling gets glued and attached with plastic rivets. So 48 hours minimum per panel, and there are 6 of them. Thankfully, all but one is done, and it will be finished up once the other 5 sections are in place. That one will be used to take the “slop” out once the others are secure. The largest section over the kitchen and dining area took some ingenuity to place on the vehicle, utilizing two extension ladders.
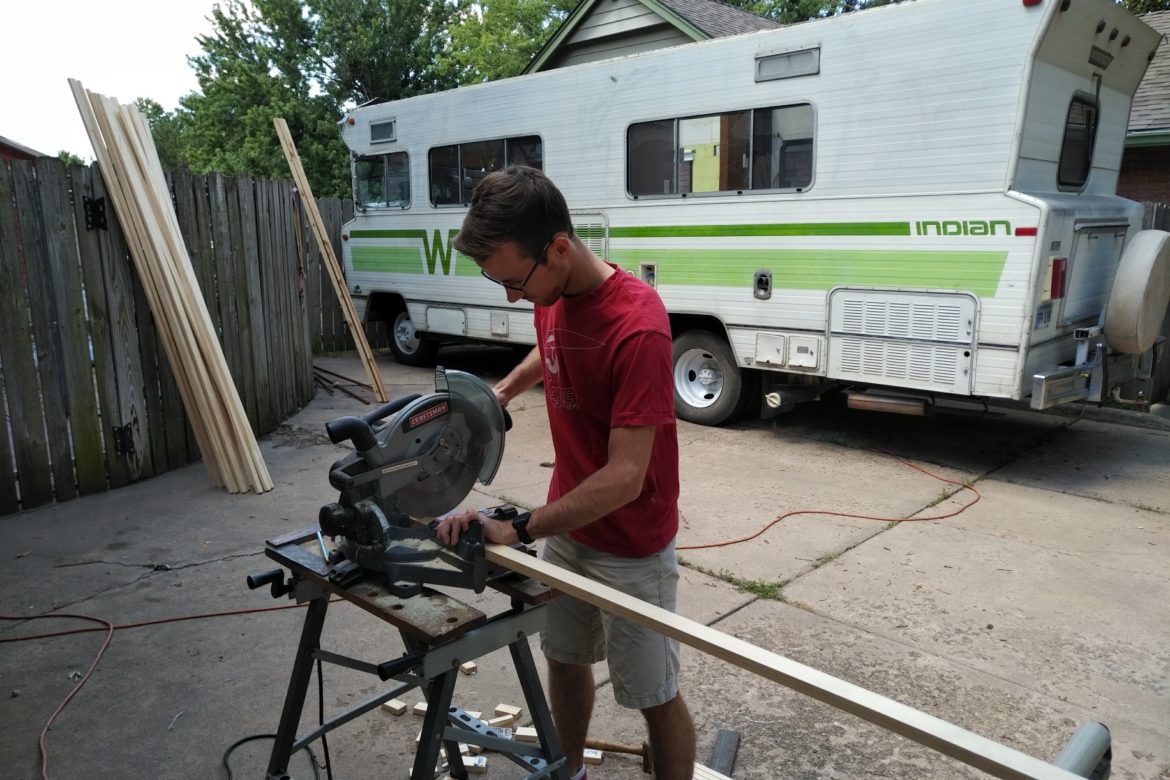
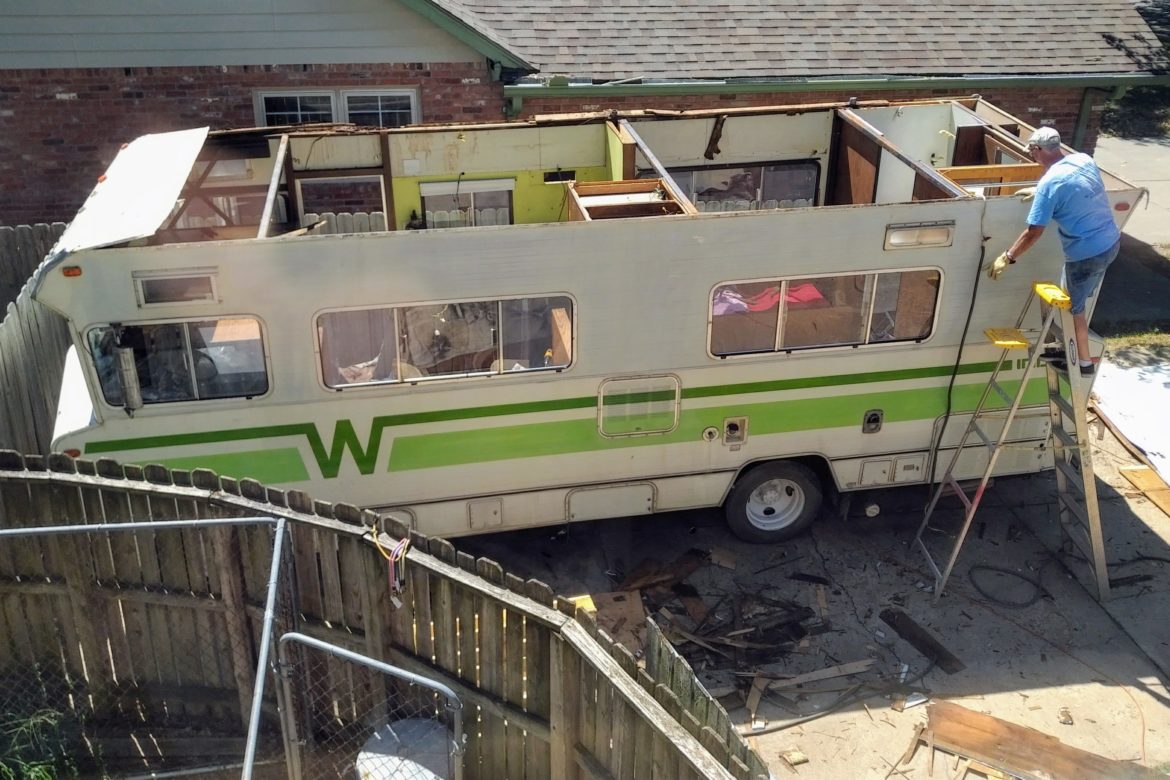
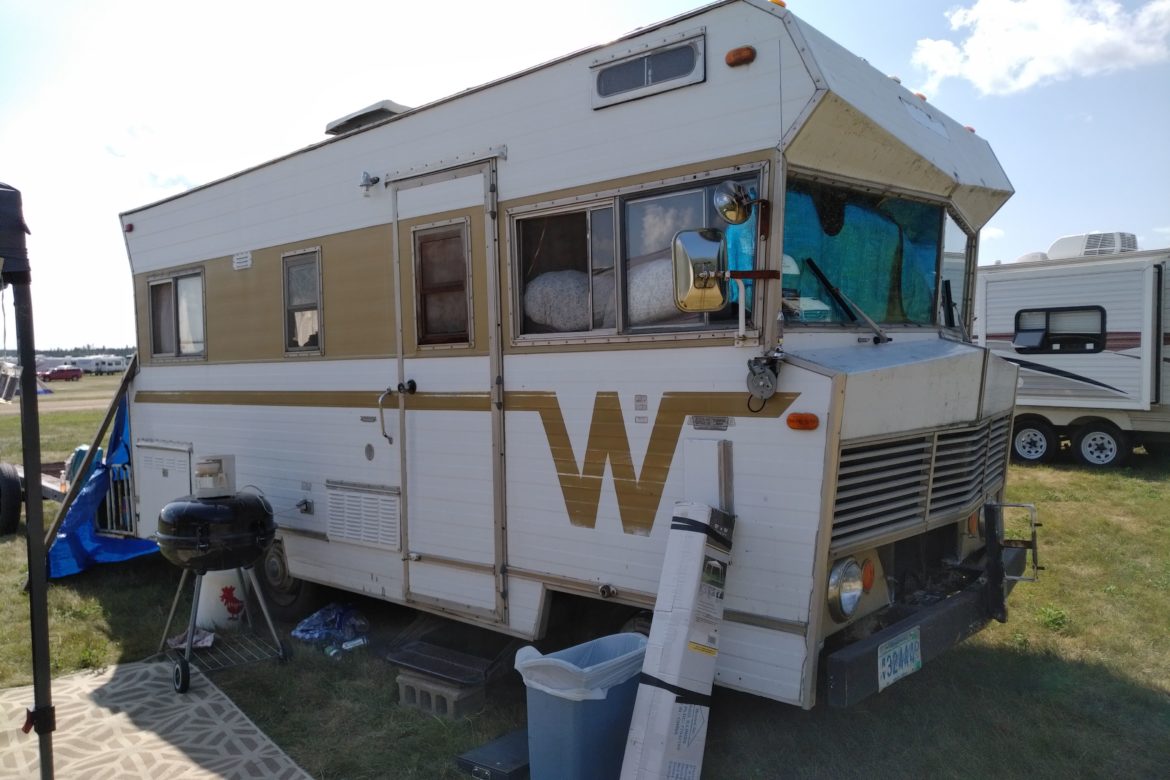
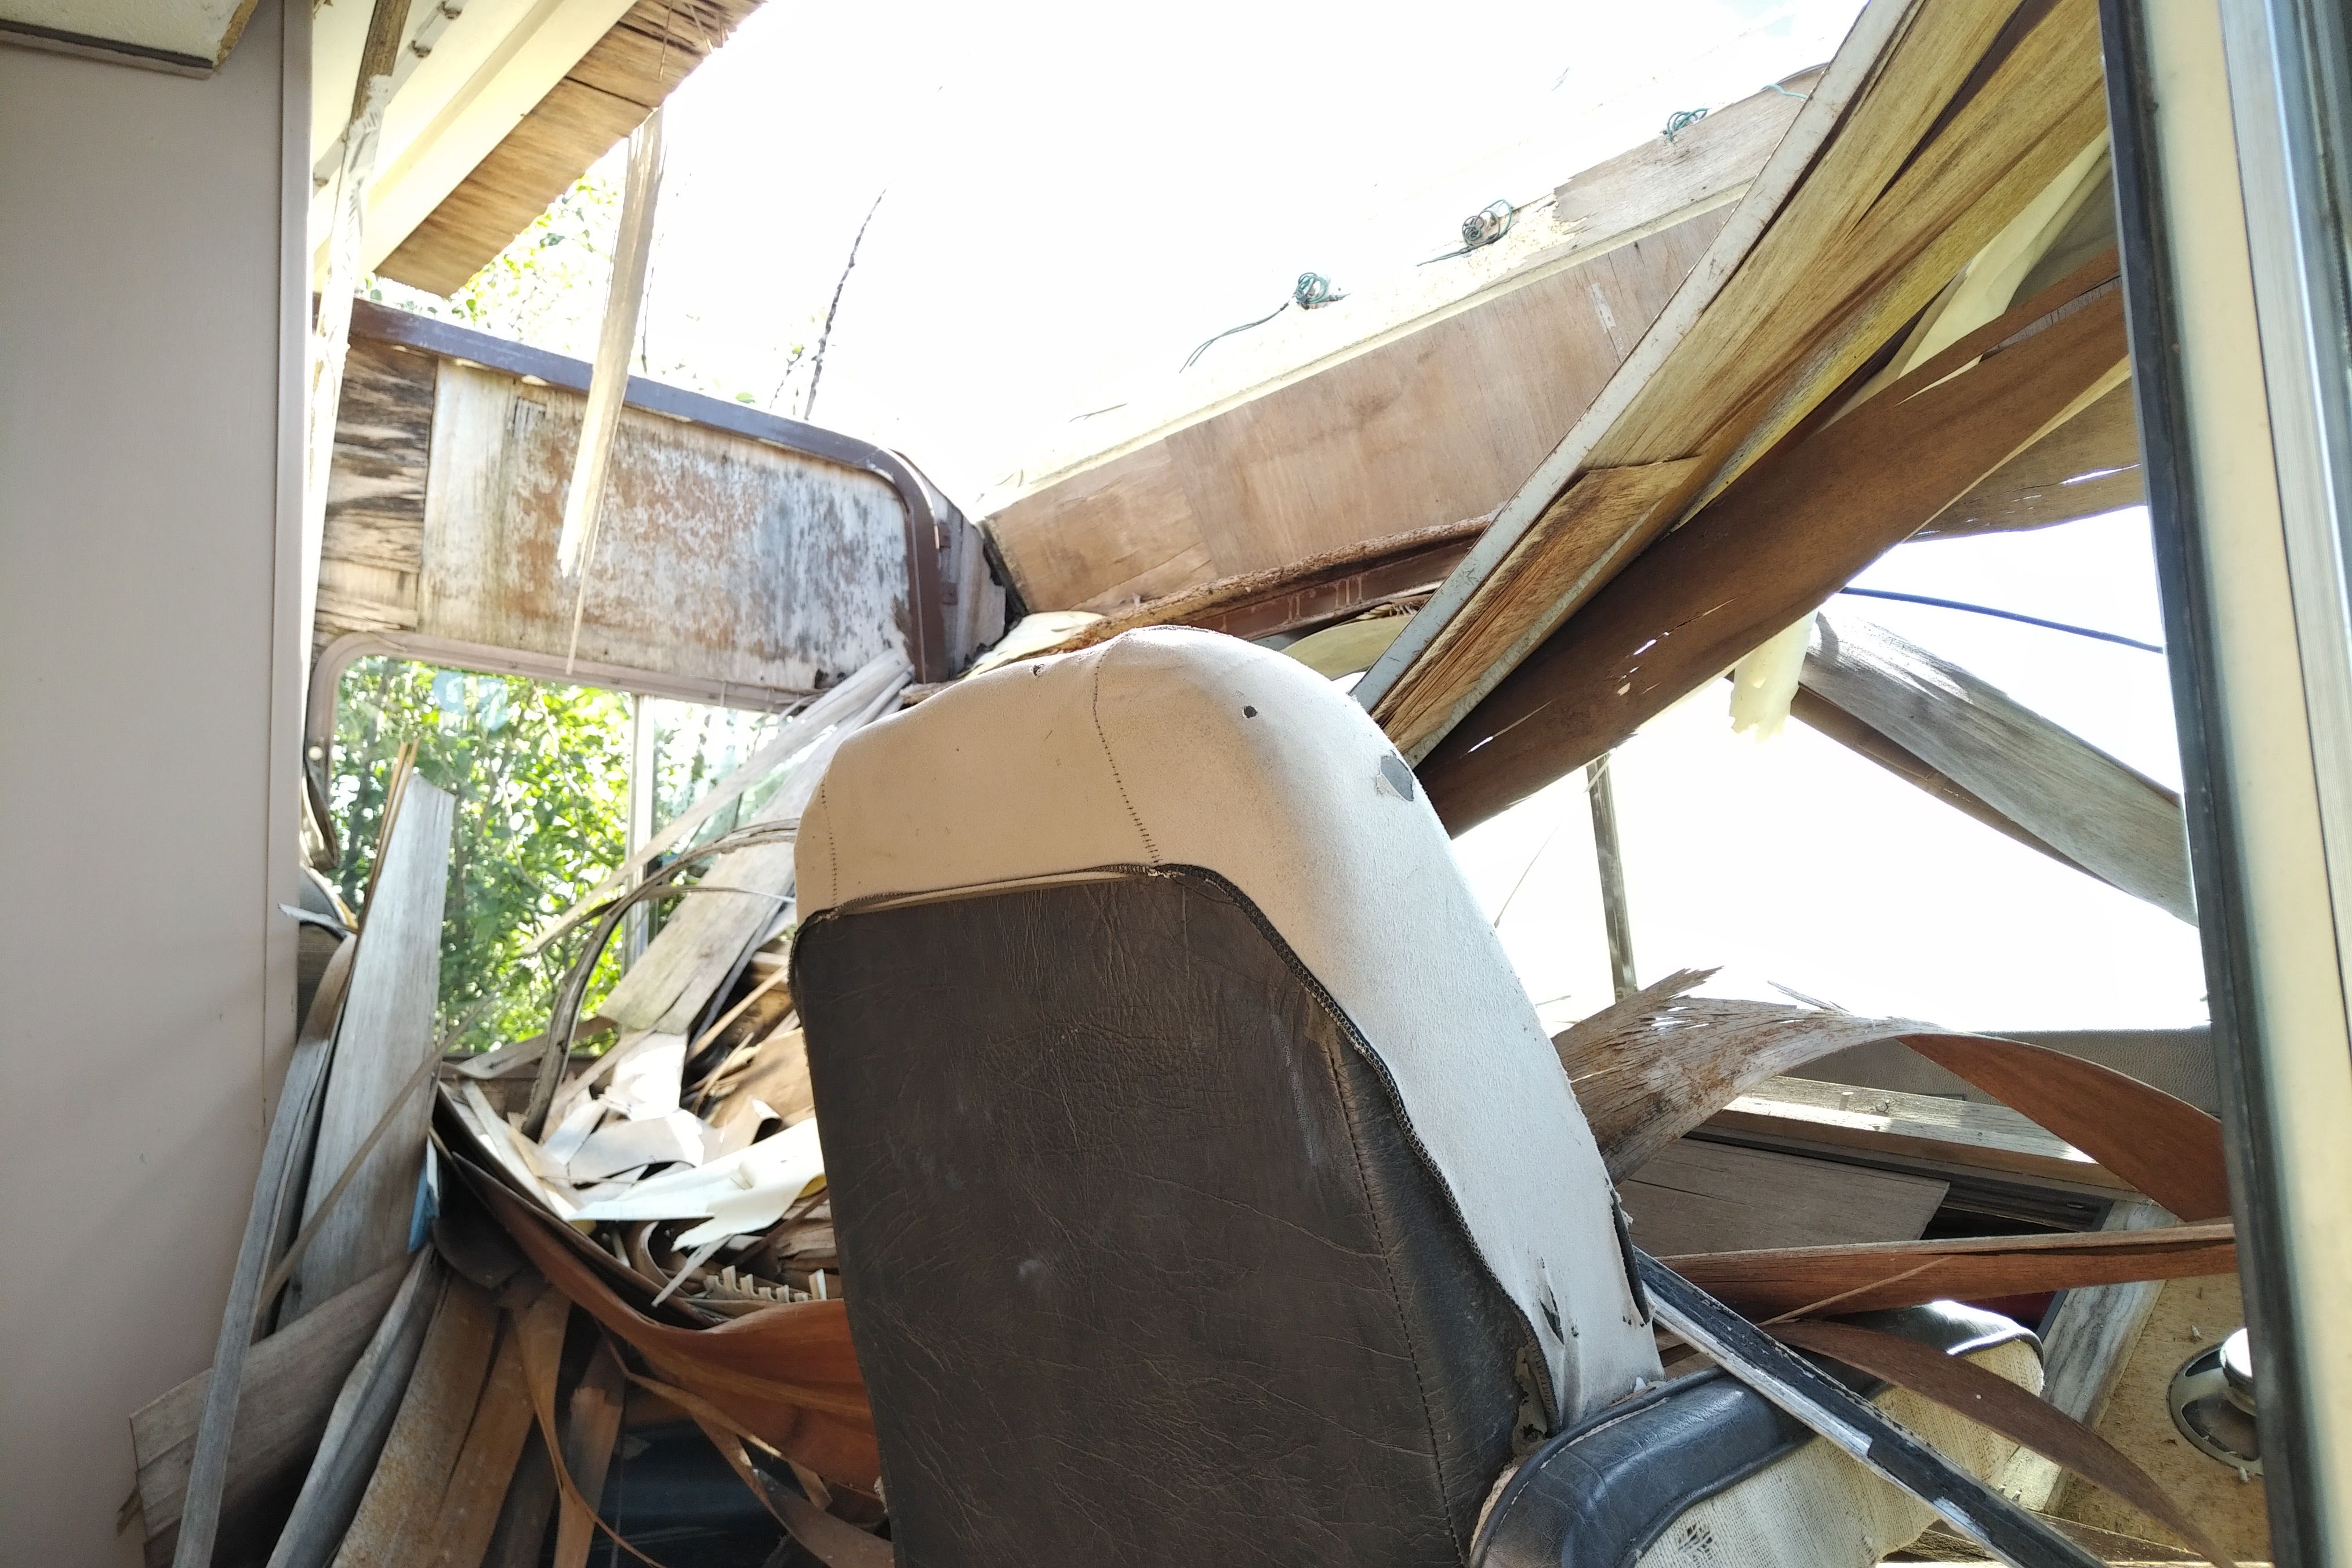
 We’re past the point of no return – the QGoLive Mobile is now a convertible, at least for the time being.
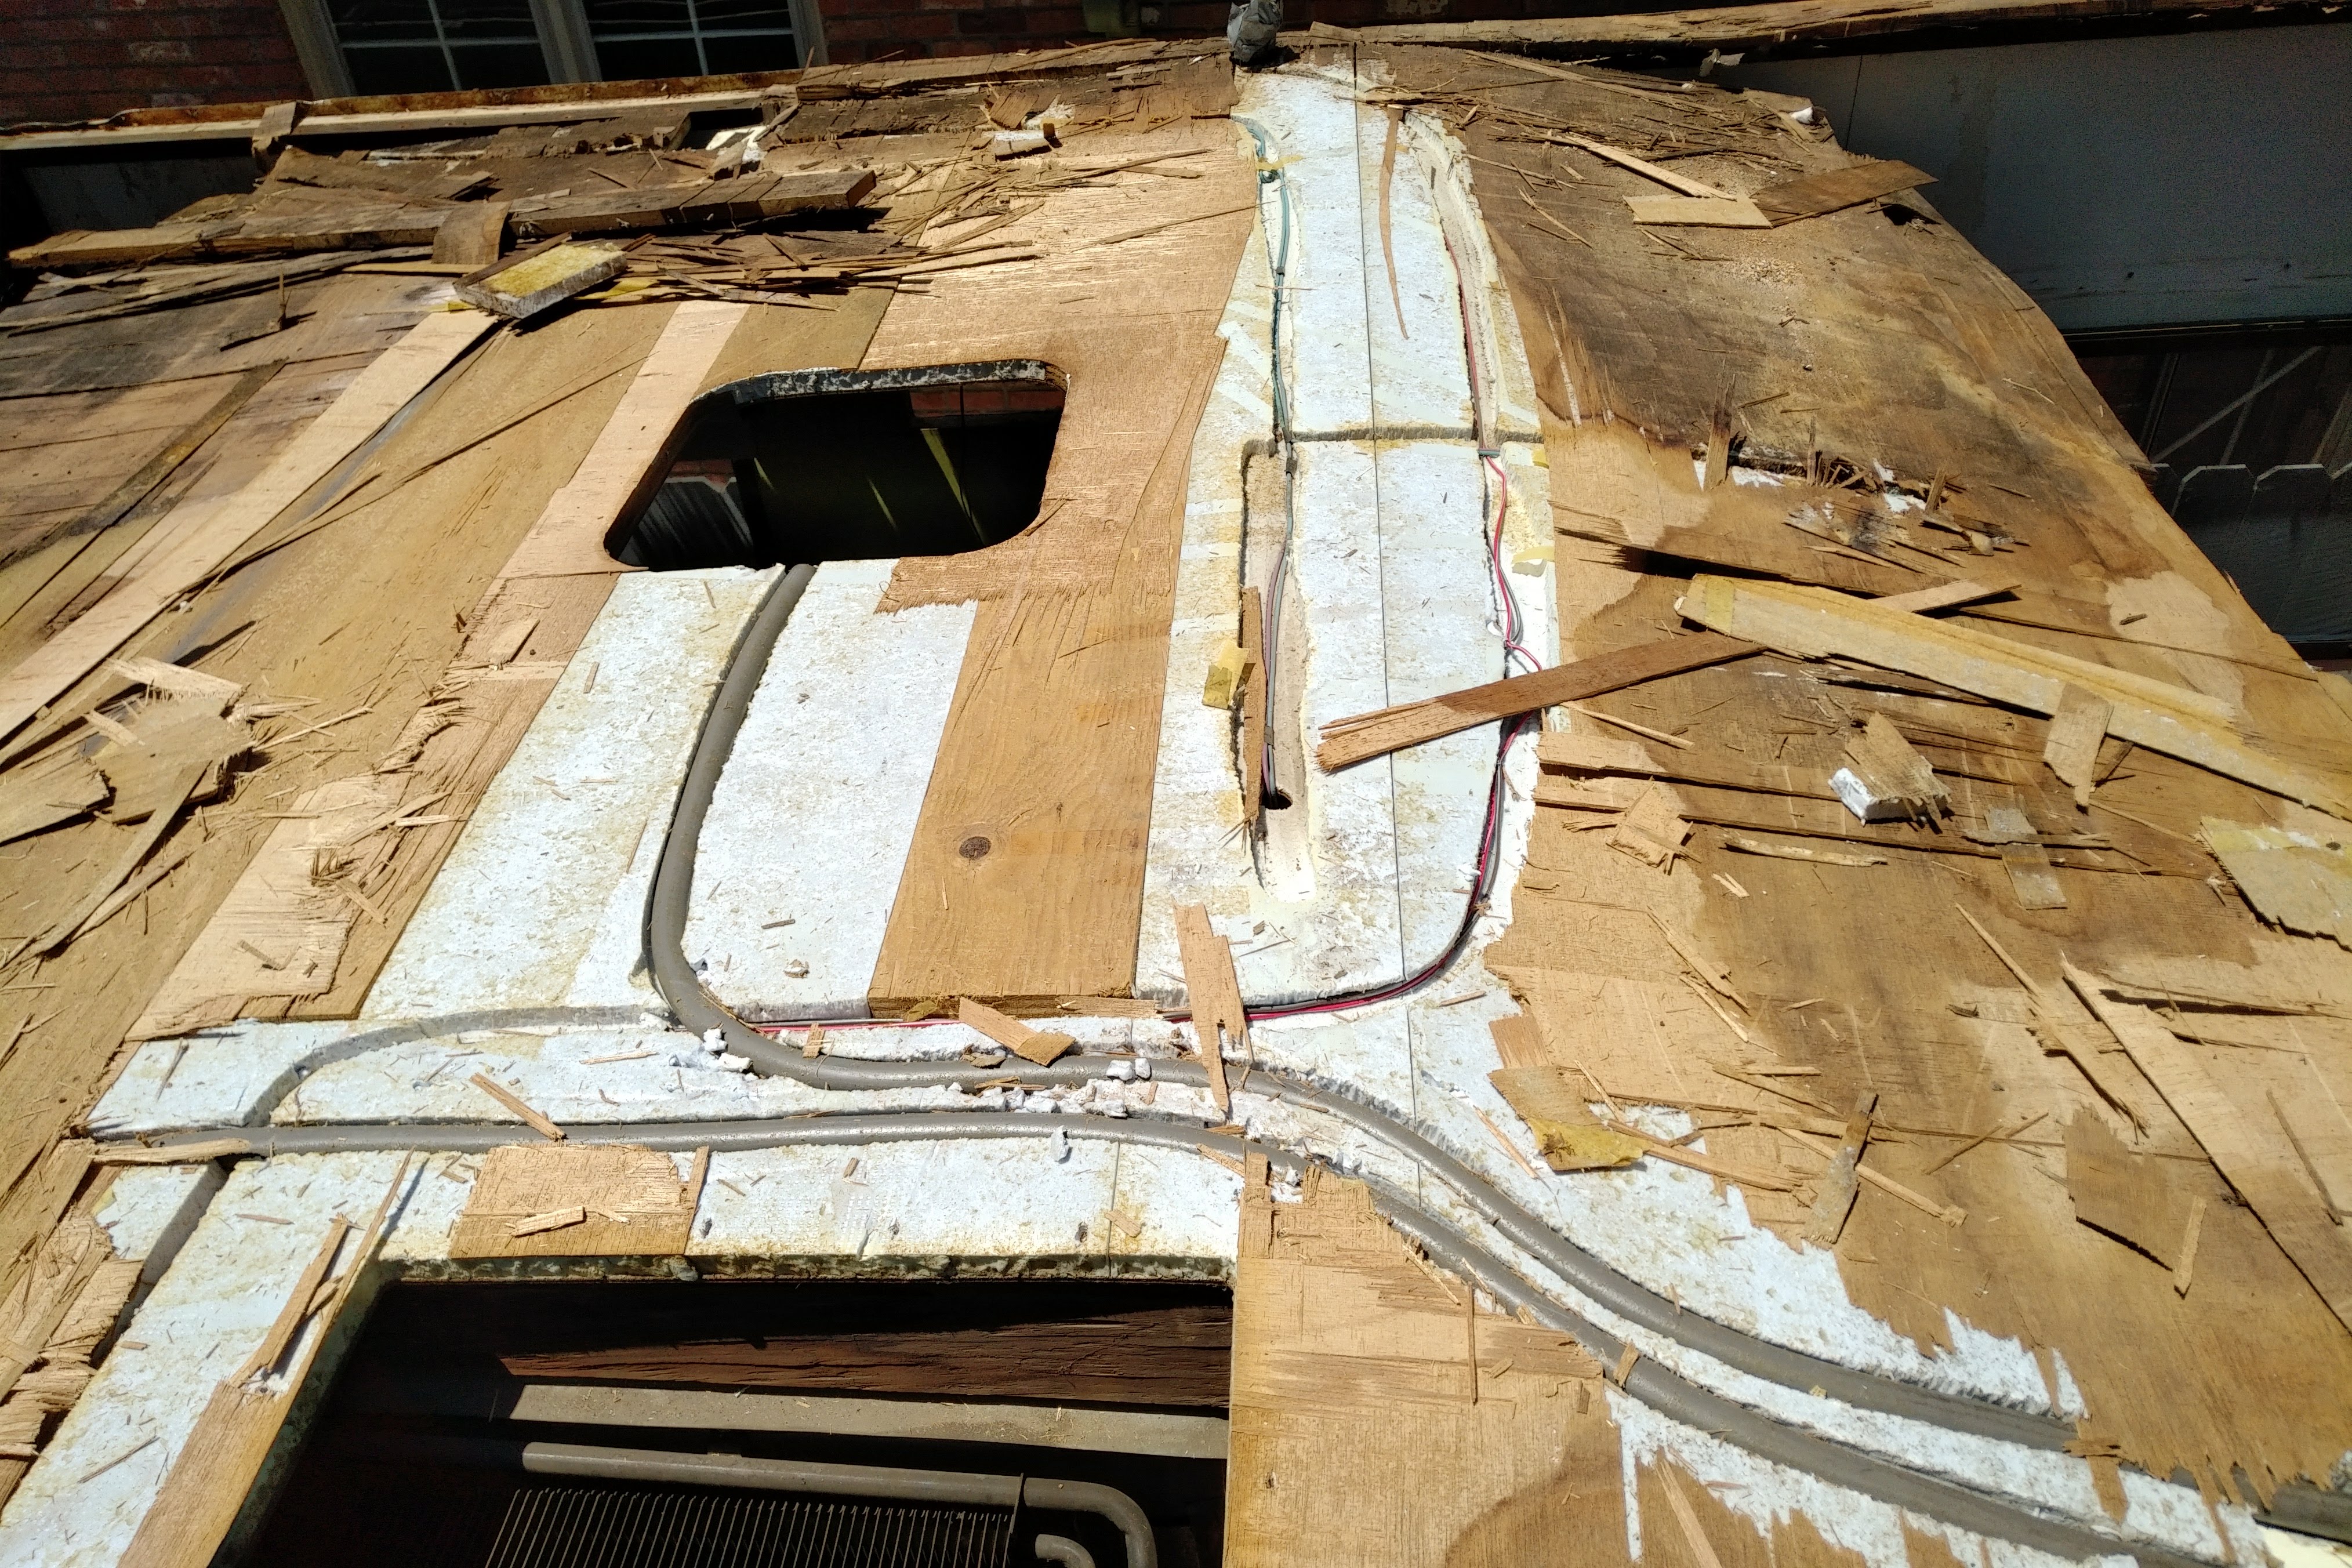

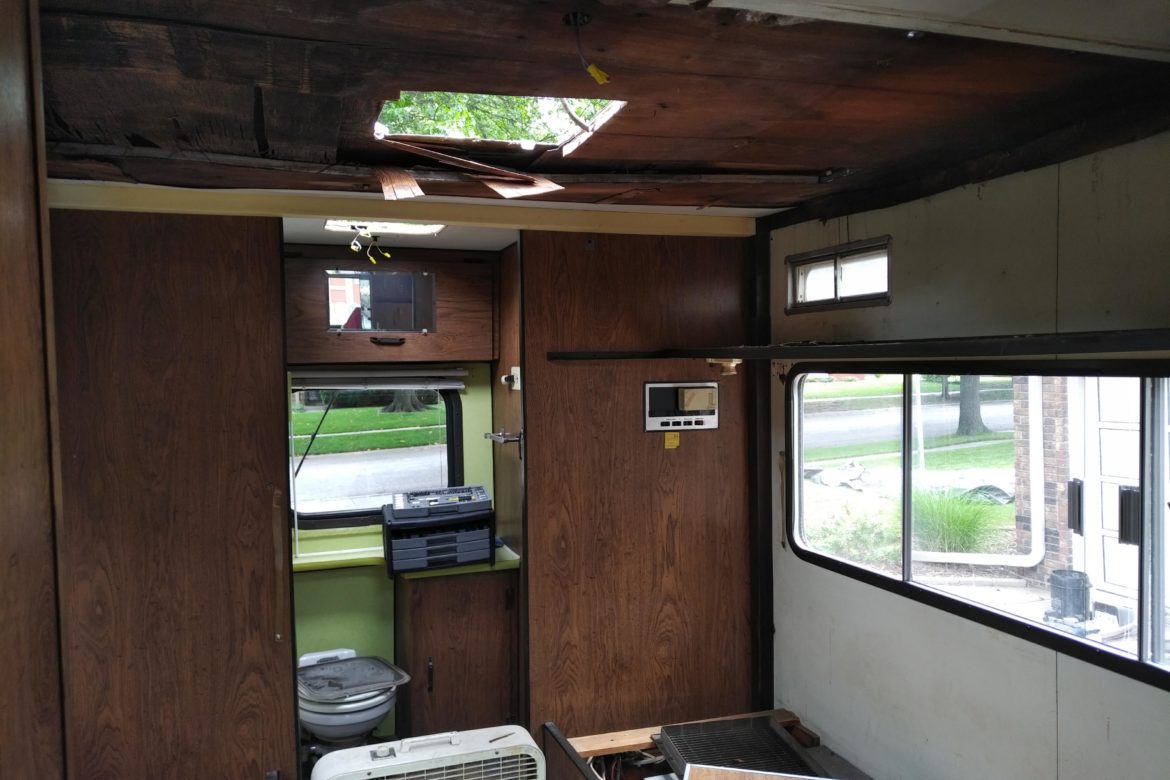
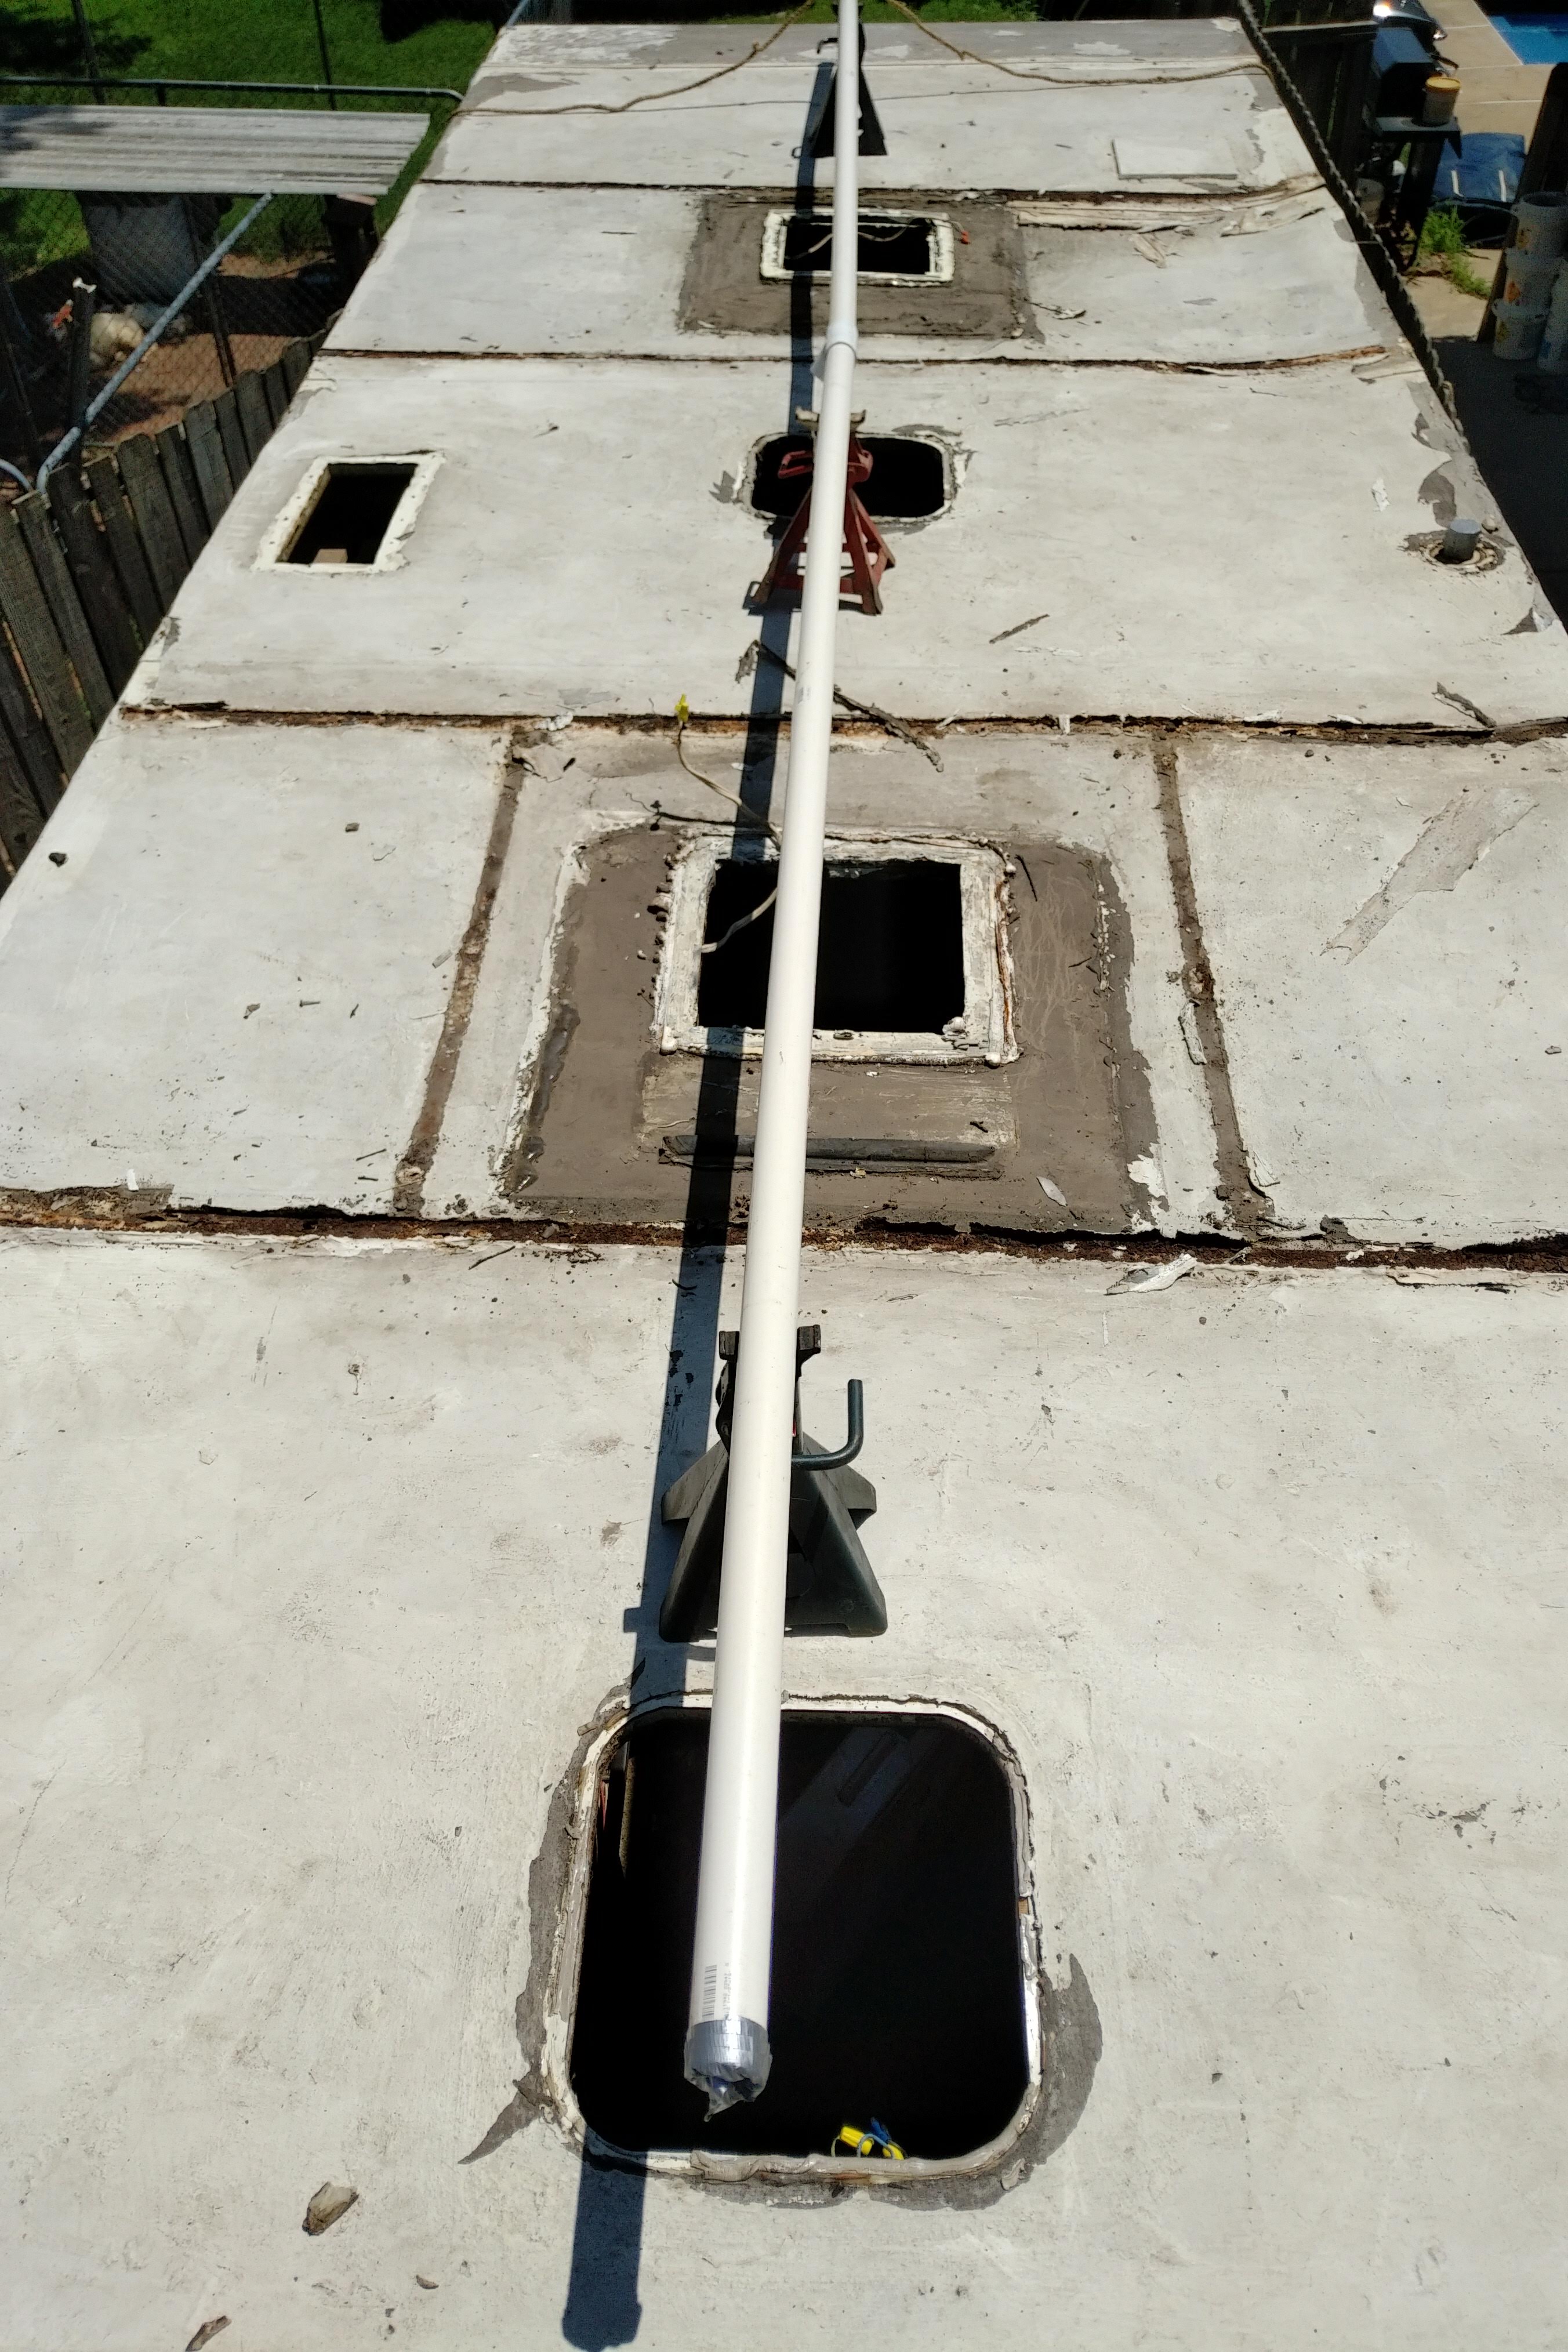 Work continues on the RV roof. We’ve removed several hundred pounds of weight, including two very old air conditioners and lots of add-on channel iron that was holding everything together. All that’s left is some lauan plywood, foam, a few 1 by 4s and the aluminum skin.