The floodgates of mini projects have now opened! There’s a lot of simultaneous action going on, and I’ve tried to document as we go along.
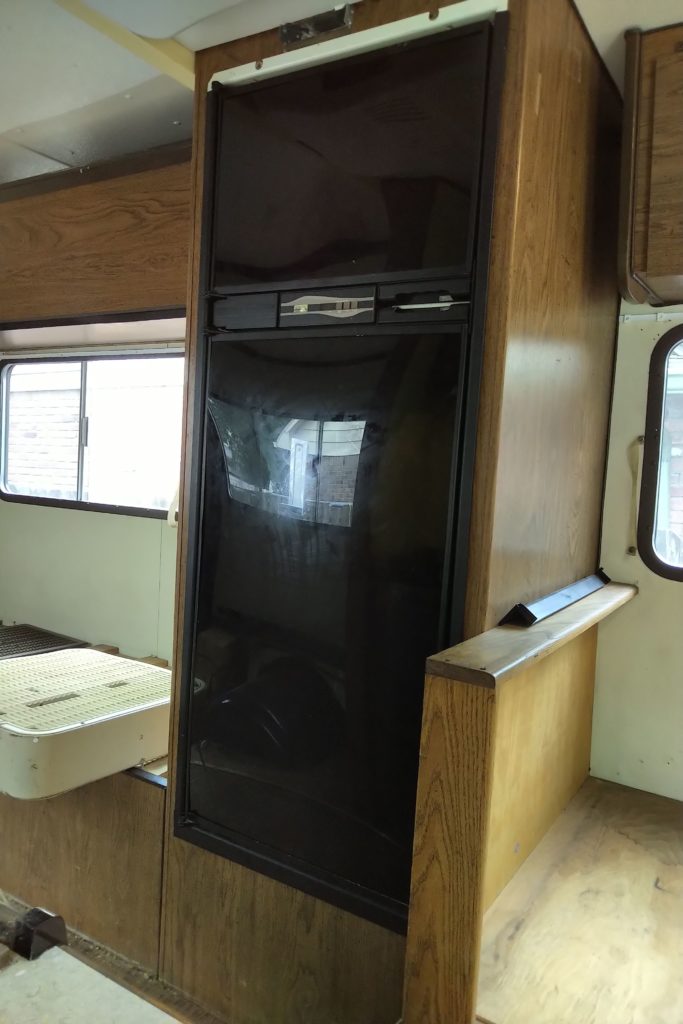
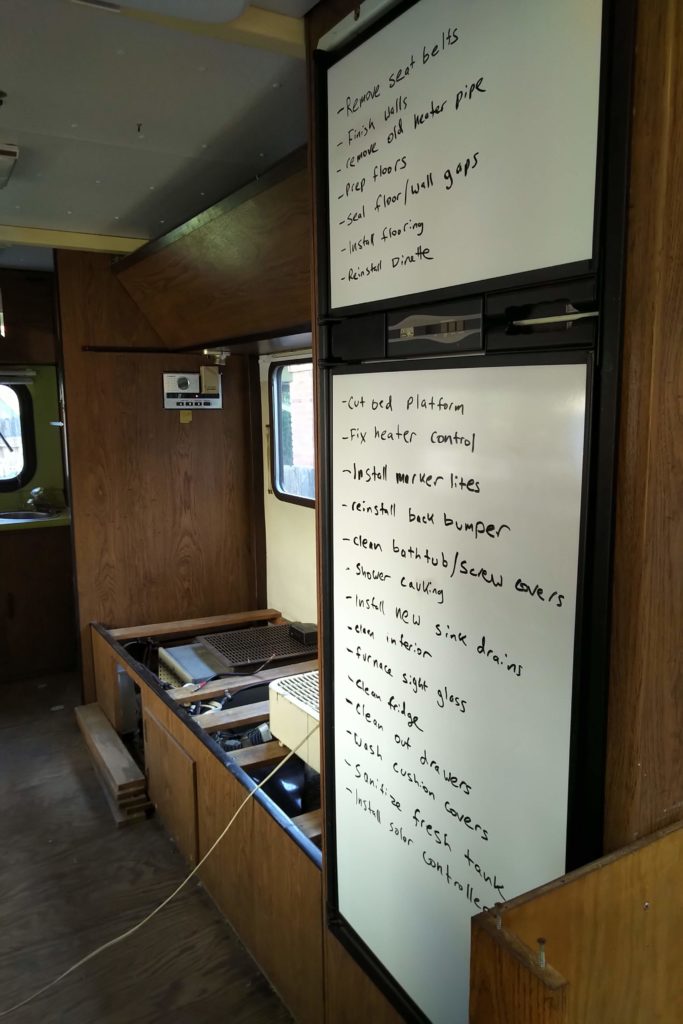
First, I’ve never been a fan of the stock Norcold refrigerator doors. It’s a great refrigerator, but the old, warped plastic was like staring into a black hole. I hadn’t come across a great replacement unitl I stumbled upon 2 x 4 foot whiteboard panels at the lumberyard. These were just the right thickness to slide in where the plastic panels had been, and it’s a great place to write out our very long to-do list!
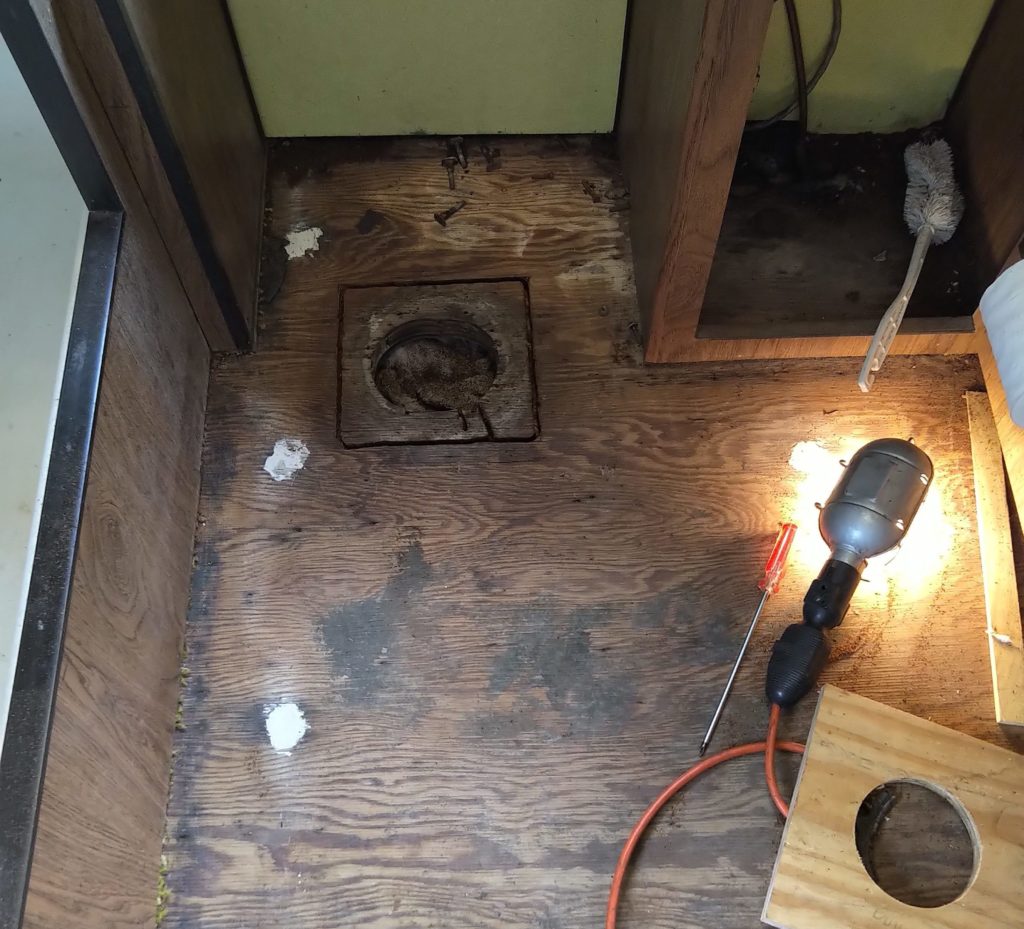
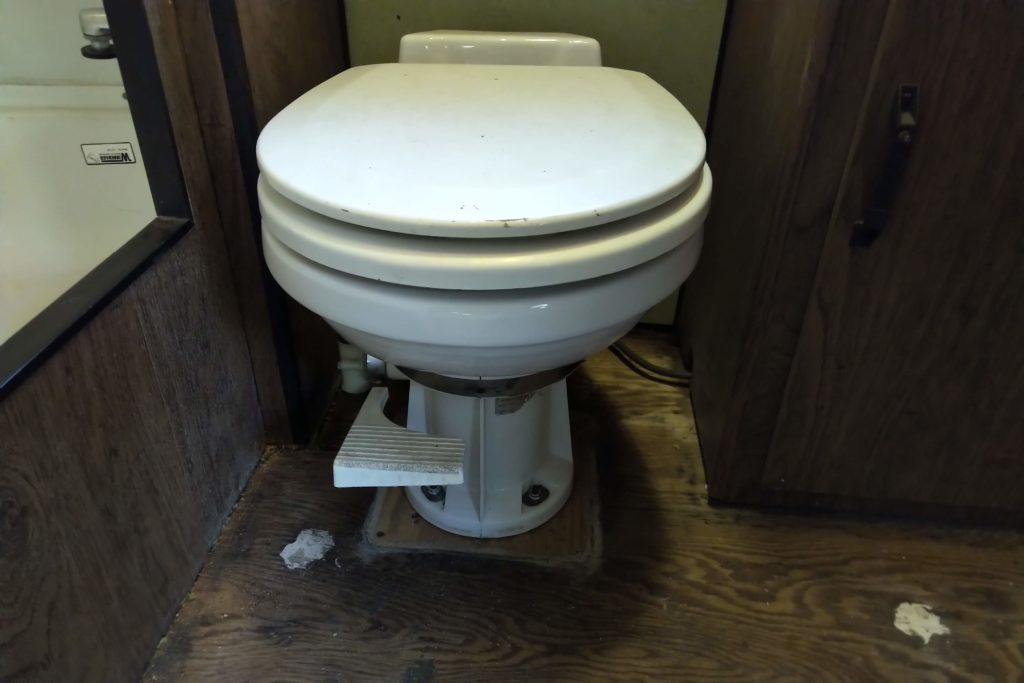
Next, the toilet needed some attention, including a thorough cleaning and three new seals. We rehabbed the old toilet because it’s actually a very nice porcelain unit – something that would be quite expensive today! (Most RVs today have plastic toilets.) In addition, a factory “oops” was corrected under the toilet where they missed and drilled the hole too big. This was corrected by routing out part of the floor and filling in with a new wood doubler.
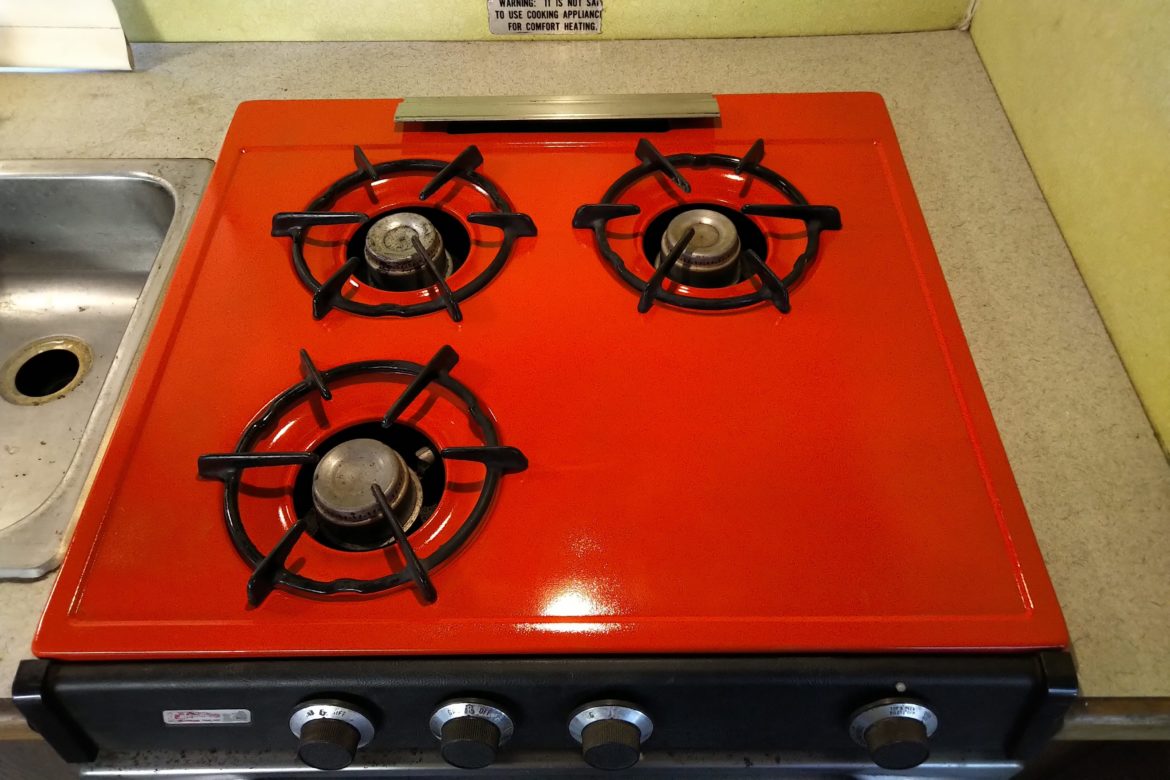
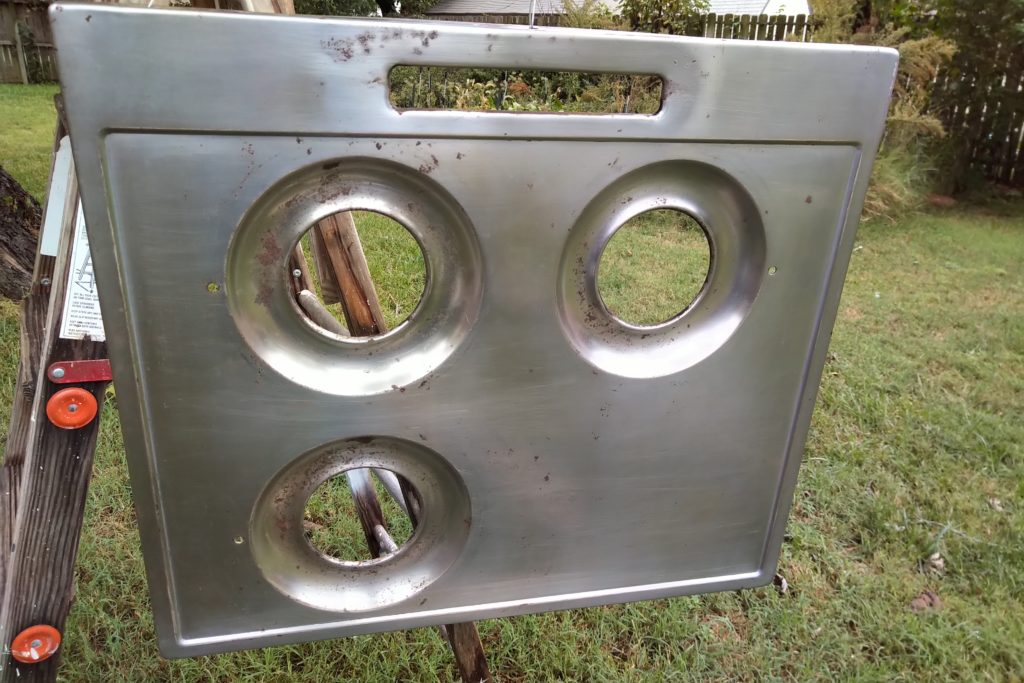
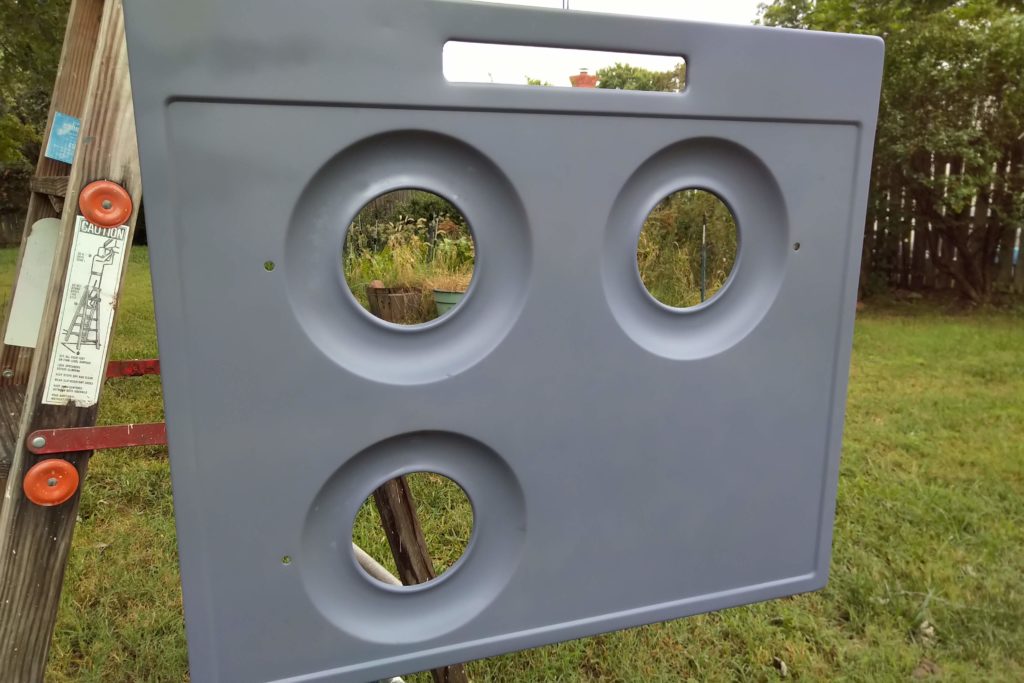
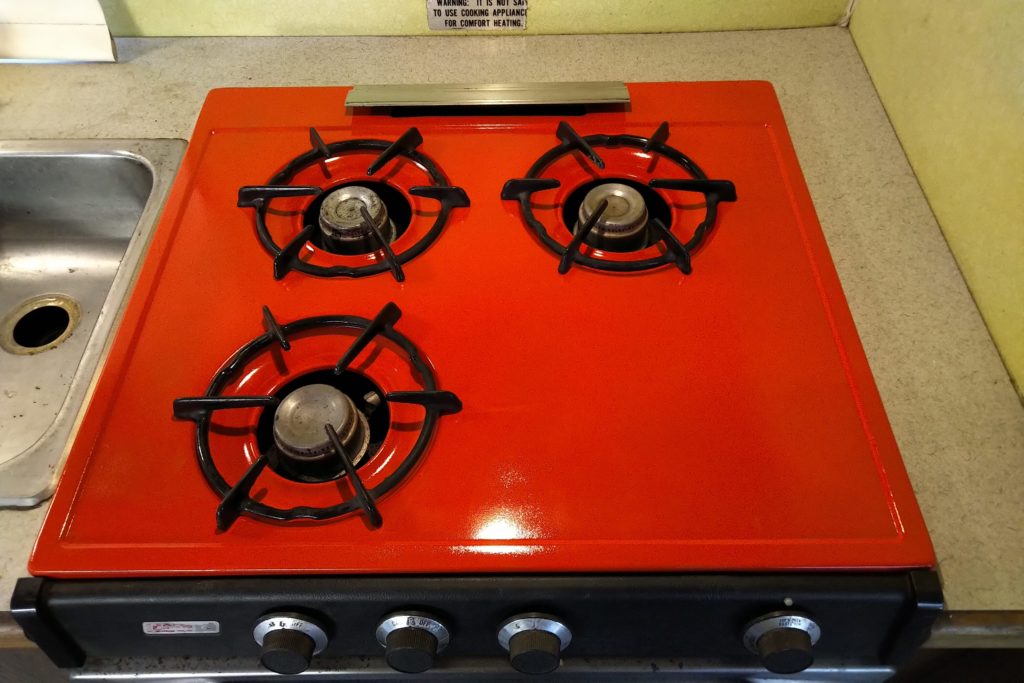
Finally, the stove top looked kind of sad and boring, so I decided to spice it up with some spray paint that will match the curtains (coming soon!). I used high-temperature engine primer and enamel, so the heat from the stove shouldn’t be an issue.
Wall repairs, plumbing goodies, and hopefully flooring coming next week!

 The Winnebago has permeated into every aspect of my life, including my birthday cake. Mrs. Copeland really outdid herself this year with a first foray into fondant, which turned out to be quite the crowd pleaser.
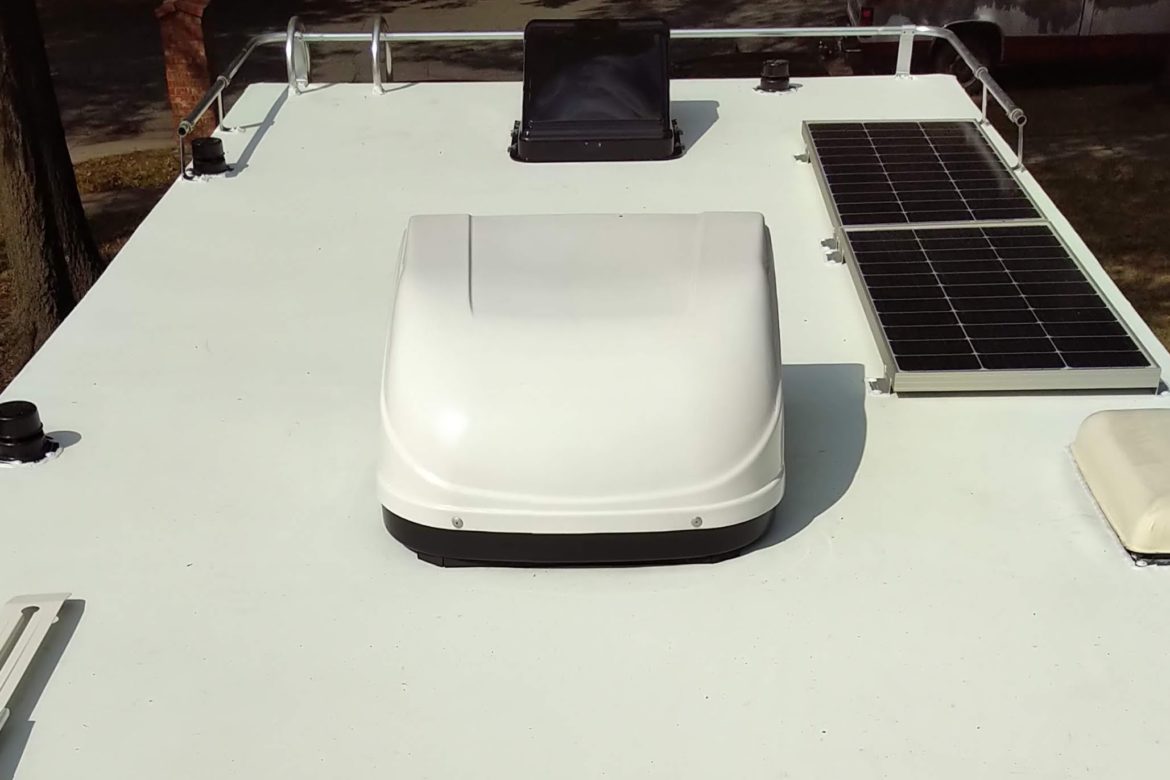
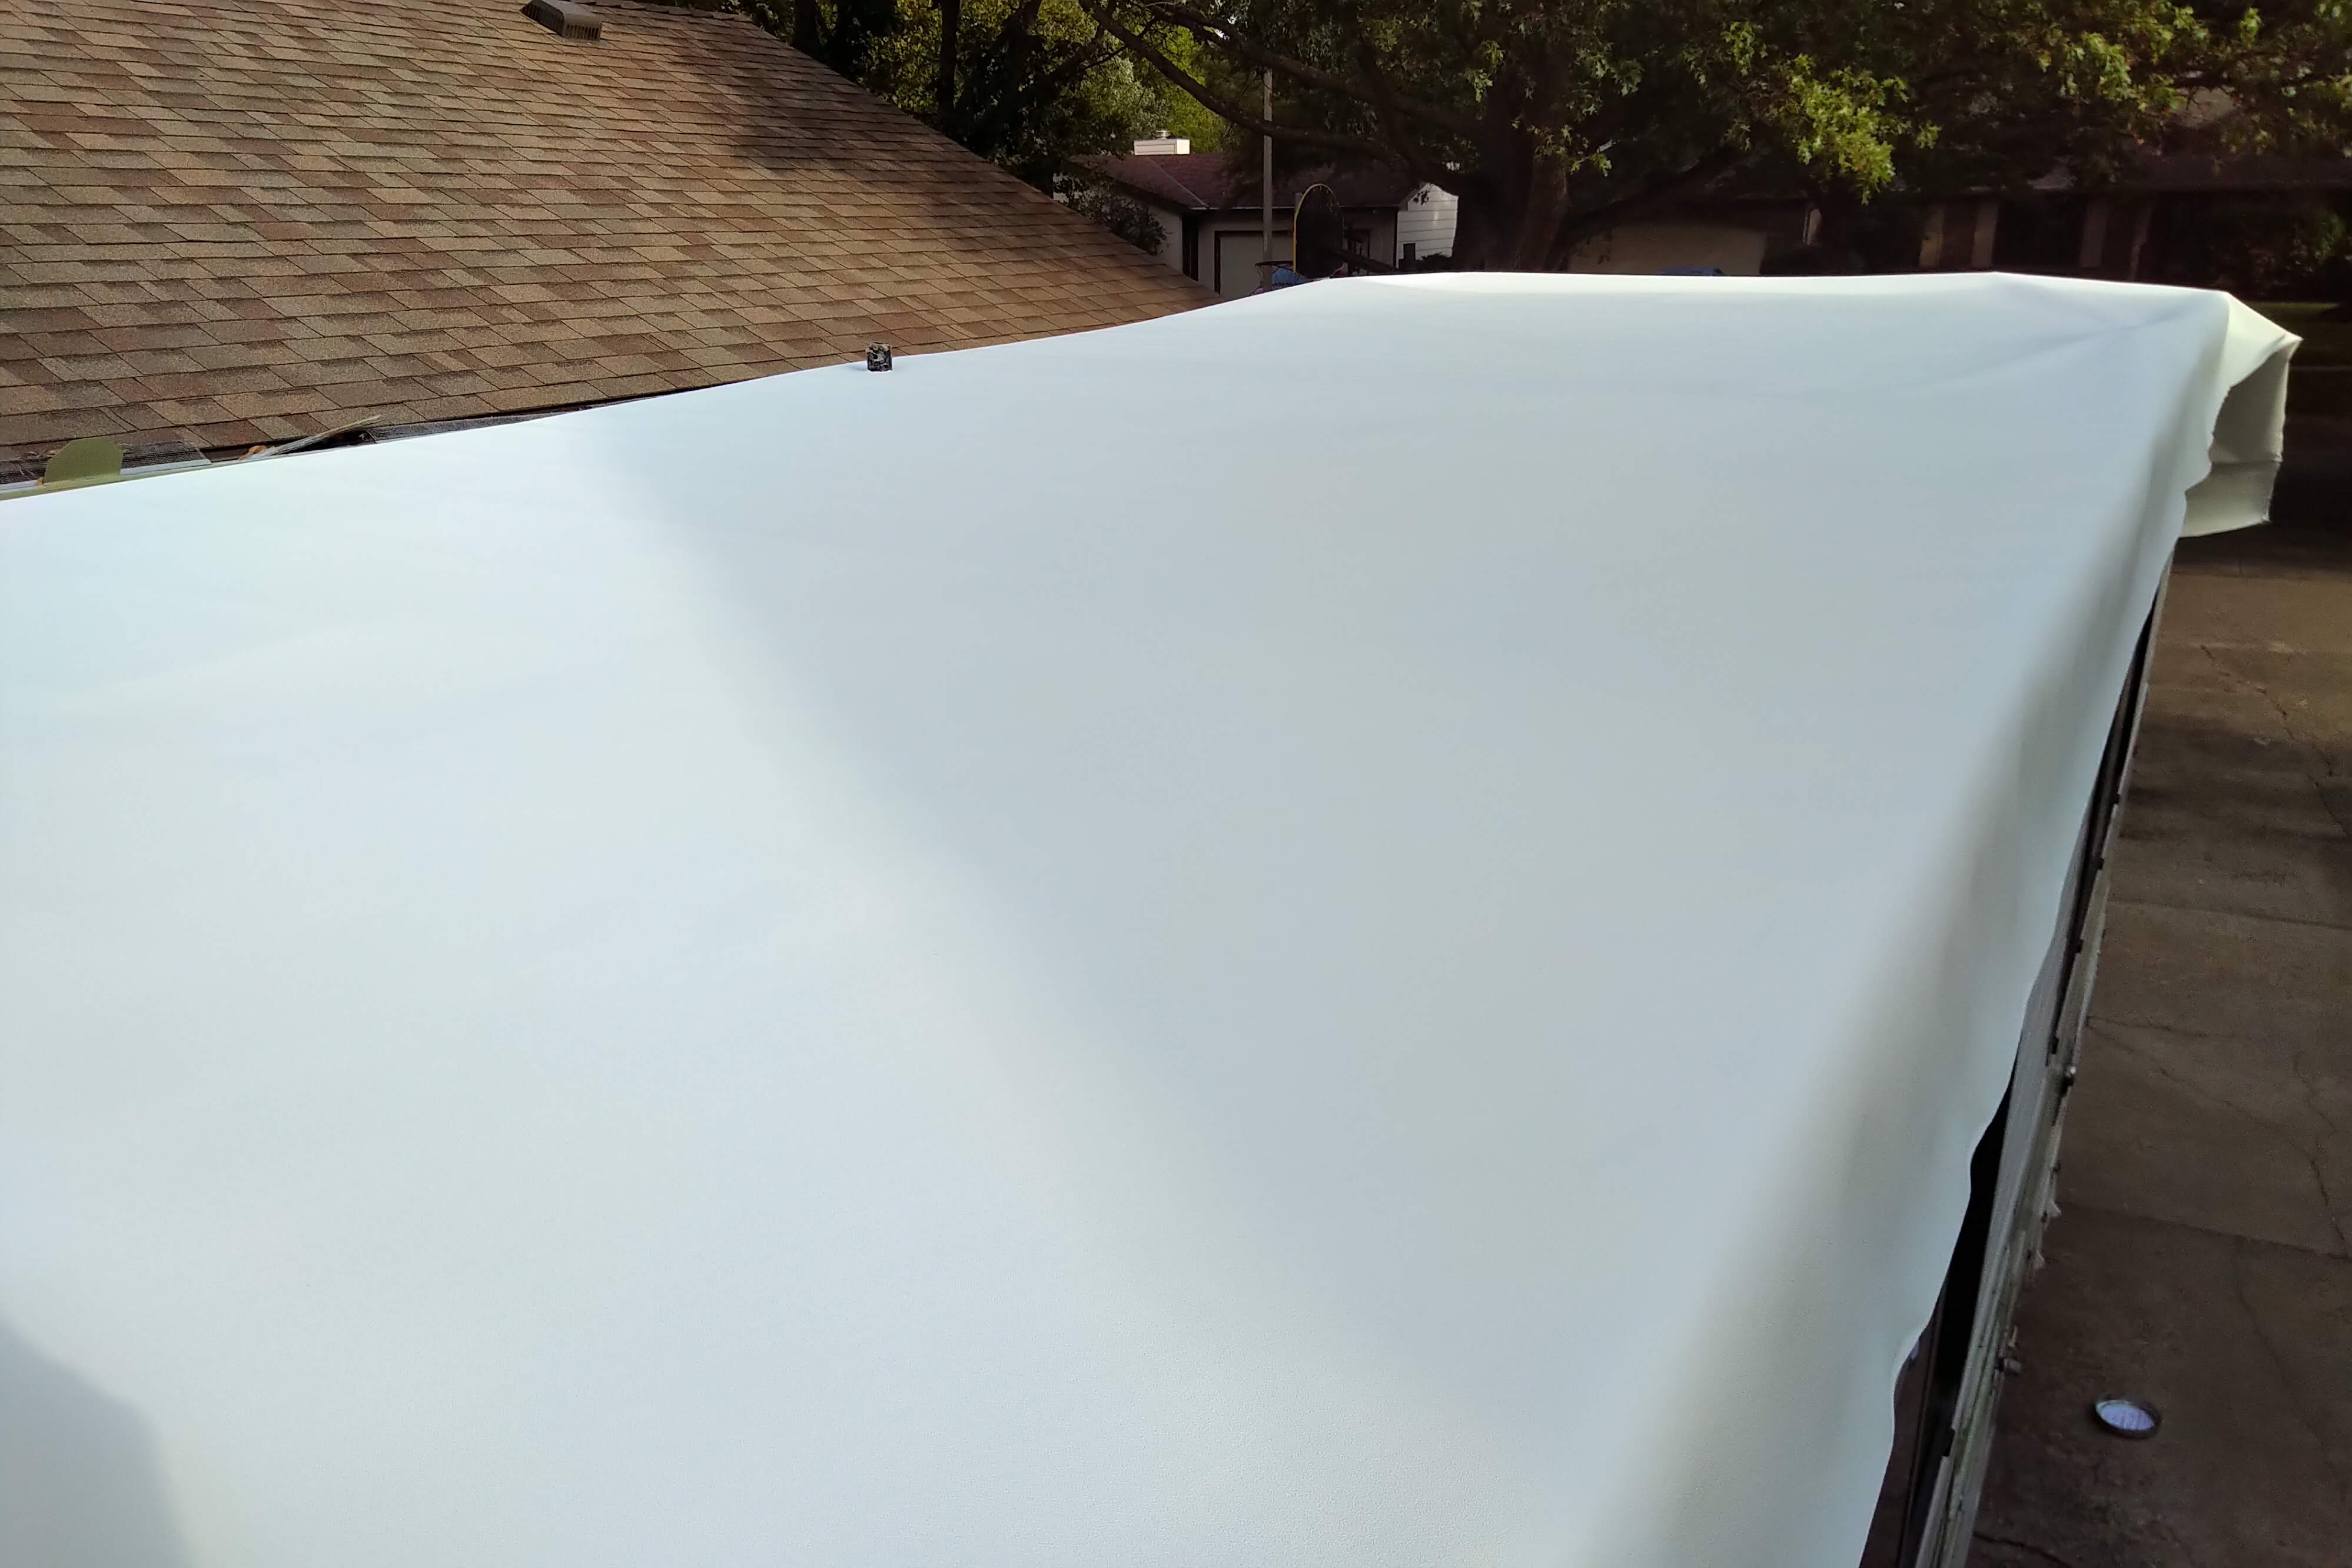
 I thought I might never type those words, but here we are, with a roof that has survived its first storm! One air conditioner, two powered vents with covers, one refrigerator vent, two solar panels, one TV antenna, one antenna junction box, and one luggage rack and a ladder make up the inhabitants of the roof, plus a few sundry plumbing vents. Everything is buttoned up with Butyl tape and self-leveling sealant, and I’m quite pleased with the results.
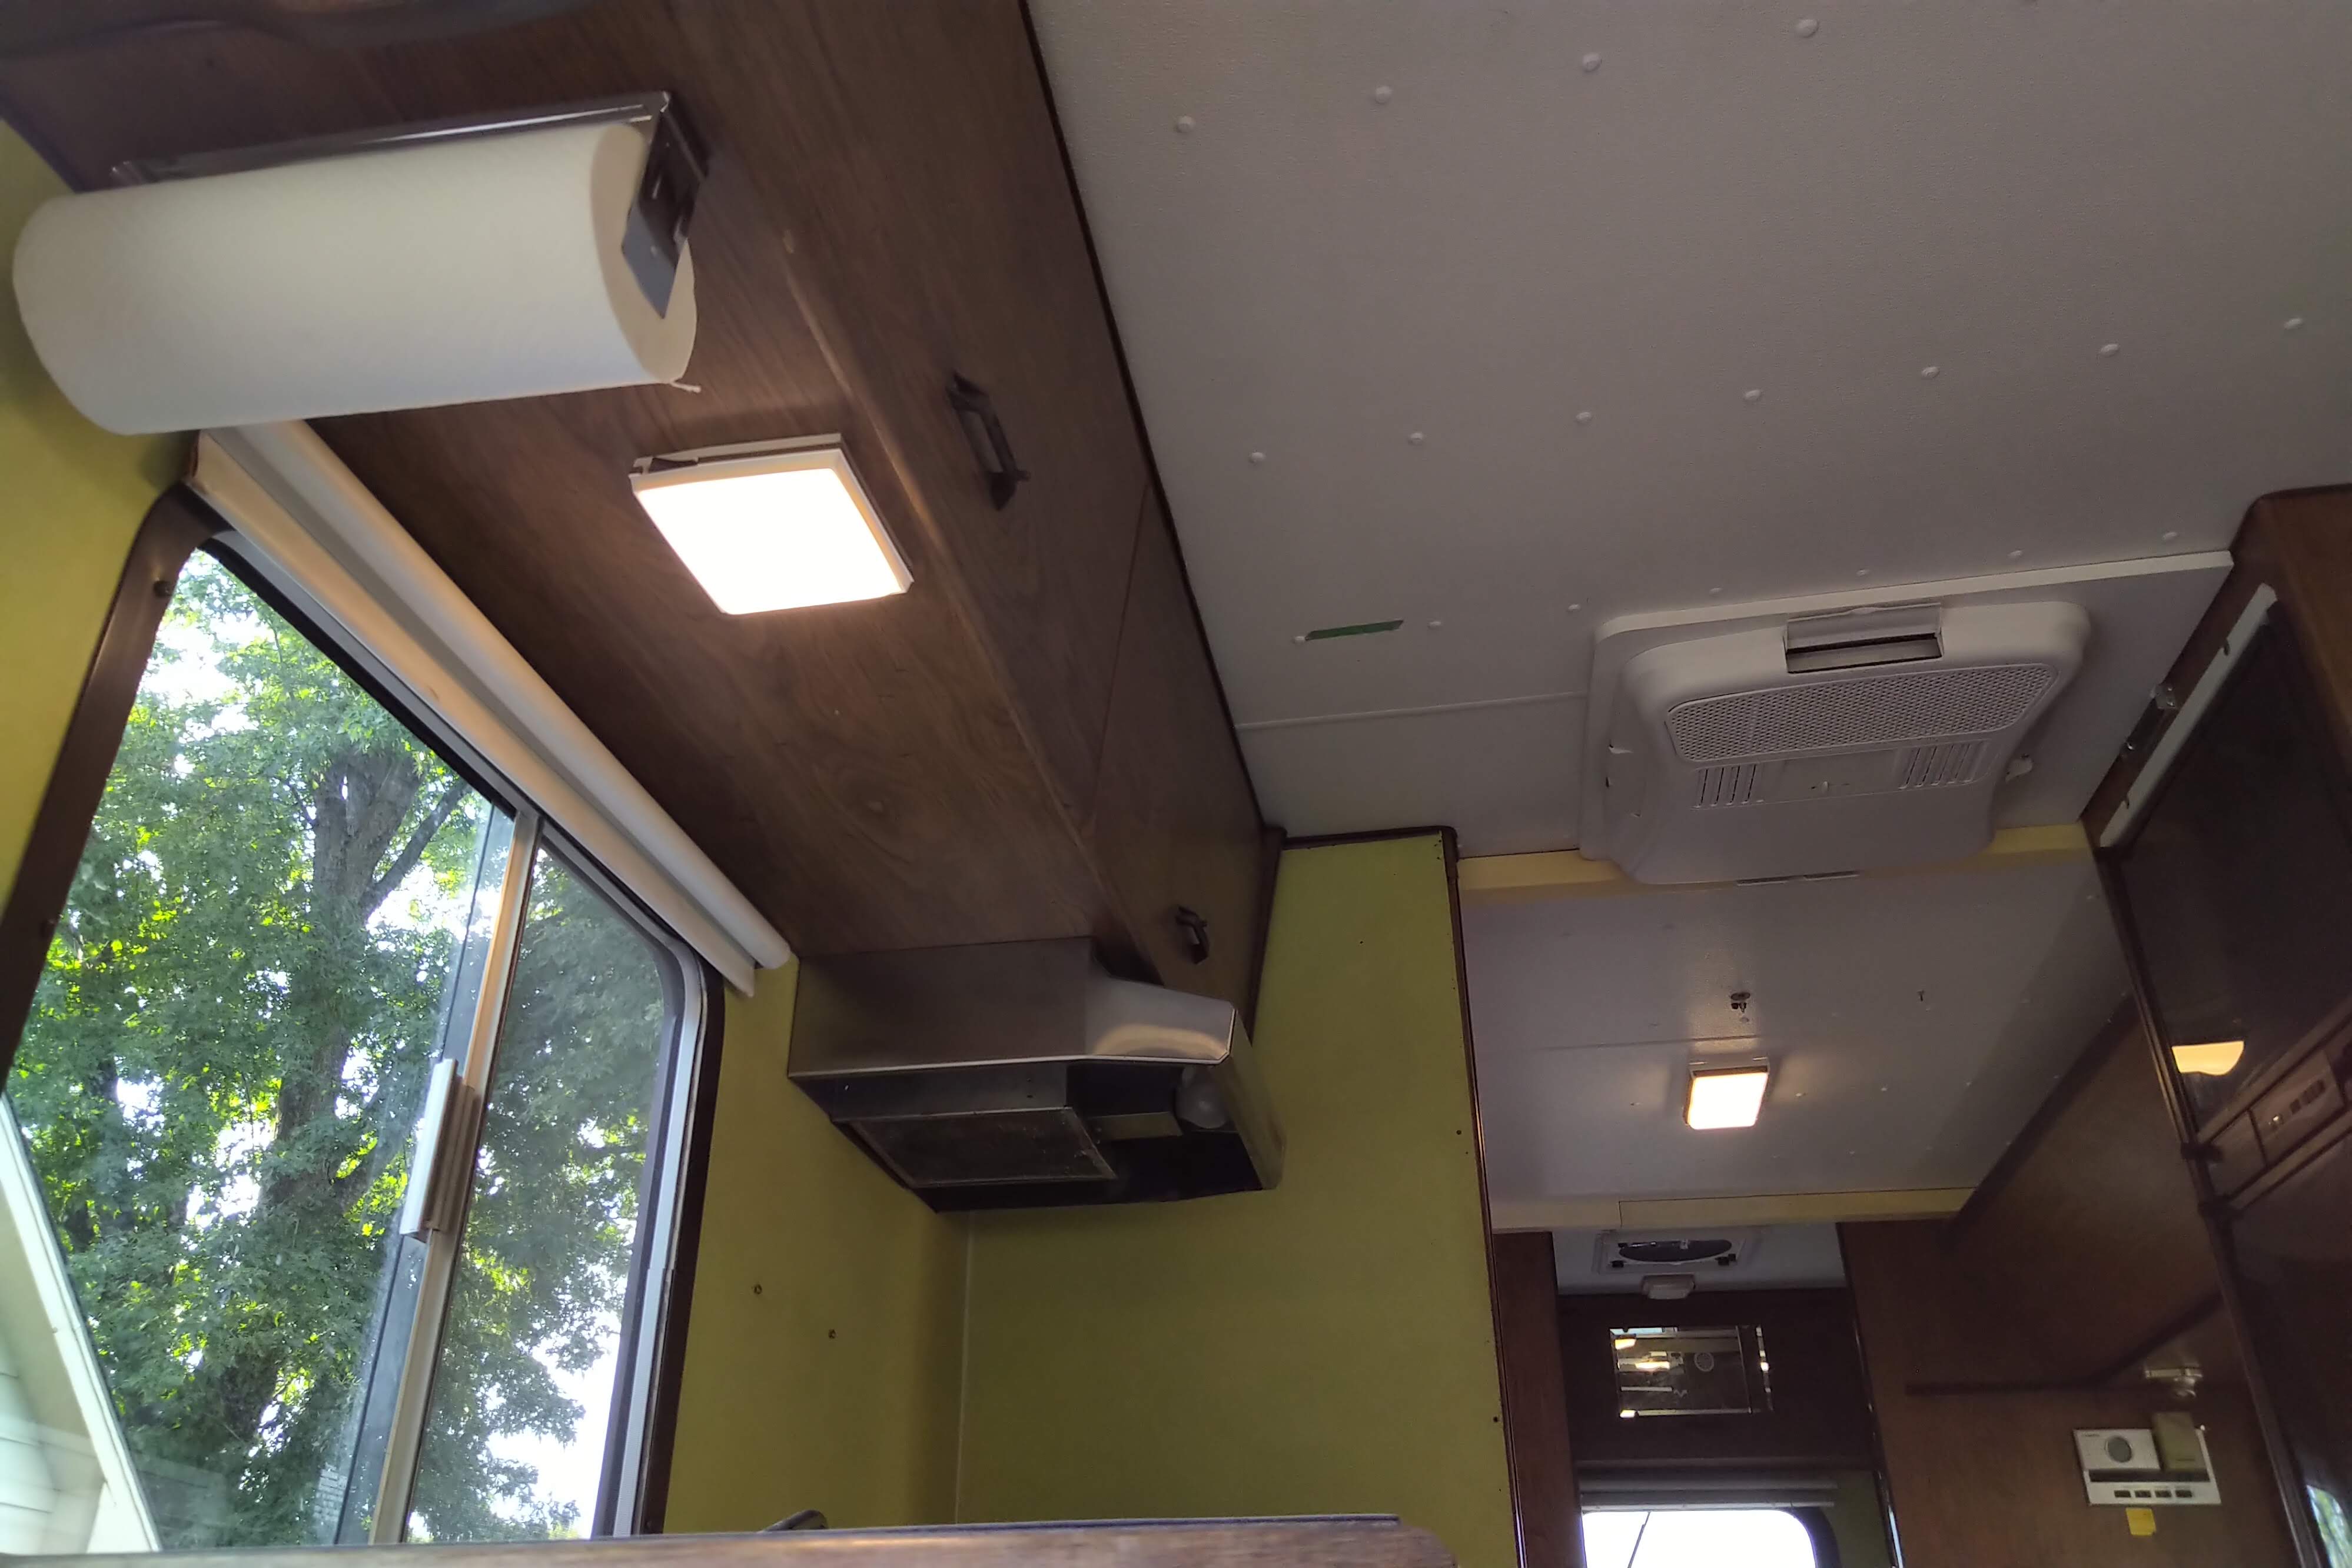
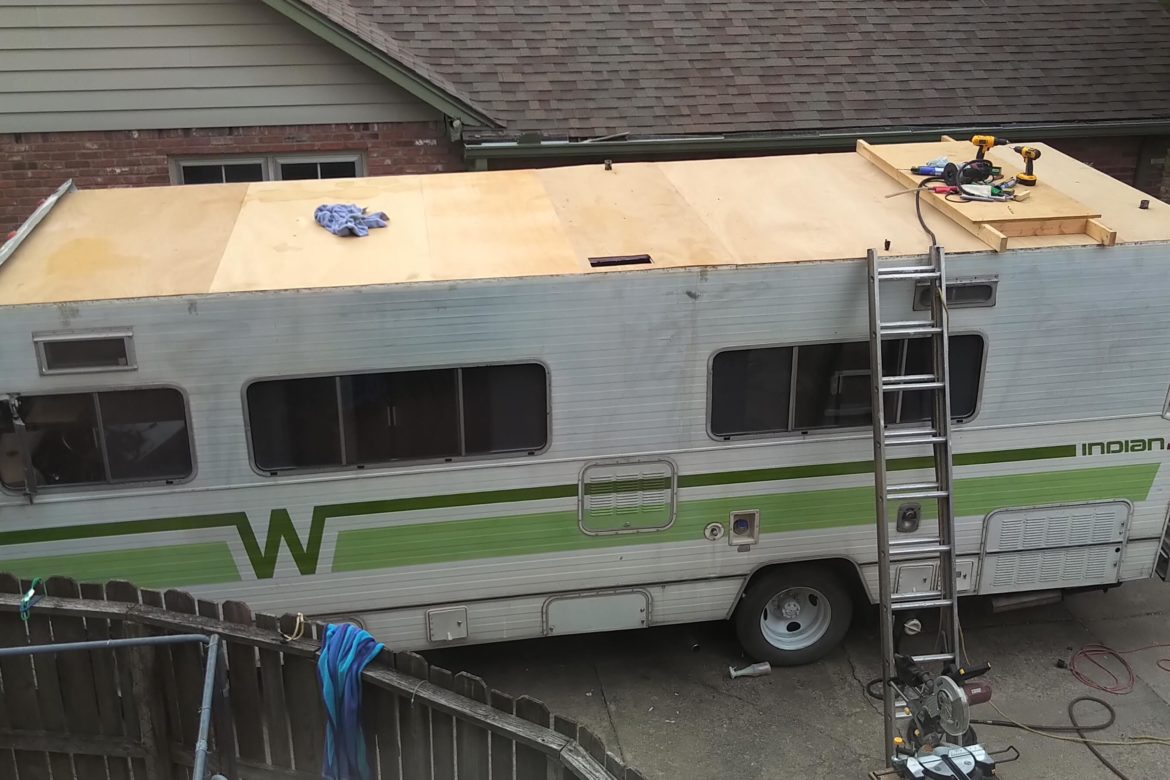
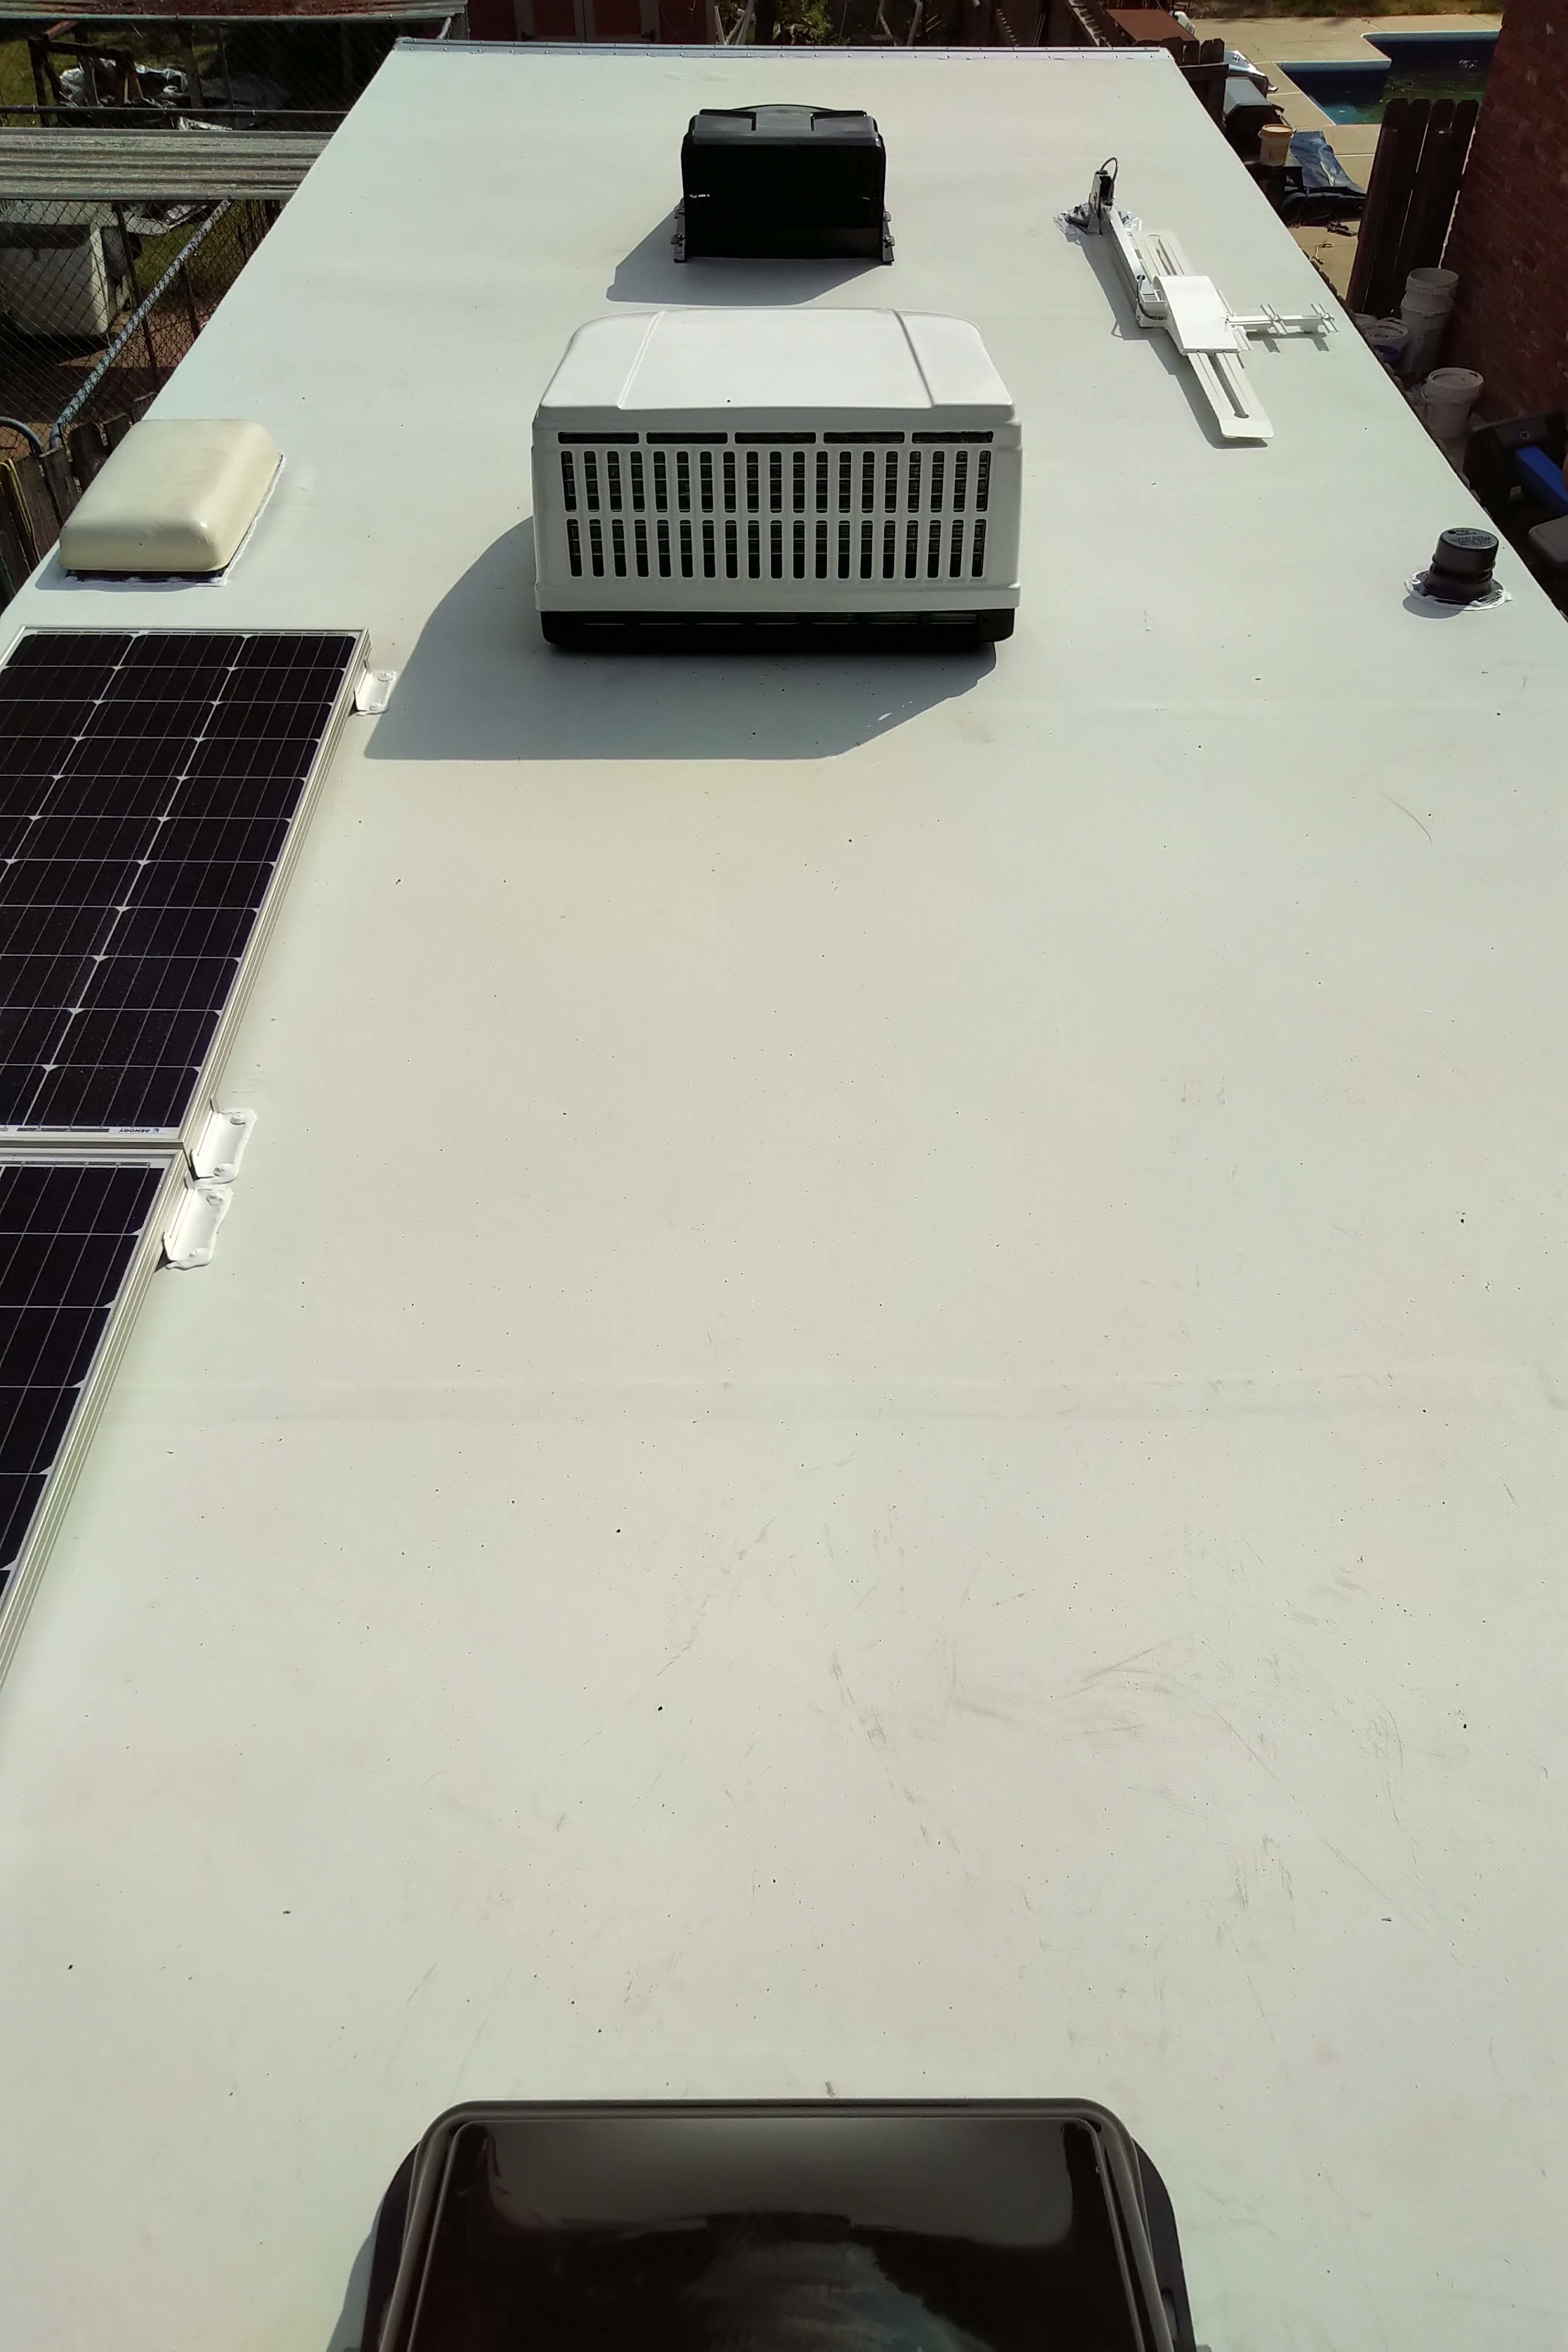
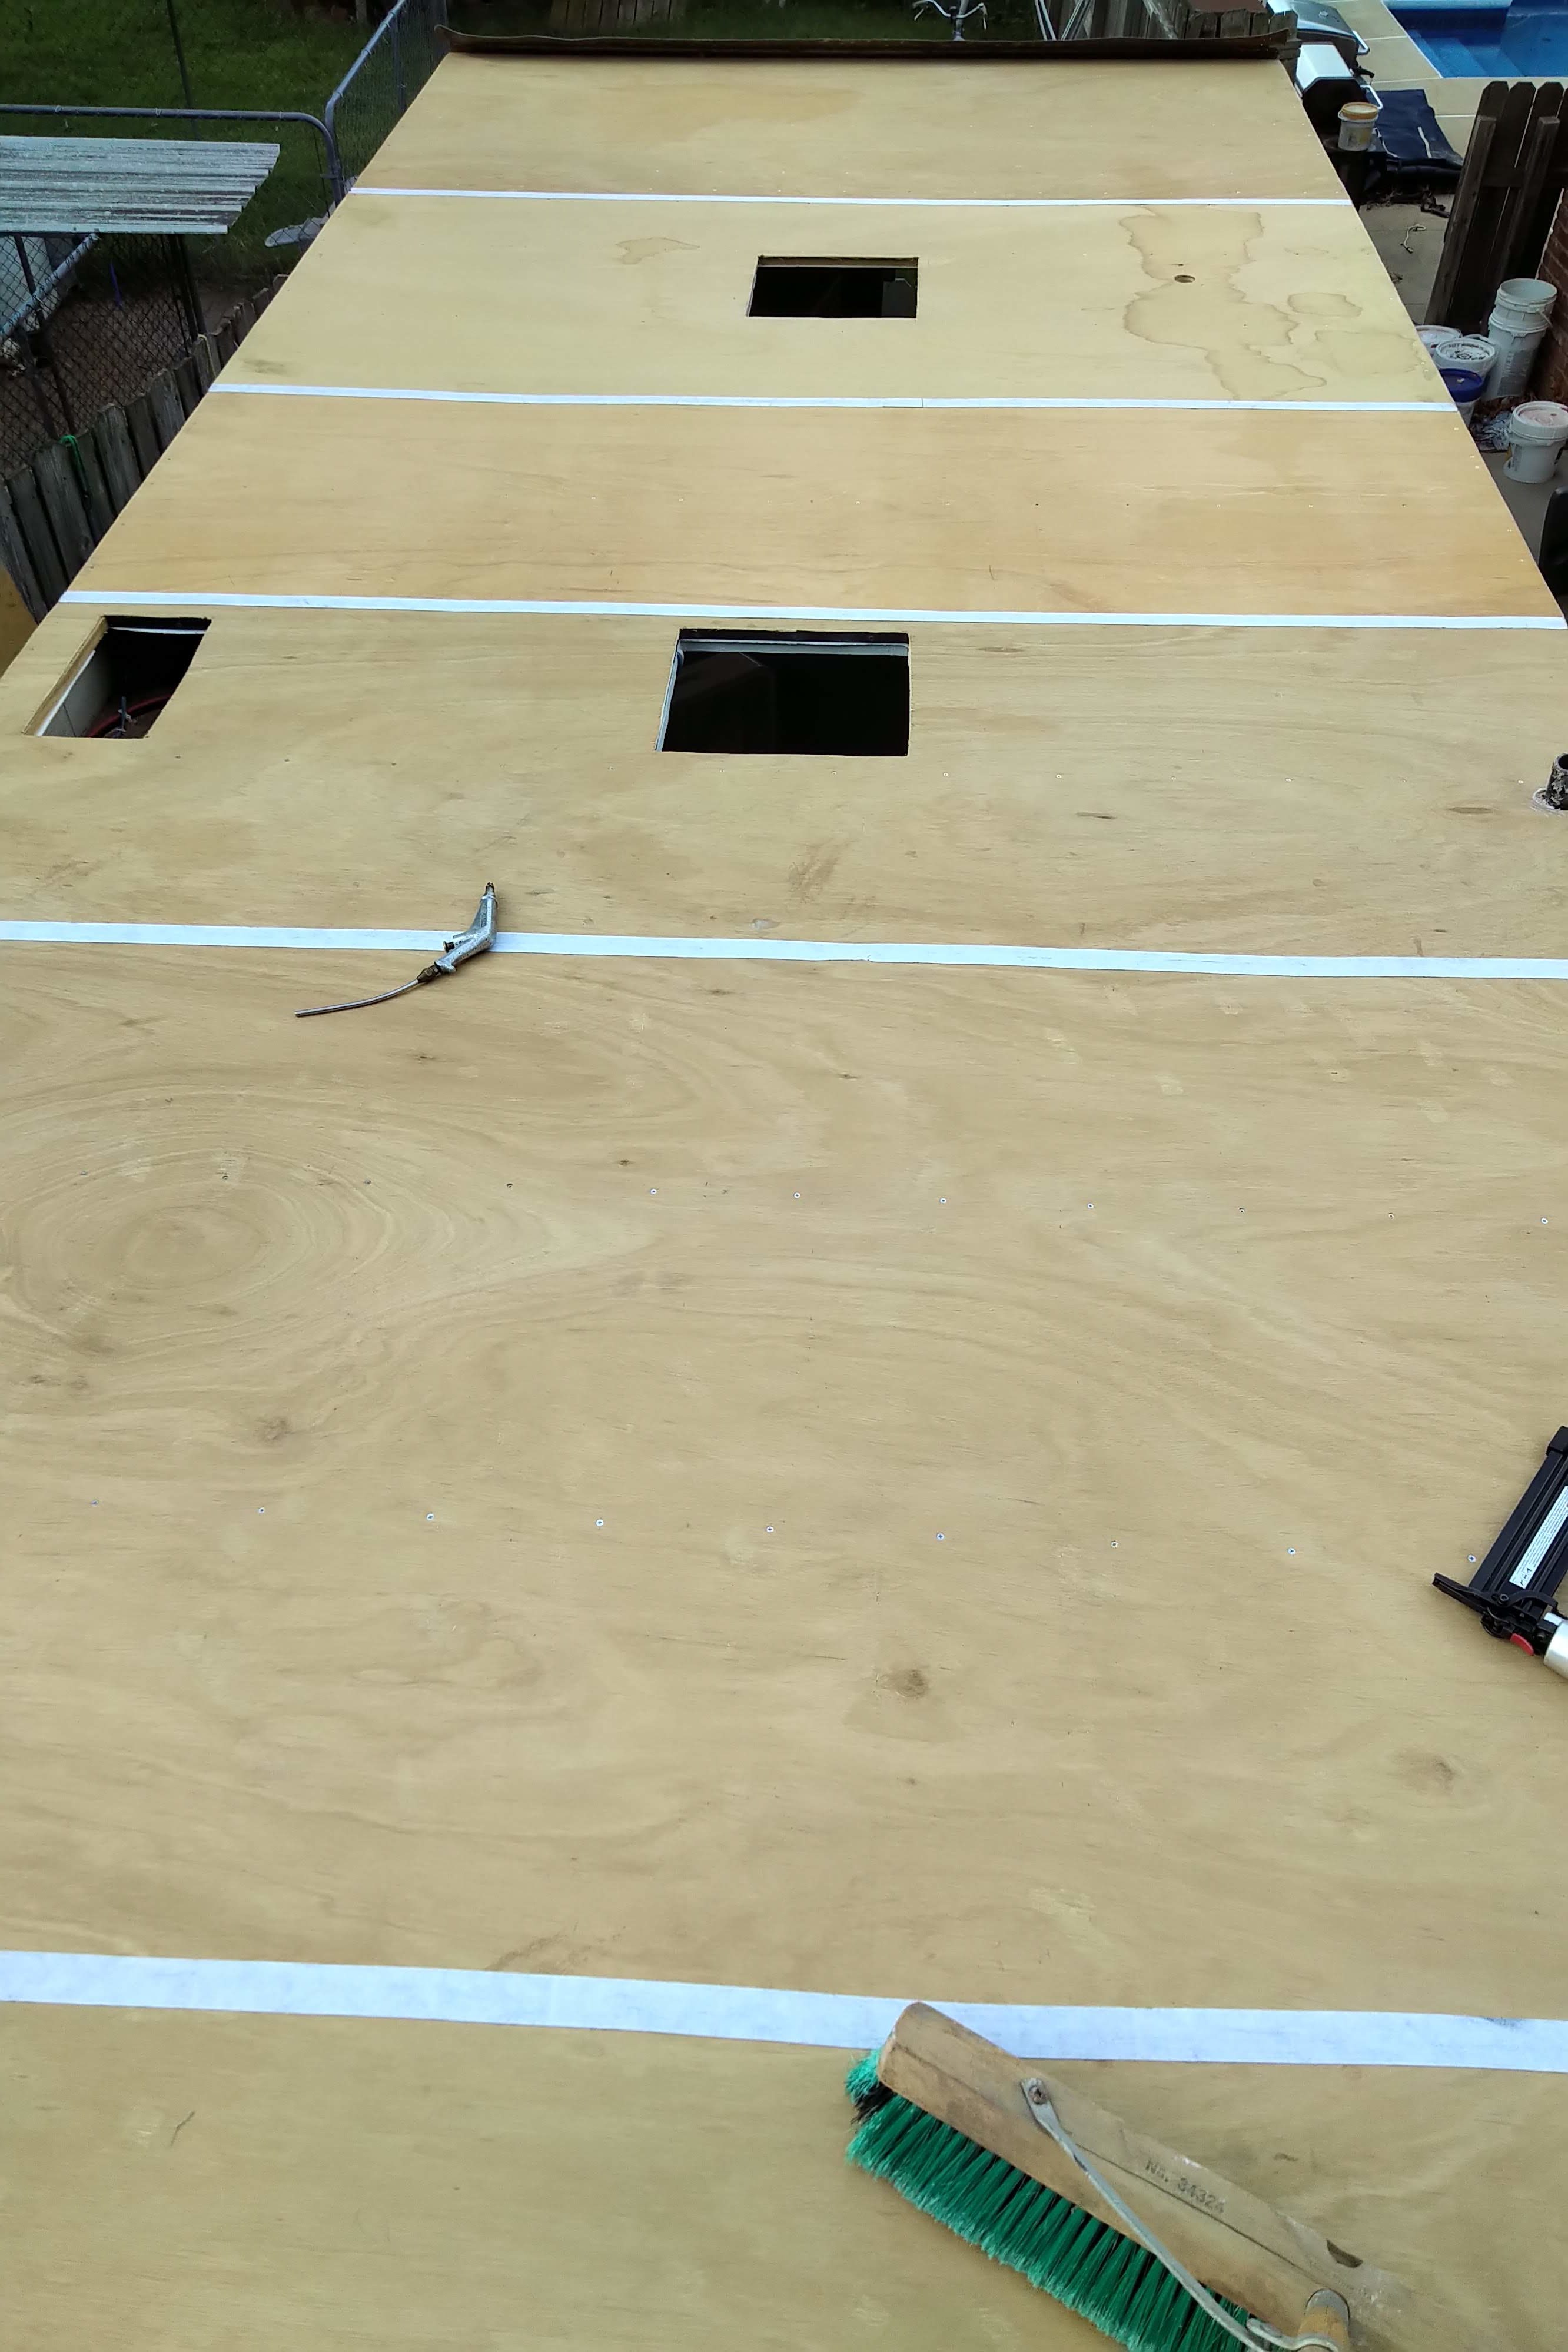 They say painting a house is 90 percent surface preparation and 10 percent actual painting. That’s how a Winnebago roof seems to be as well. We finally got the roof material (TPO) applied after literally months of preparation. Before that could happen, the remainder of the direct current wiring was tucked away and lauan plywood was applied on top of everything.