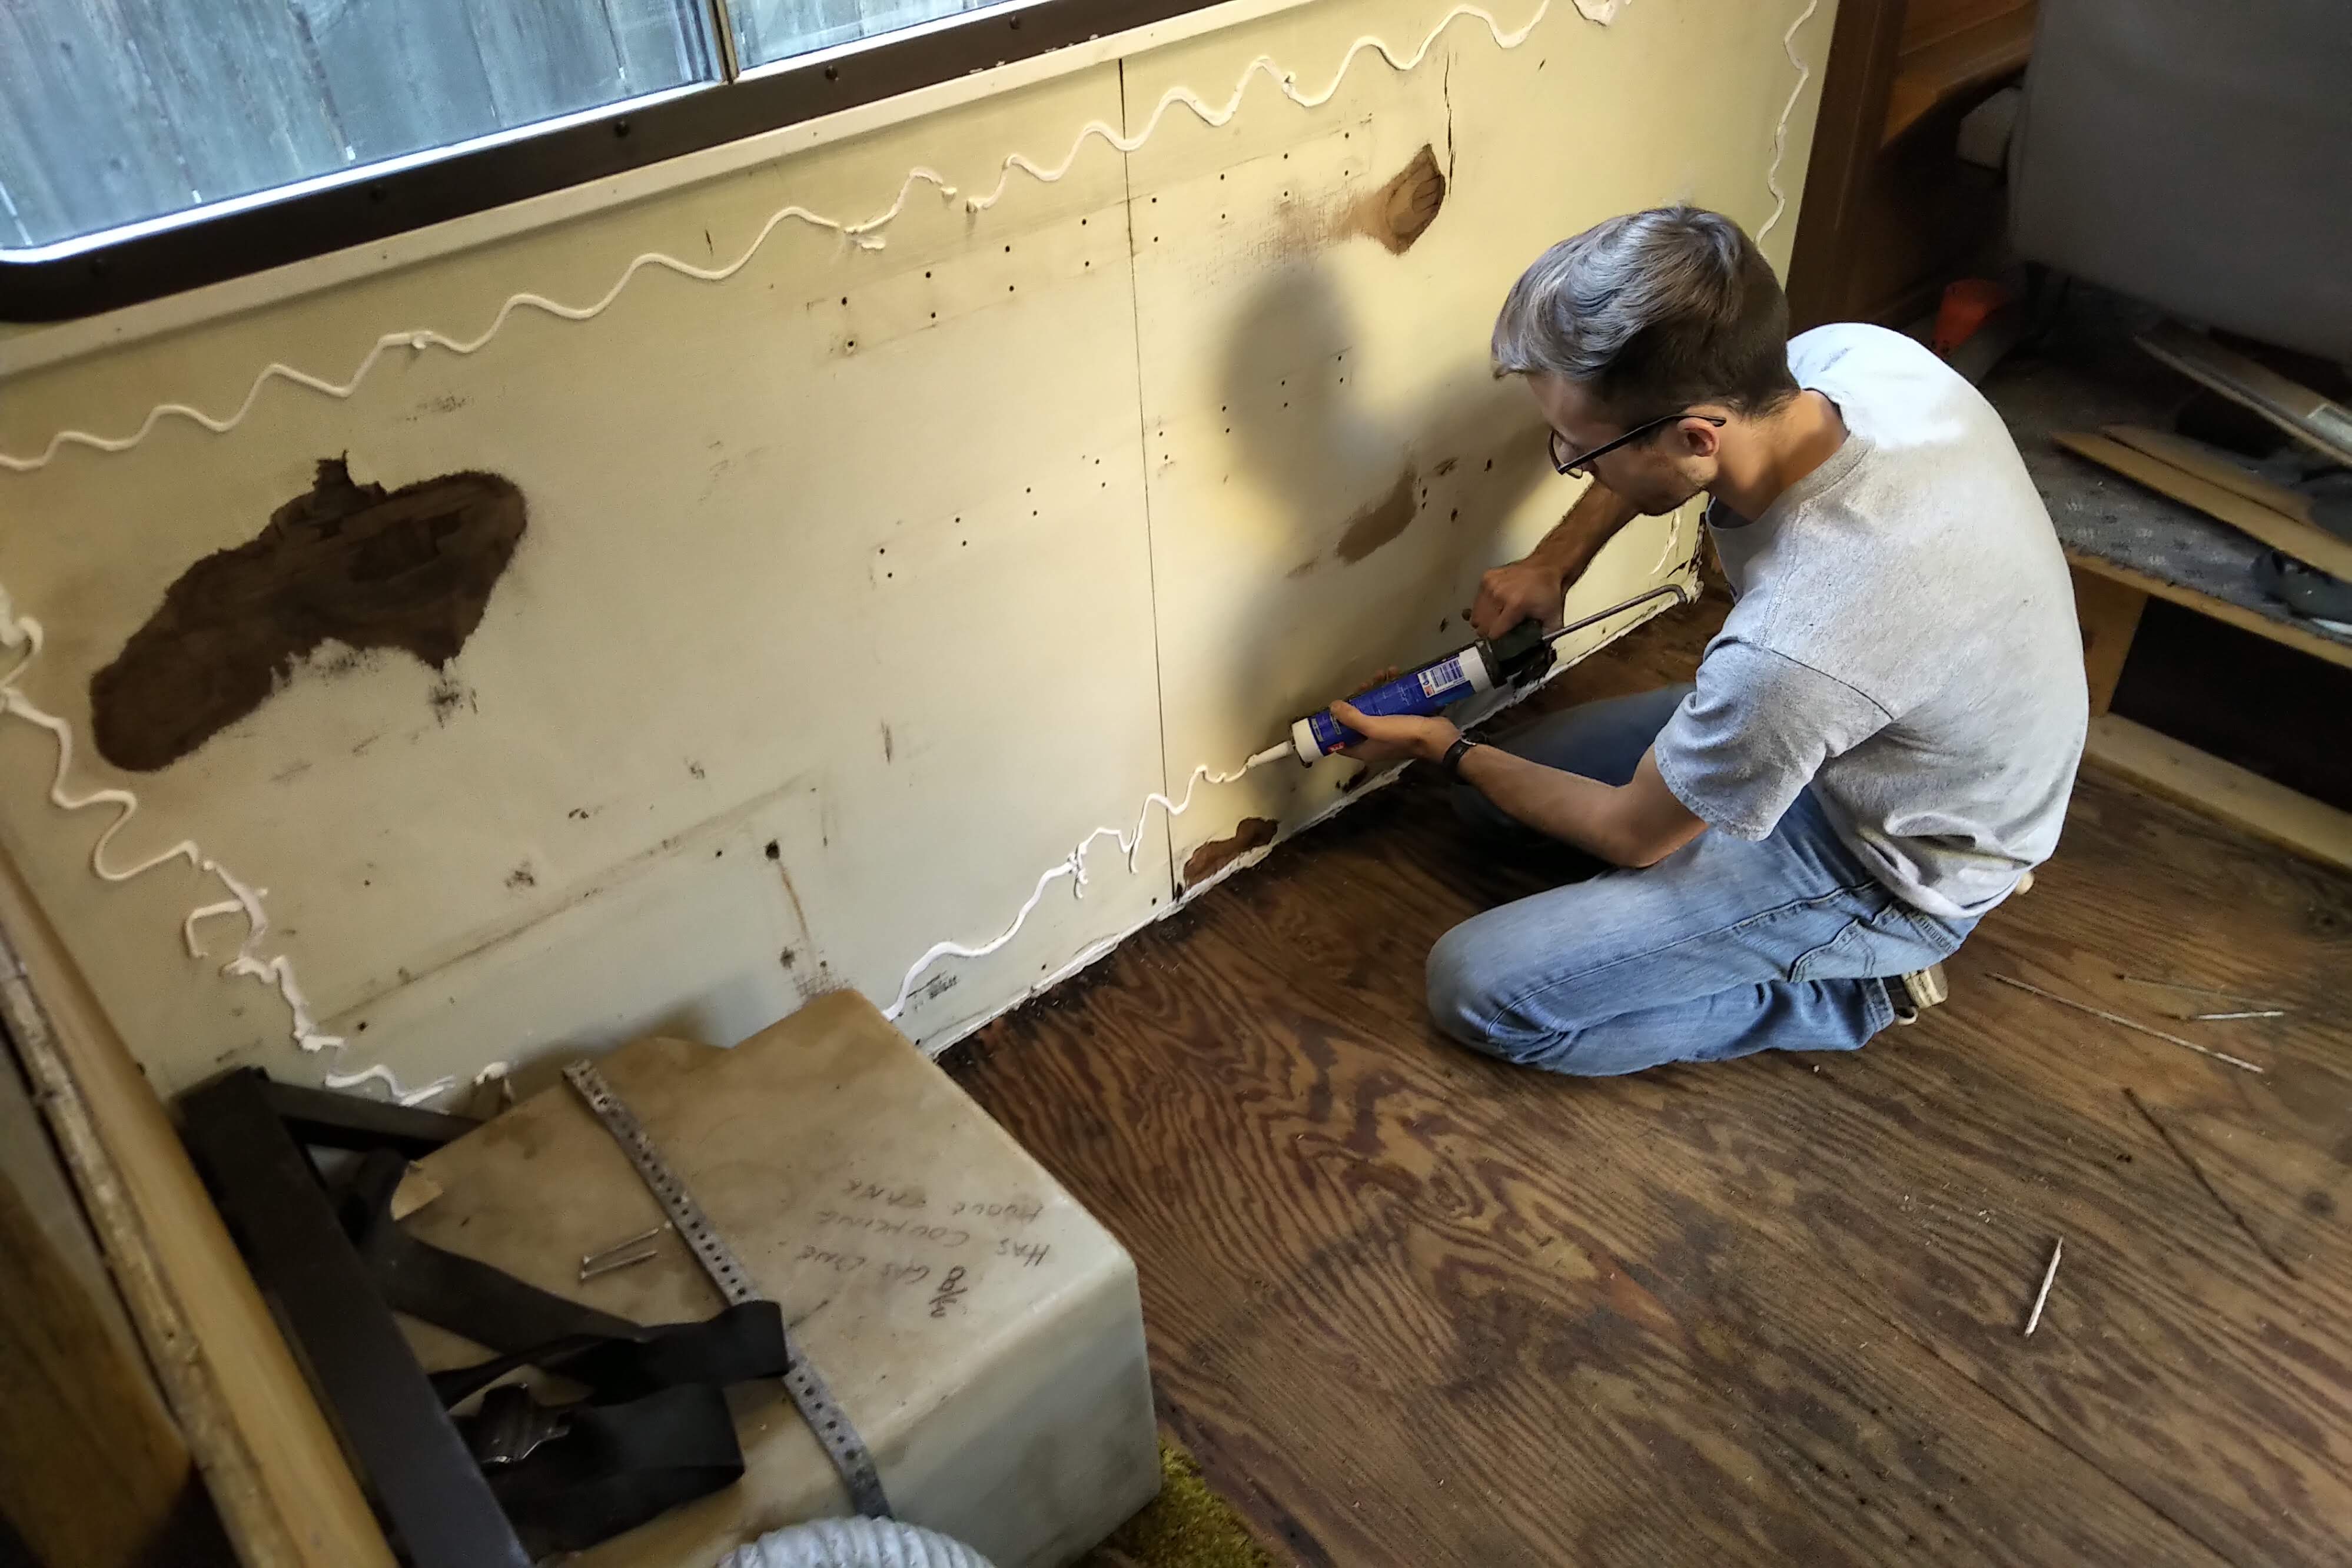
 The interior of the vehicle is quickly taking shape after months of prep. Before the new flooring could be installed, a few more items had to be completed, including fixing one section of wall that had some water damage from the window. Since no structural damage had taken place and the damage was old, we simply sanded the wood flush and installed a piece of paneling over the old wall with adhesive and fasteners. The results were pretty dramatic, as you see in the image above.
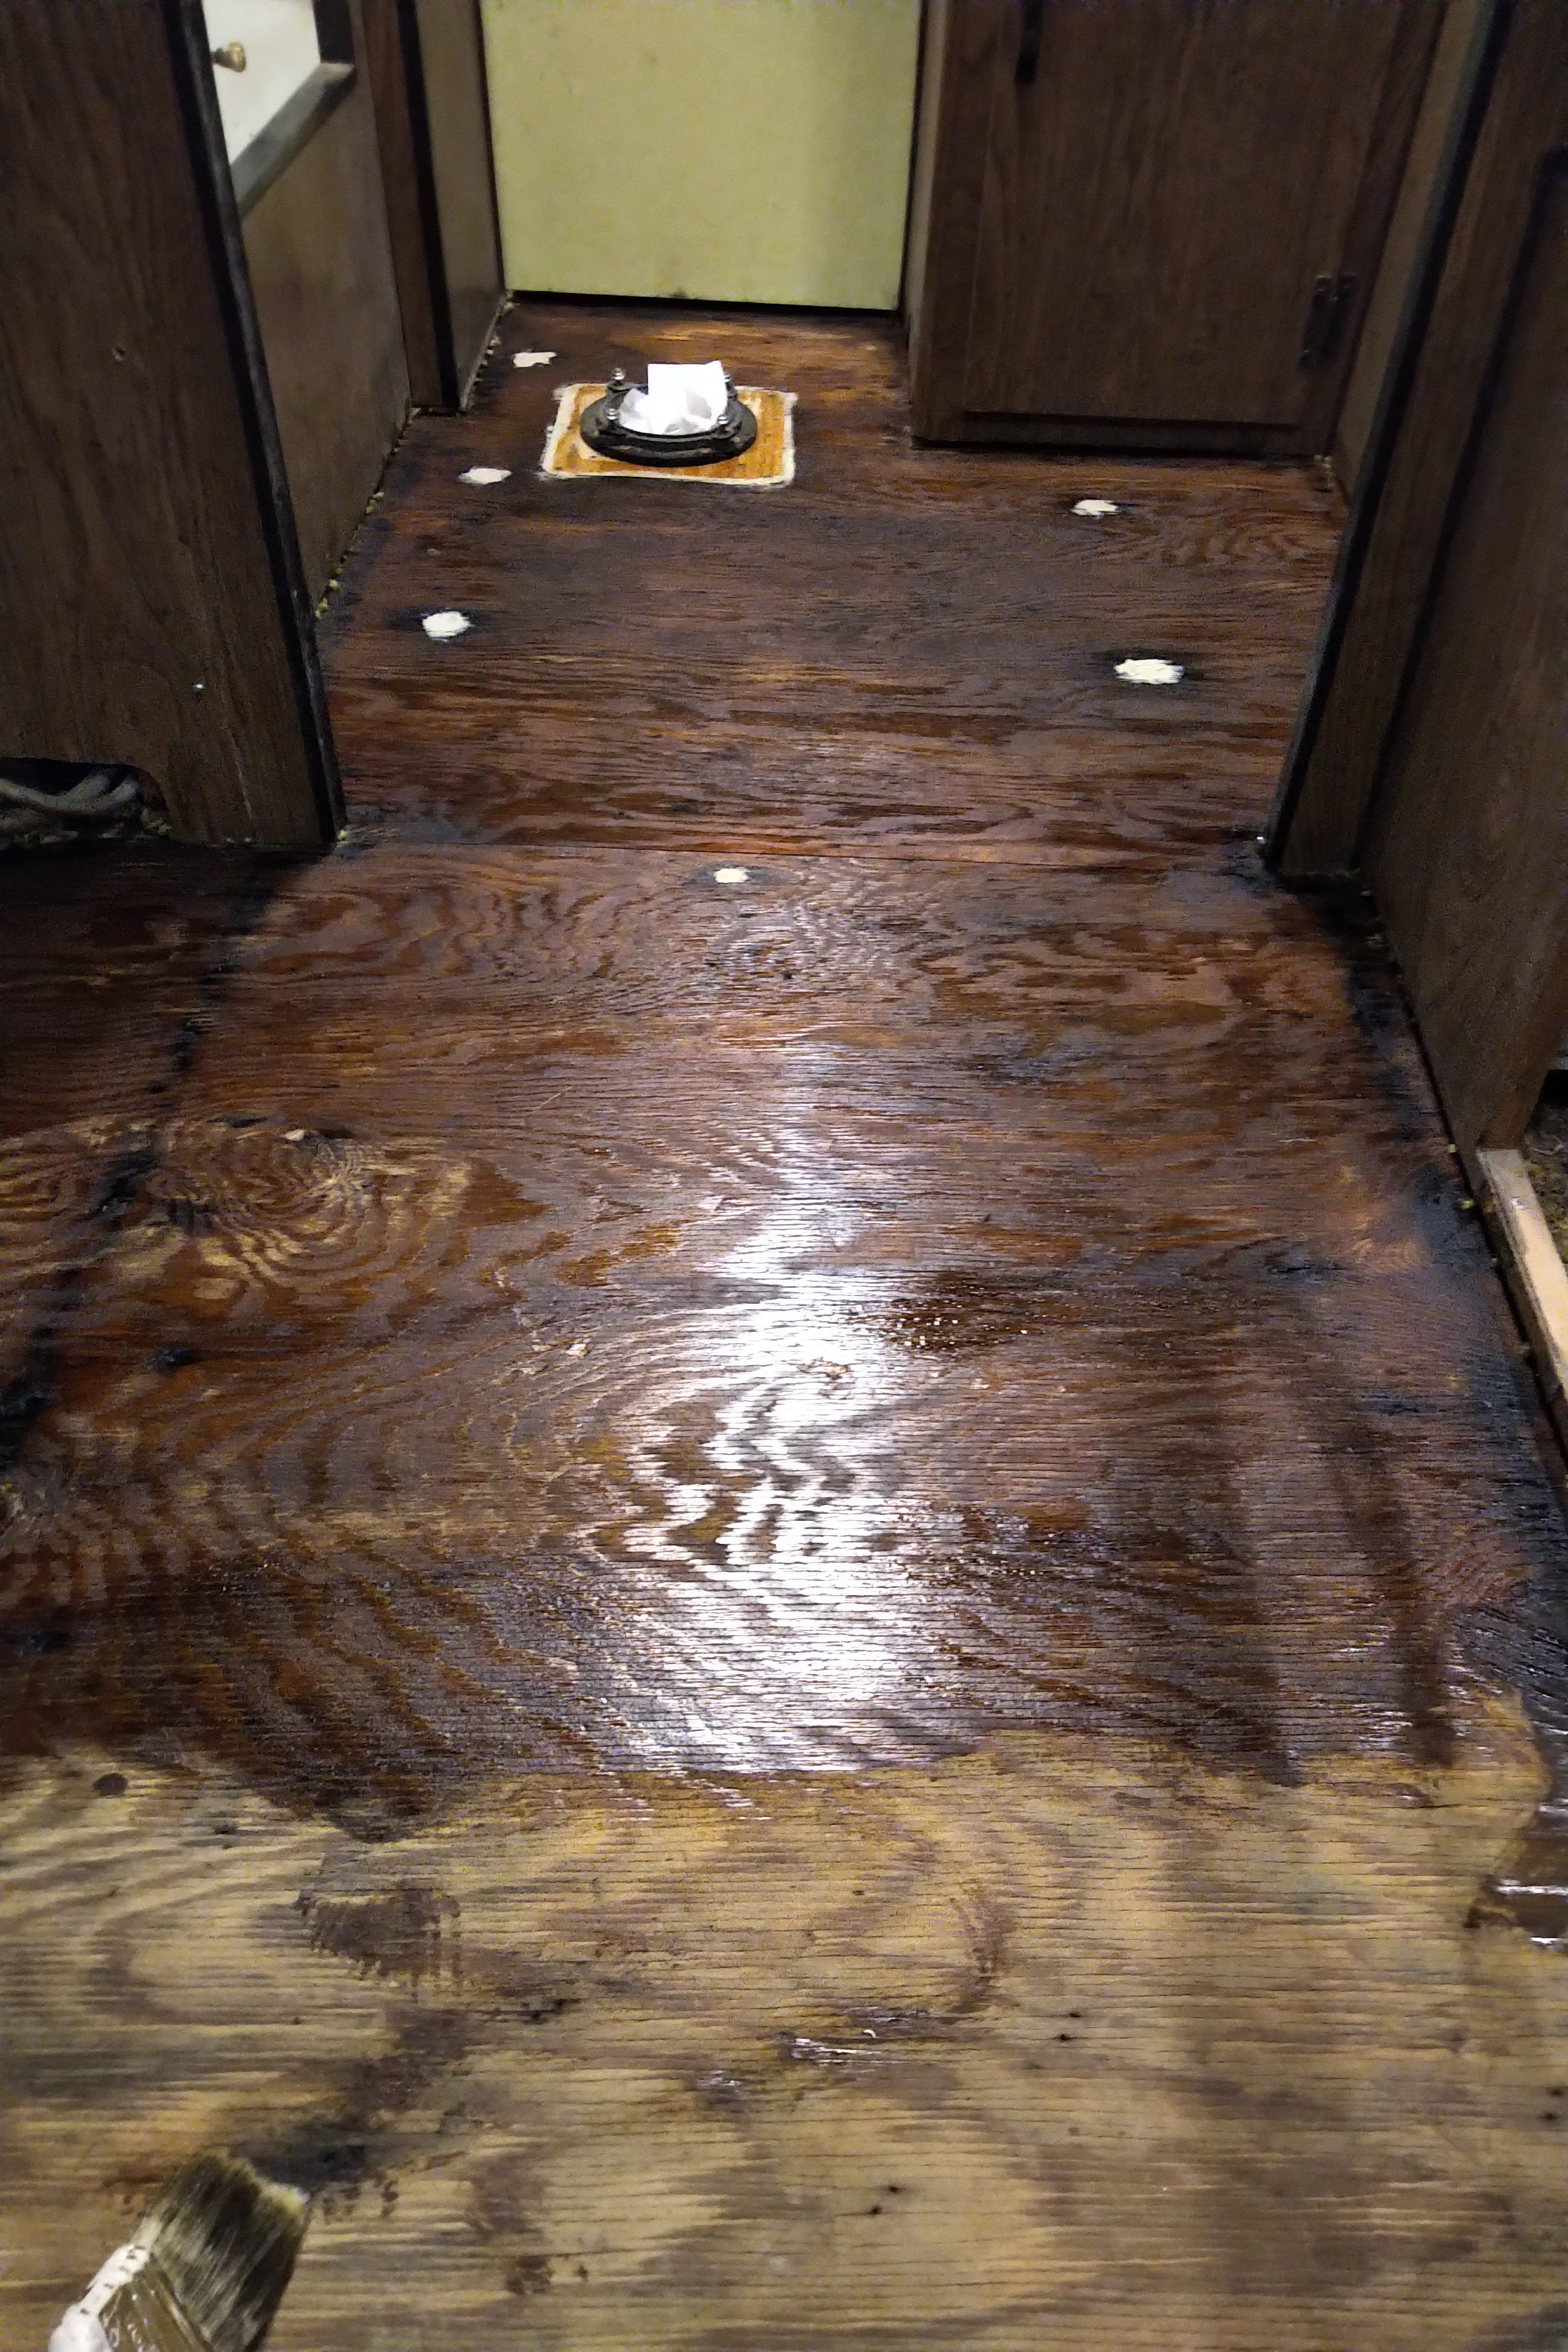
Next, the floor had to be prepped for the EZ Click flooring. Generally, not much prep other than sanding is required, but we went ahead and put some stain on the subfloor in case it does get wet in the future.
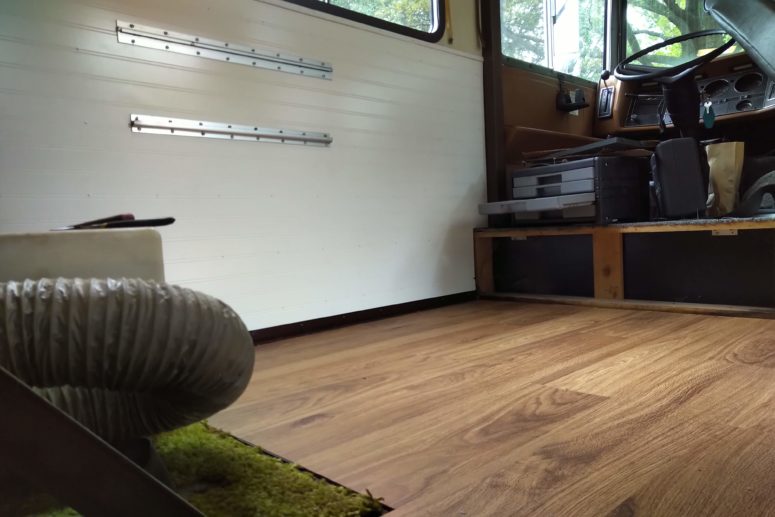
Next week, we’ll have a full flooring update and show the finished product. (You can see a sneak peek in the first photo, juxtaposed with the original green shag, which will thankfully be hidden by the dinette when it’s reinstalled.)